Using the POS to create kits and decrement inventory
Using the POS to create kits and decrement inventory
Using the POS to create kits or bundles
2. In this tutorial we are going to decrement inventory to create a product. In order to do this we need to know which "product" we are adding inventory for and which products we will consume in order to add the inventory. For this example I have already created a "kit" called "Aloha Bears". So, I will search for it here.
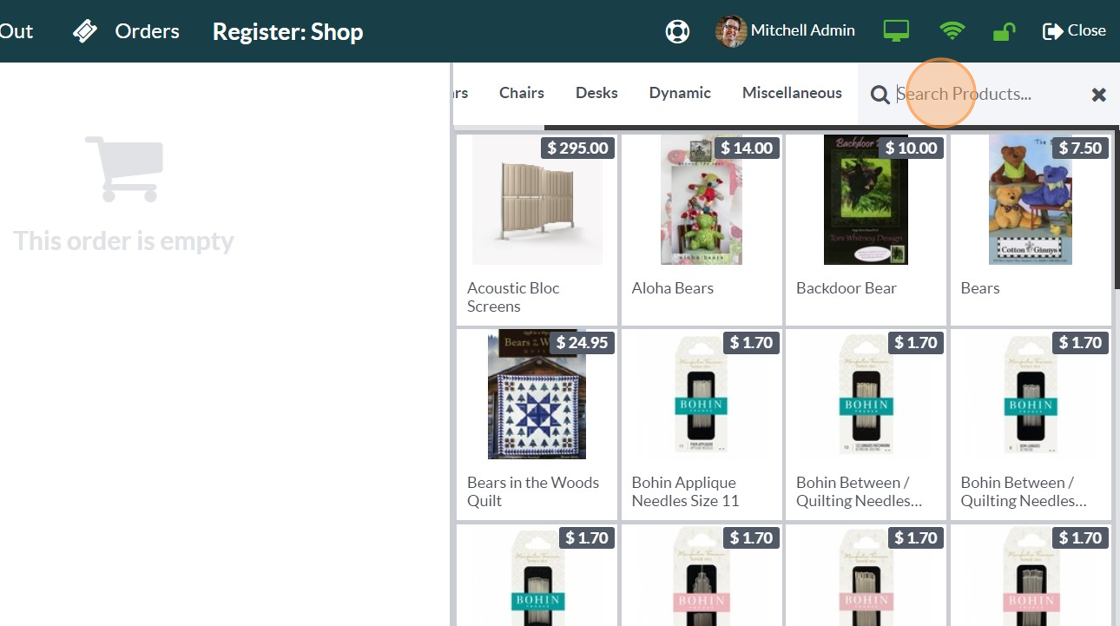
3. Type "kit"
4. Add your product to the cart.
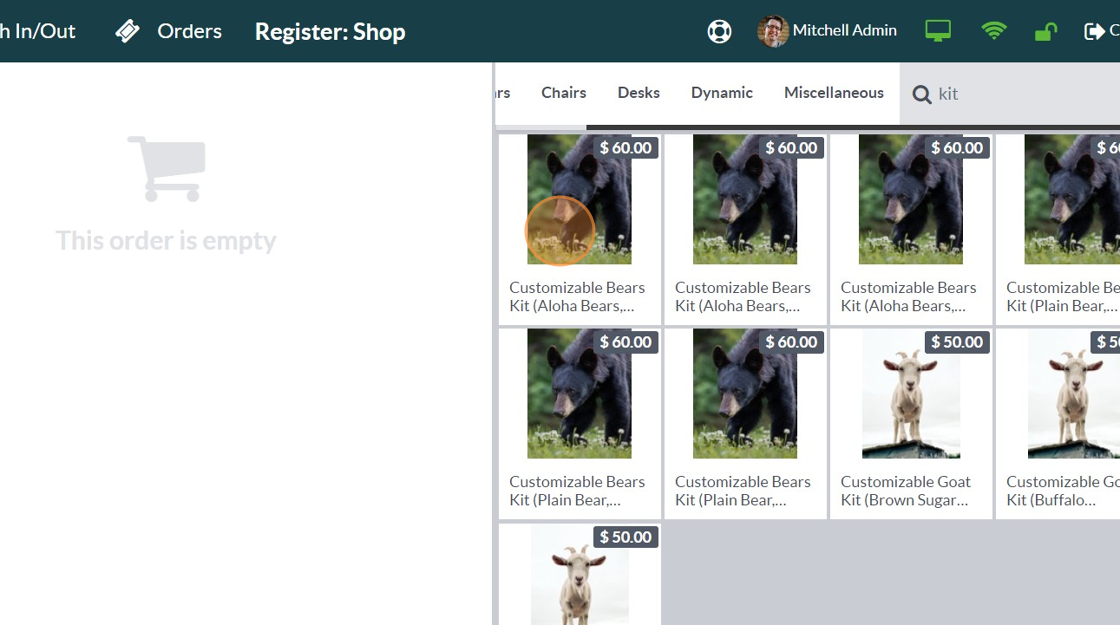
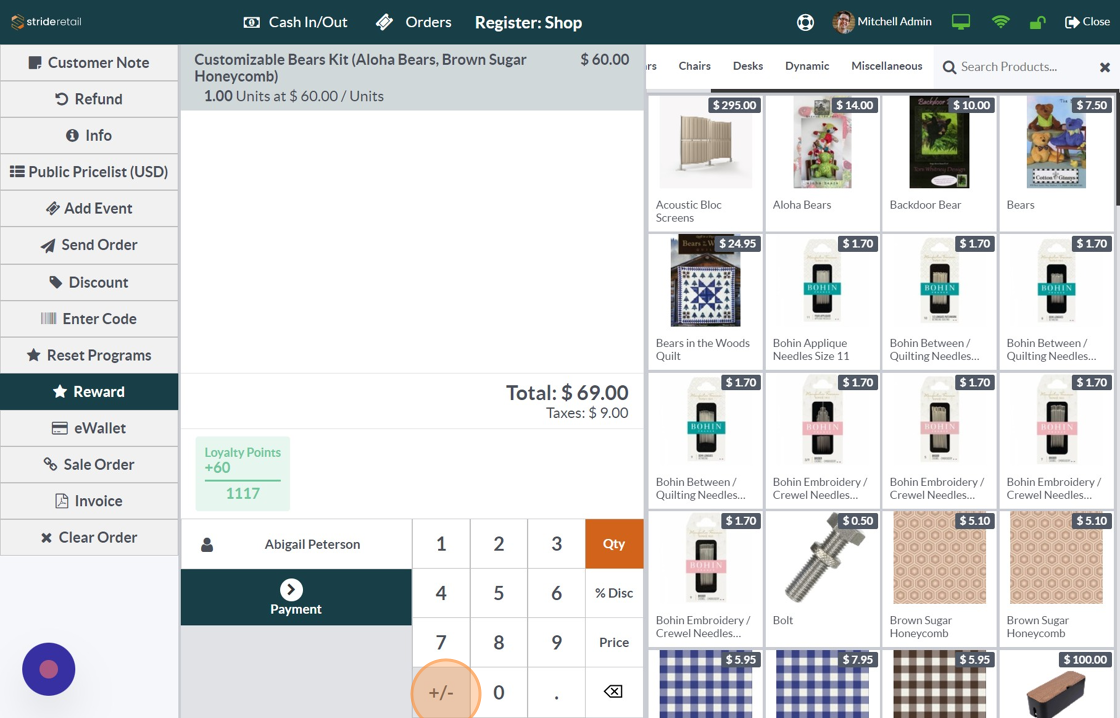
5. Select your product.
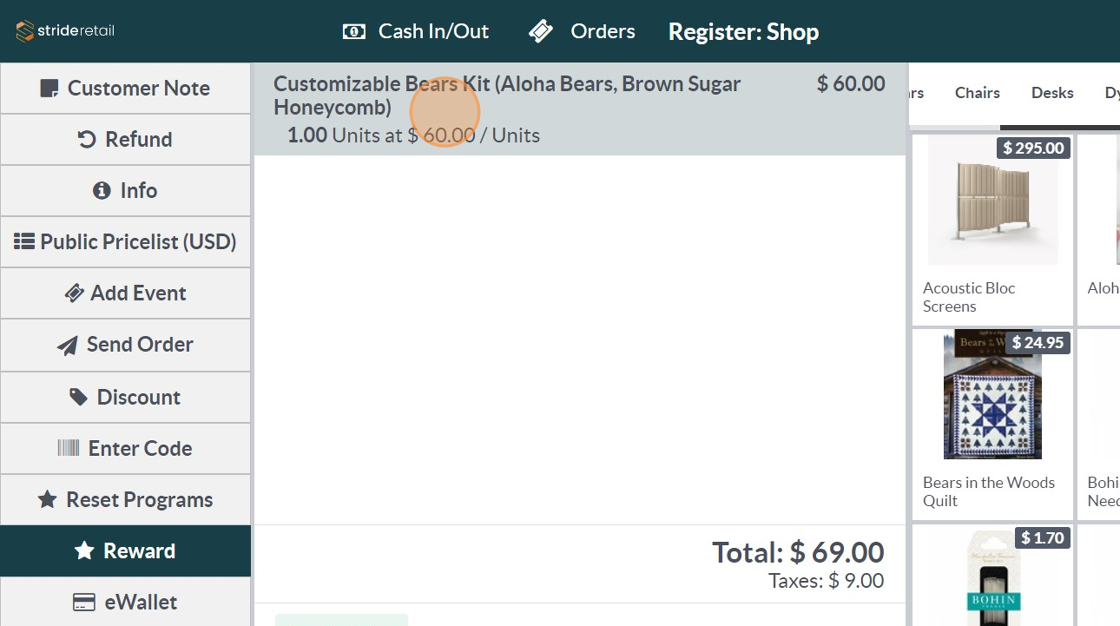
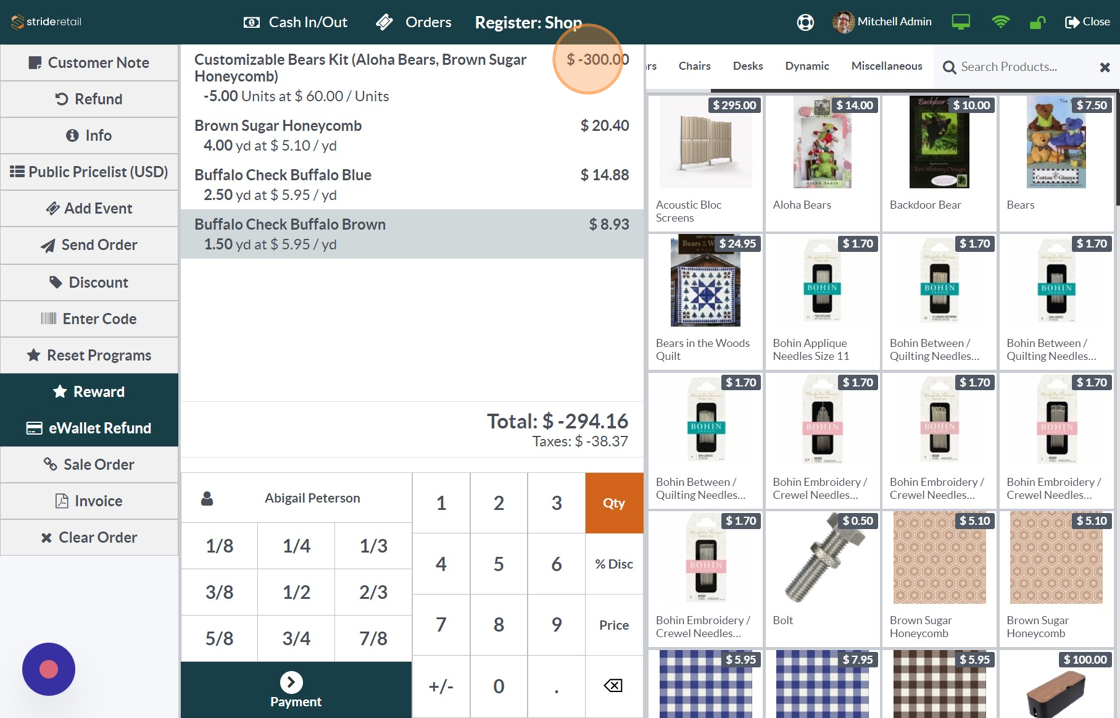
6. Click "+/-"
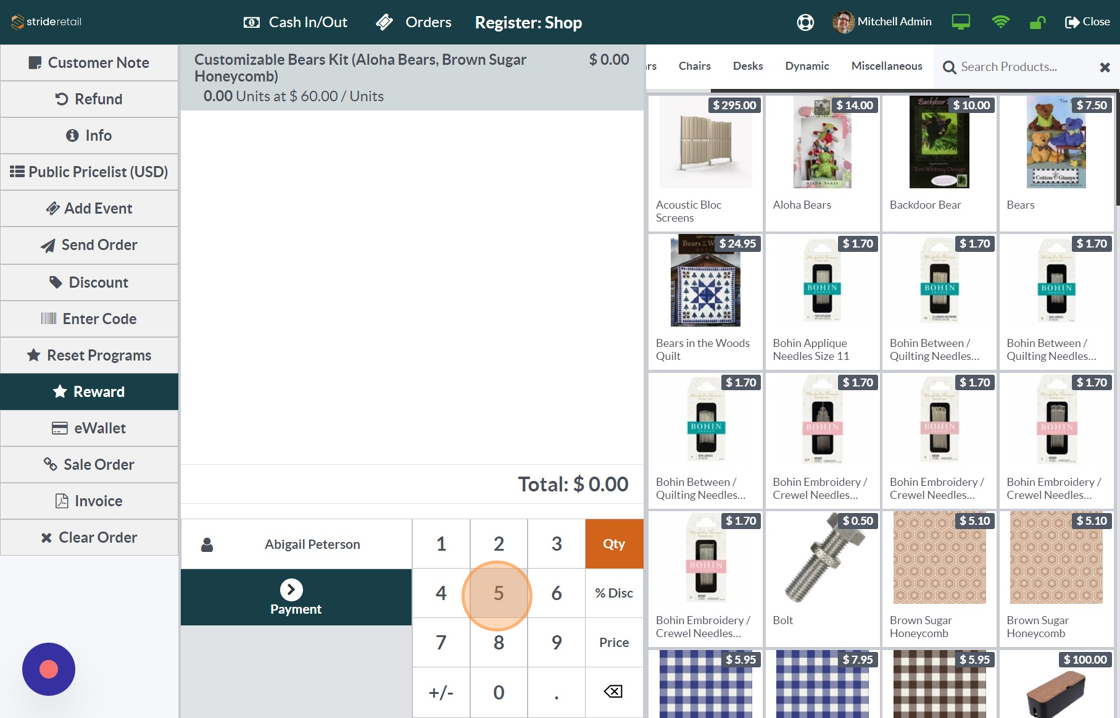
7. Set the amount that you will "create" or add back to inventory.
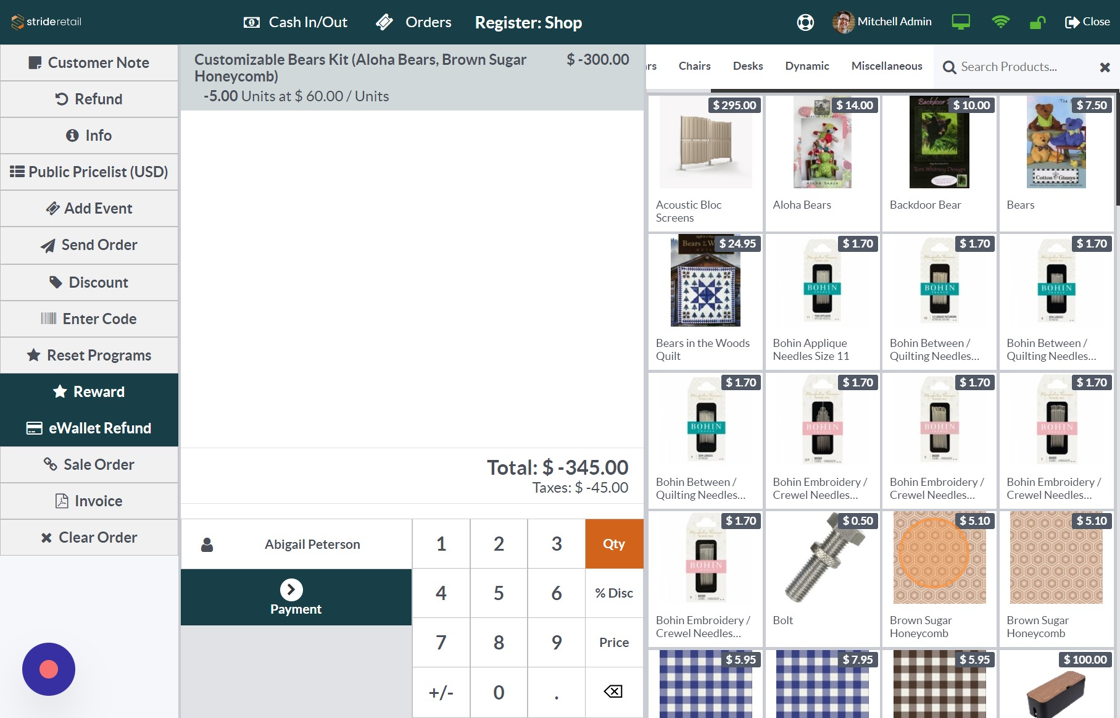
8. Now you will select the products that you will consume to create the kit. In this case we will use 3 different fabrics.
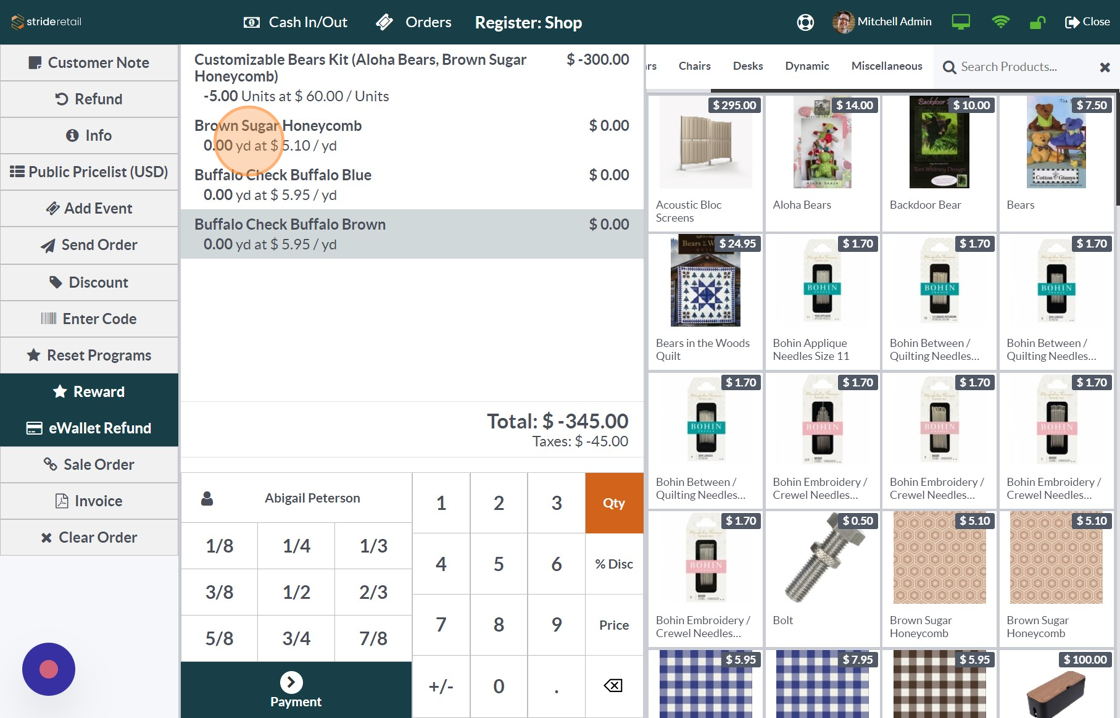
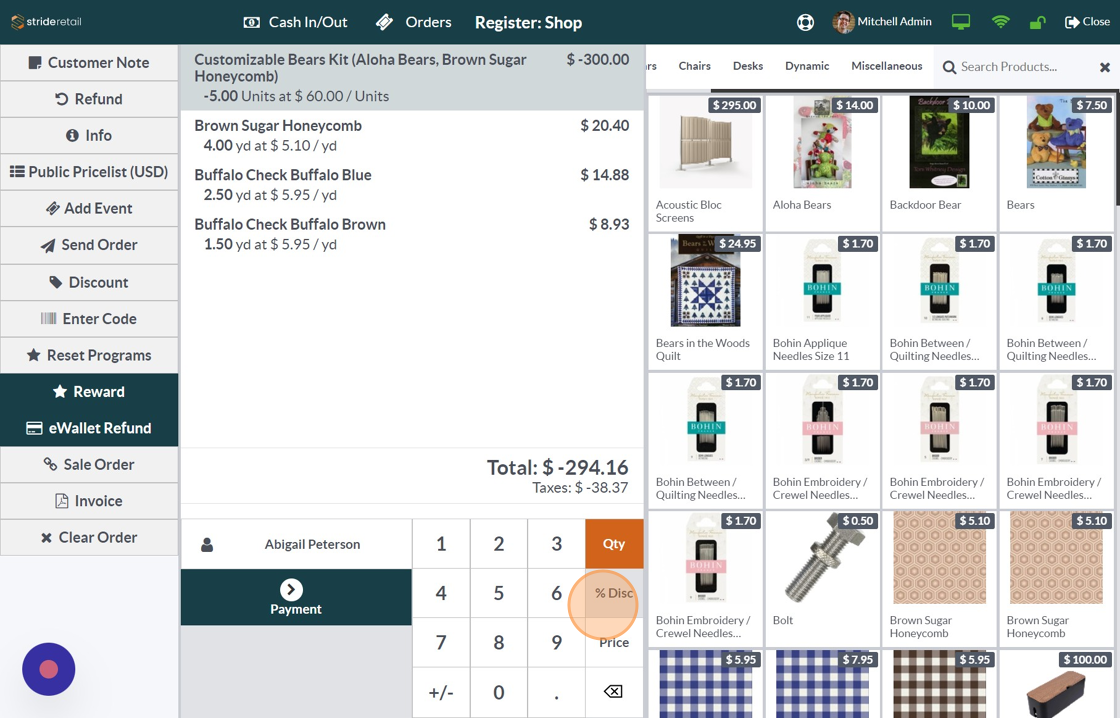
9. Now we will set the quantity of each product consumed to create the 5 kits. Click each product and then enter the amount.
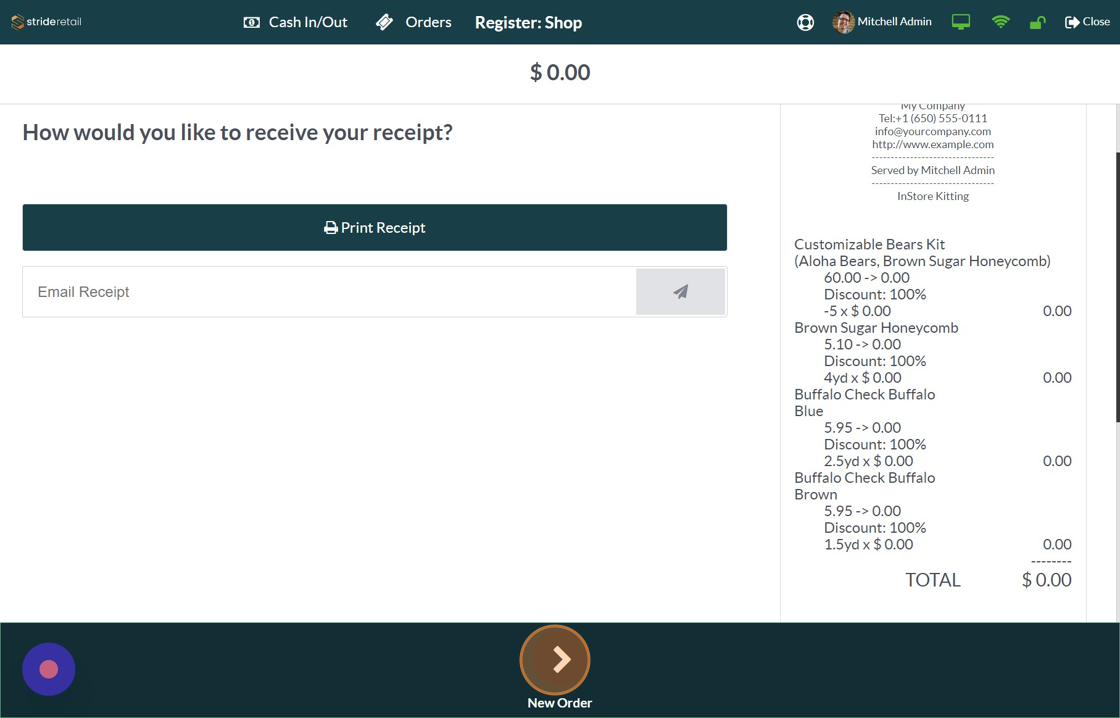
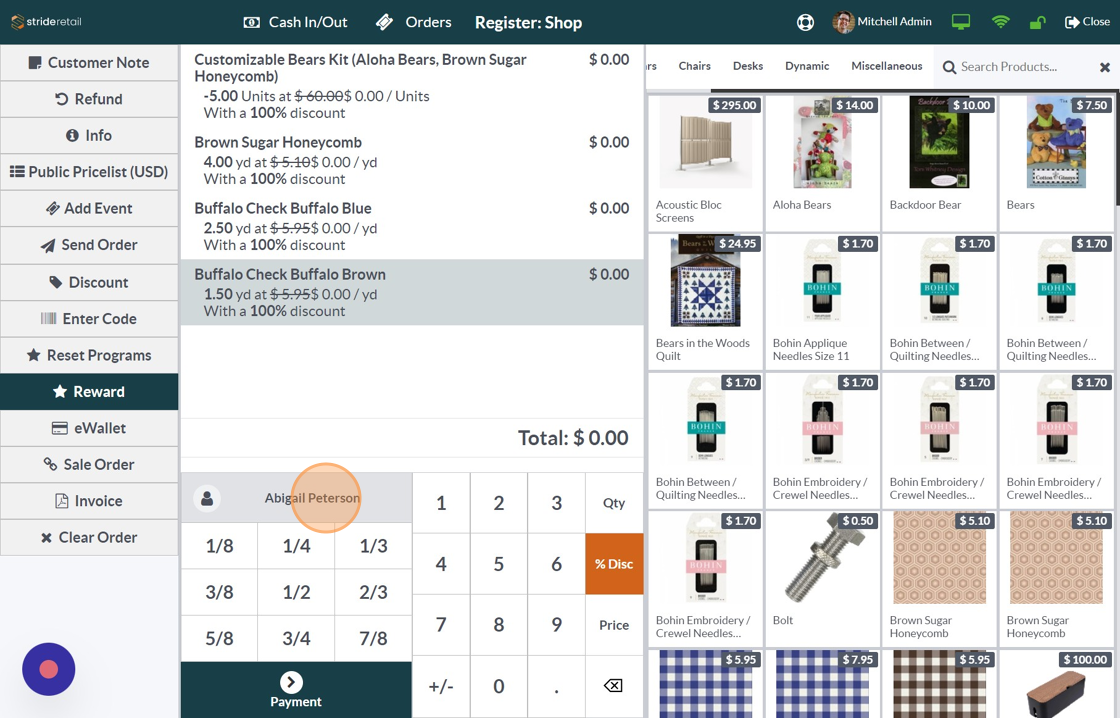
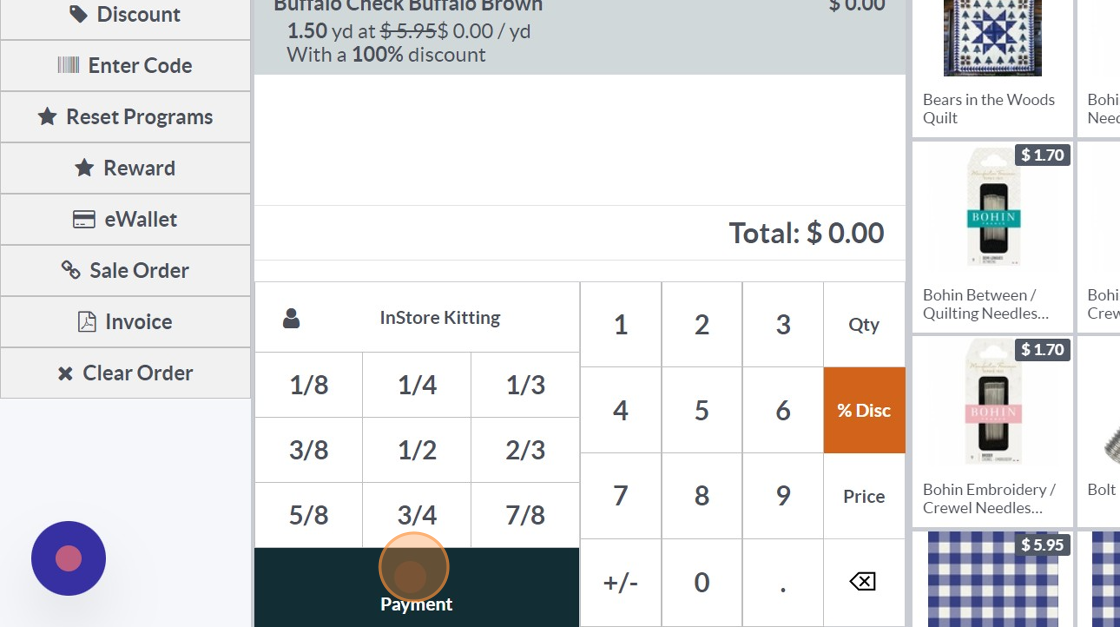
10. Once all the quantities consumed are entered you will need to discount all the products 100% so you don't have to pay for them. The transfer journal entries will still be made, but at this time we don't want to have to pay for the products because we already have.
11. Select each product, click the %Disc button, and enter "100" so that each product is being "sold" at 100% discount.
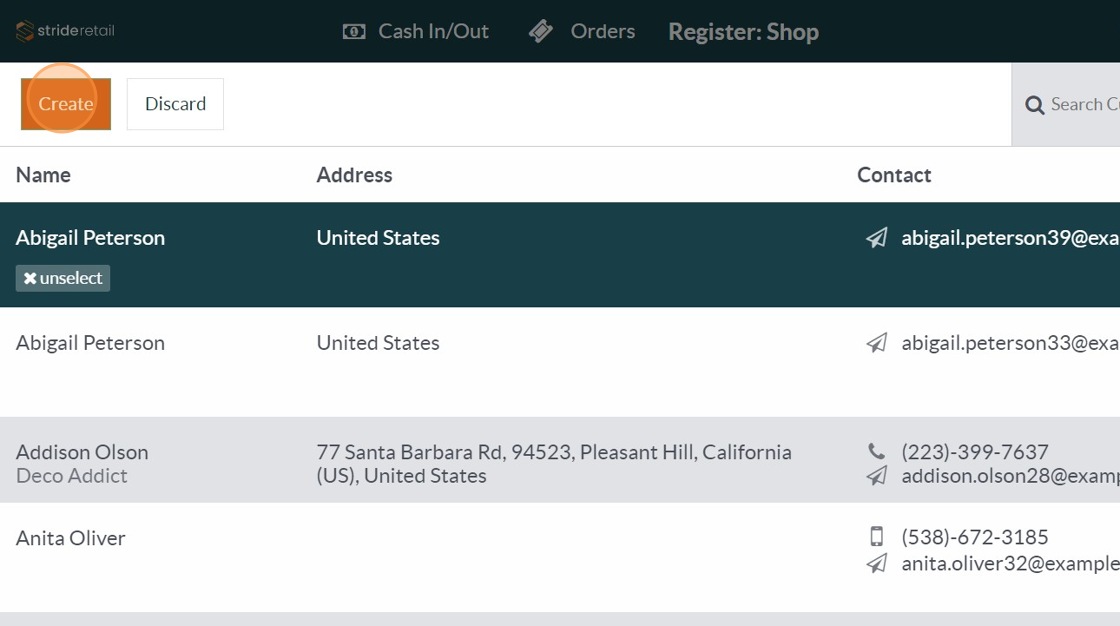
12. We recommend creating an internal customer so you can keep these transactions organized. This is not required, but will help you track these transactions if you desire. Click the "customer" button
13. Click here.
14. Click the "Name" field.
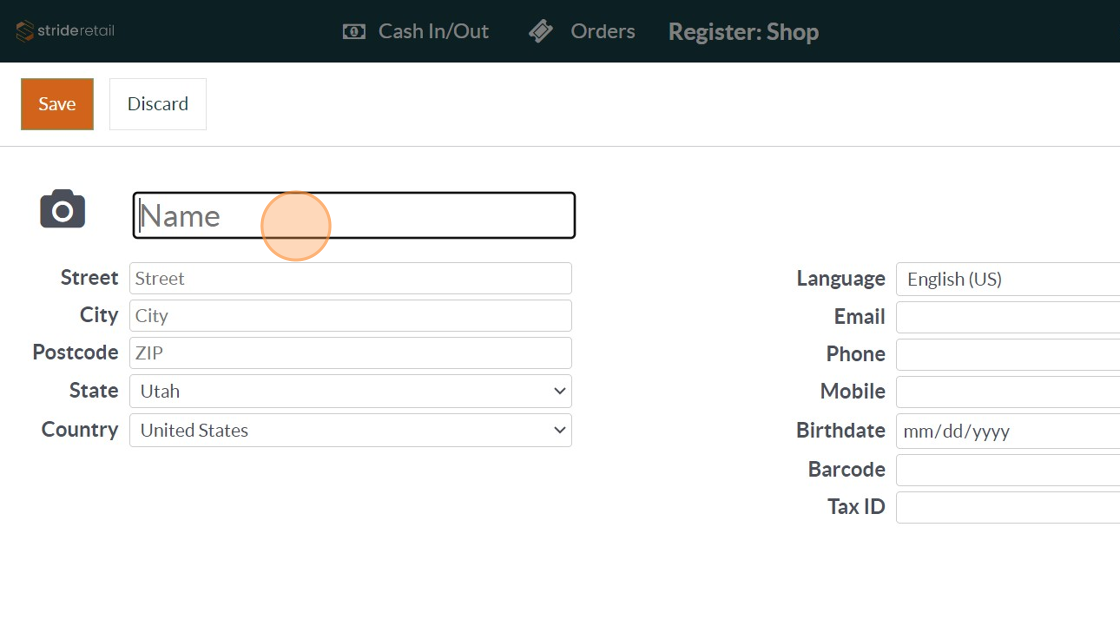
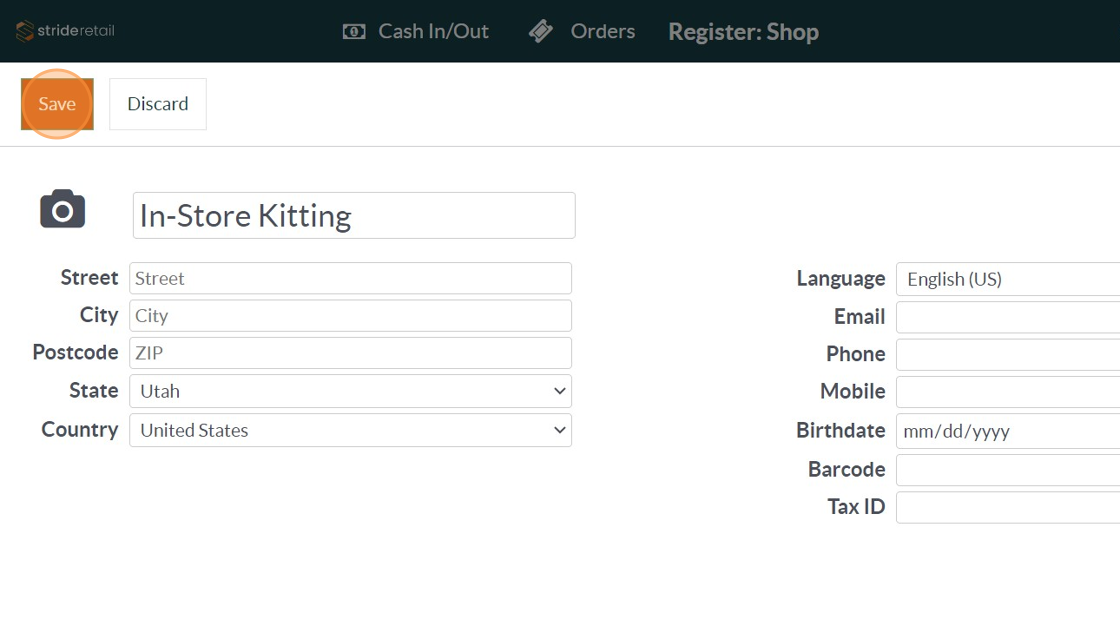
15. Type "In-Store Kitting" or whatever name you want to give to your internal customer.
16. Click "Save"
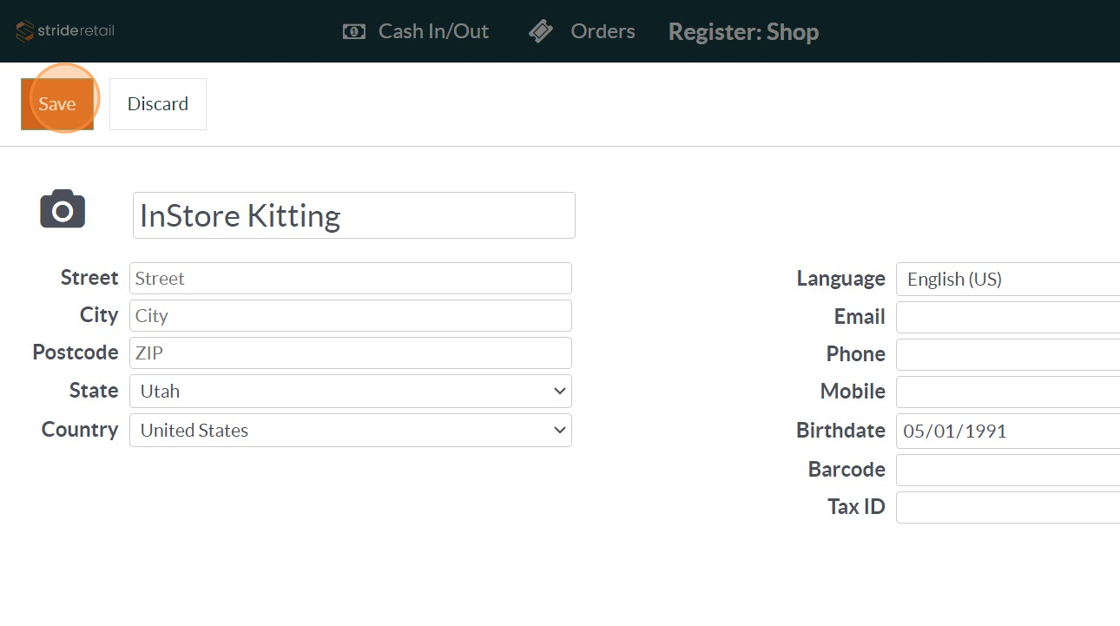
17. Click the "Name" field.

18. Click "Save"
19. Click "Pay"
20. Click "Validate"

21. Click "New Order" Inventory for the Kit has been added and inventory for the material has been decremented.