Schedule send date and time for email marketing
How to schedule a send date and time for an Email Marketing email
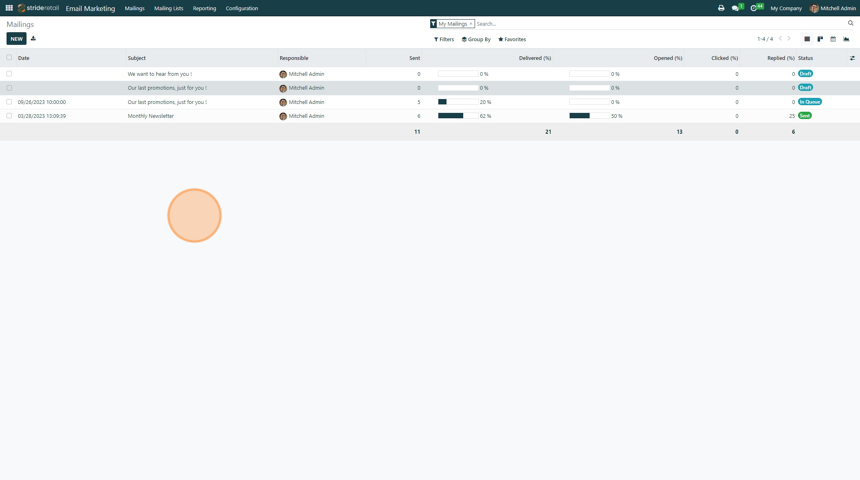
1. Navigate to the "Email Marketing" Module
2. Select or Create a new mailing
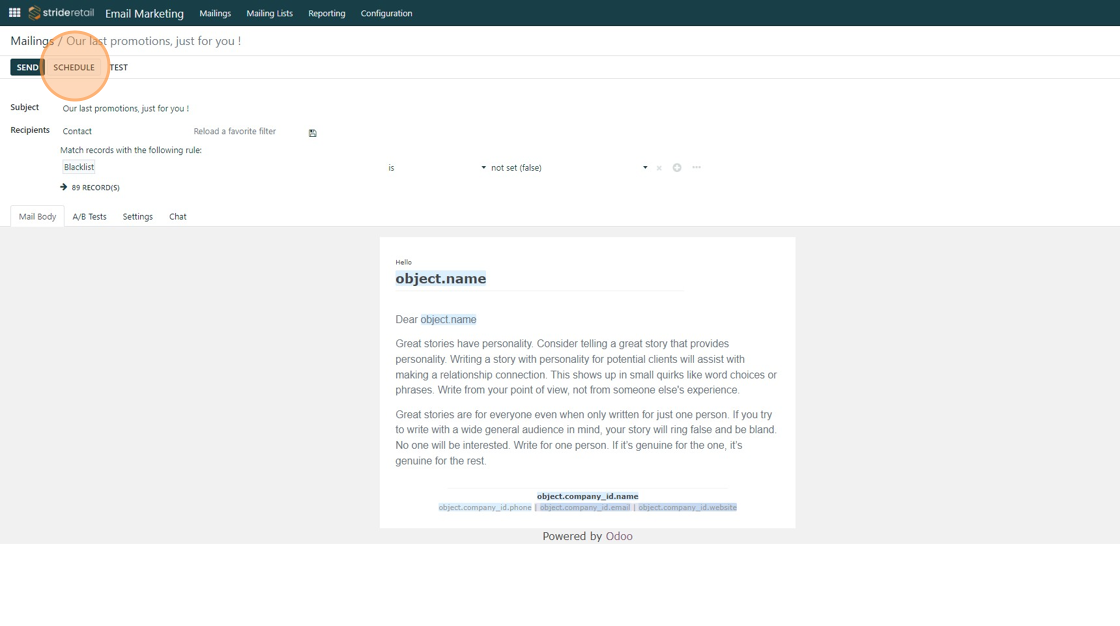
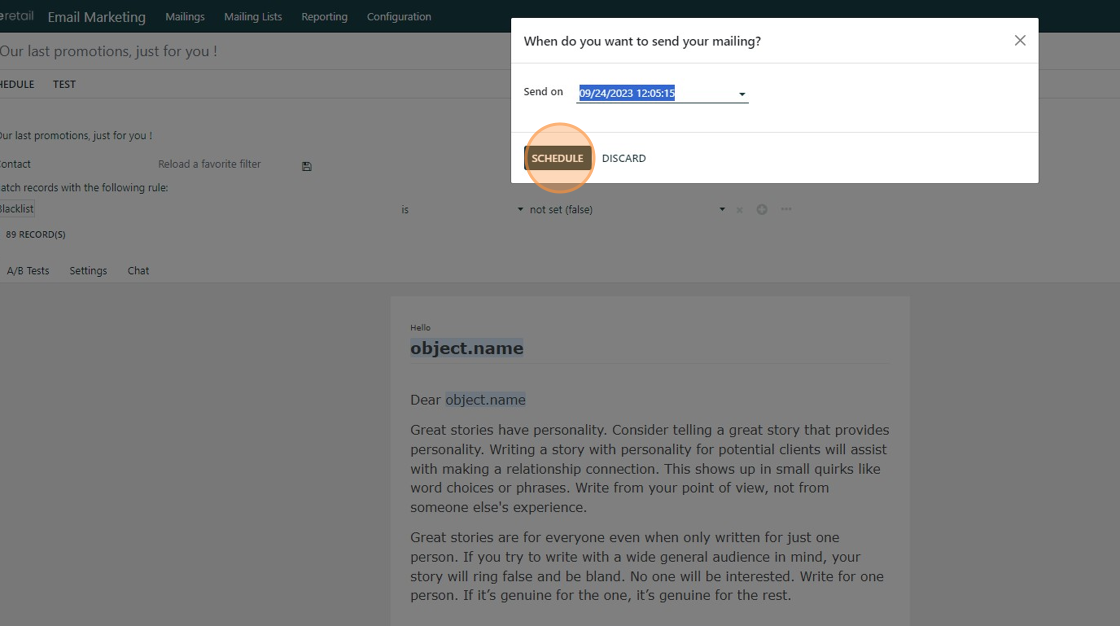
3. Click "SCHEDULE"
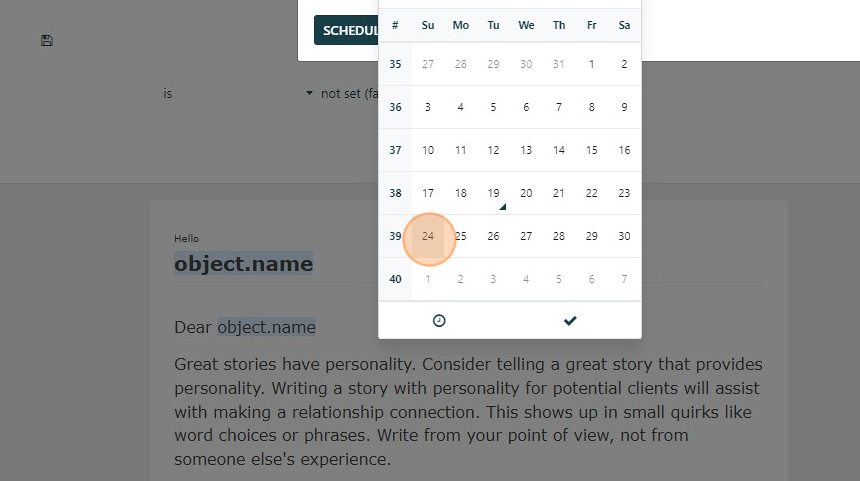
4. Click the "Send on" field.
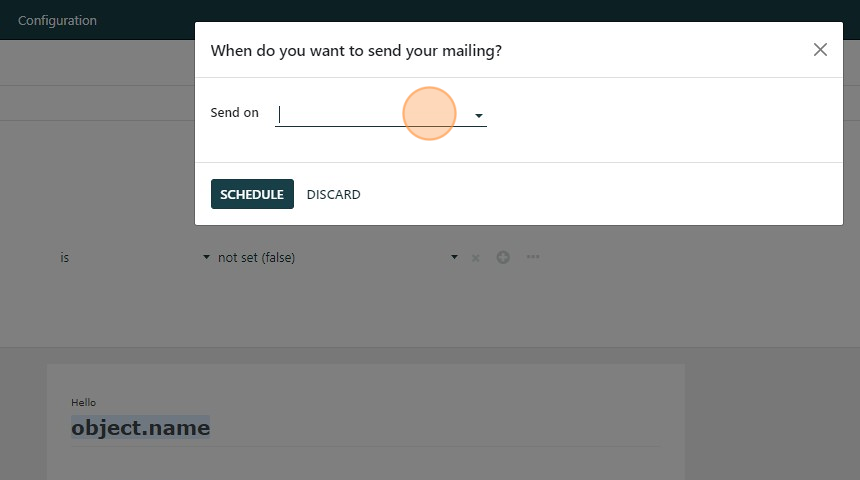
5. Select the day and Month.
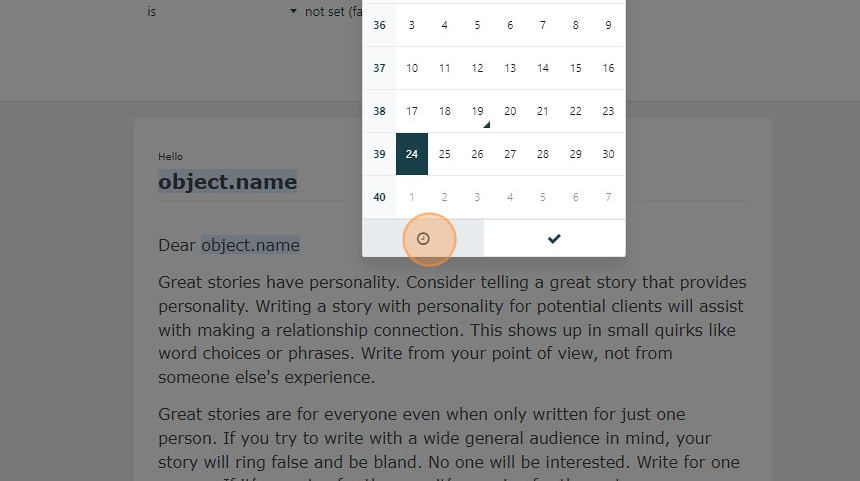
6. To select a specific time click the "Clock" icon.
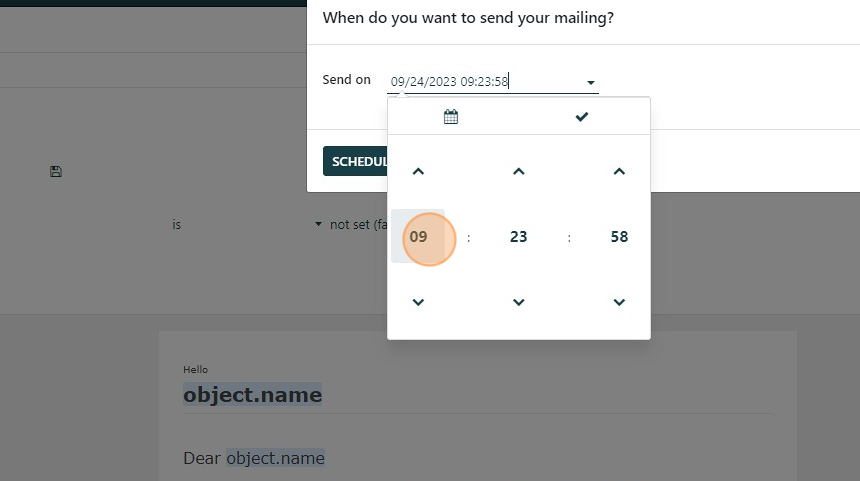
7. You can use the arrows to toggle the time up and down (24 hour clock used) or you can click the hour and select the time.
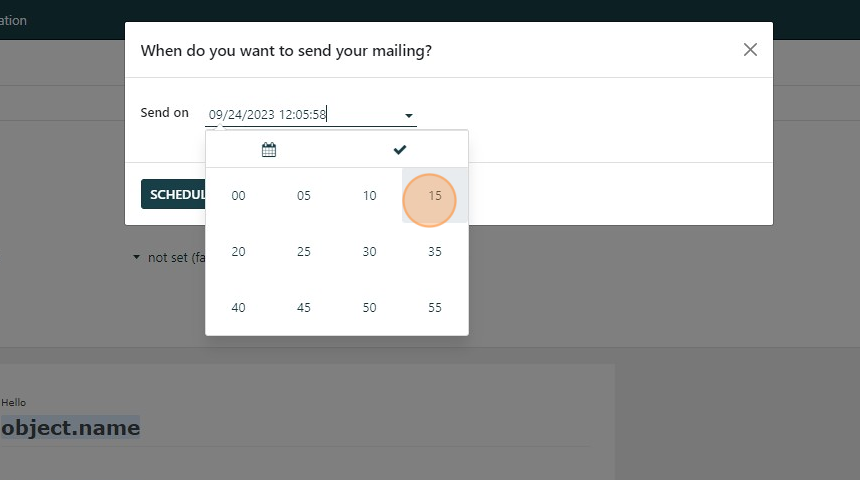
8. Click "15"
9. Click "SCHEDULE"
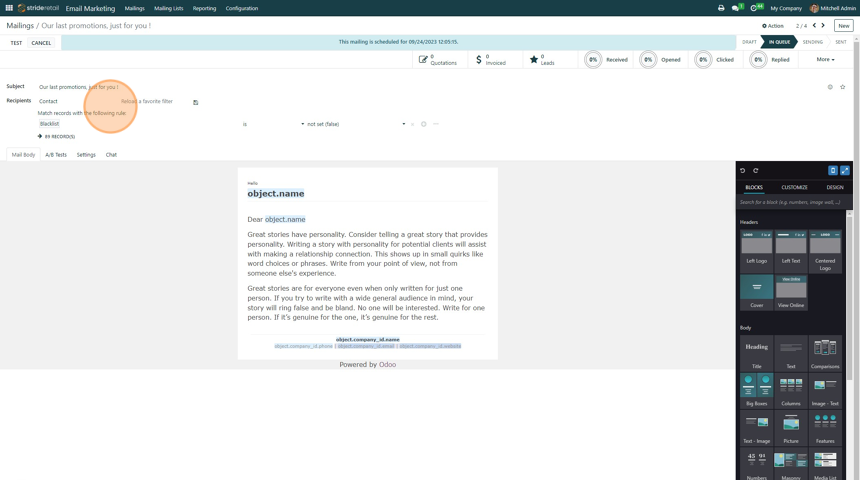
10. A blue banner appears stating that the email is scheduled to be mailed on the specified date and time.

11. To change the scheduled date click "CANCEL" and then click the "Schedule" button again to go through the process.