Inventory Transfers (In Store Use)
Inventory Transfer for In Store use
Inventory transfer for In Store Use
1. Before starting. If you have not already created your virtual location for an in-store use or scrap location you will need to do that.
Click on "Inventory"
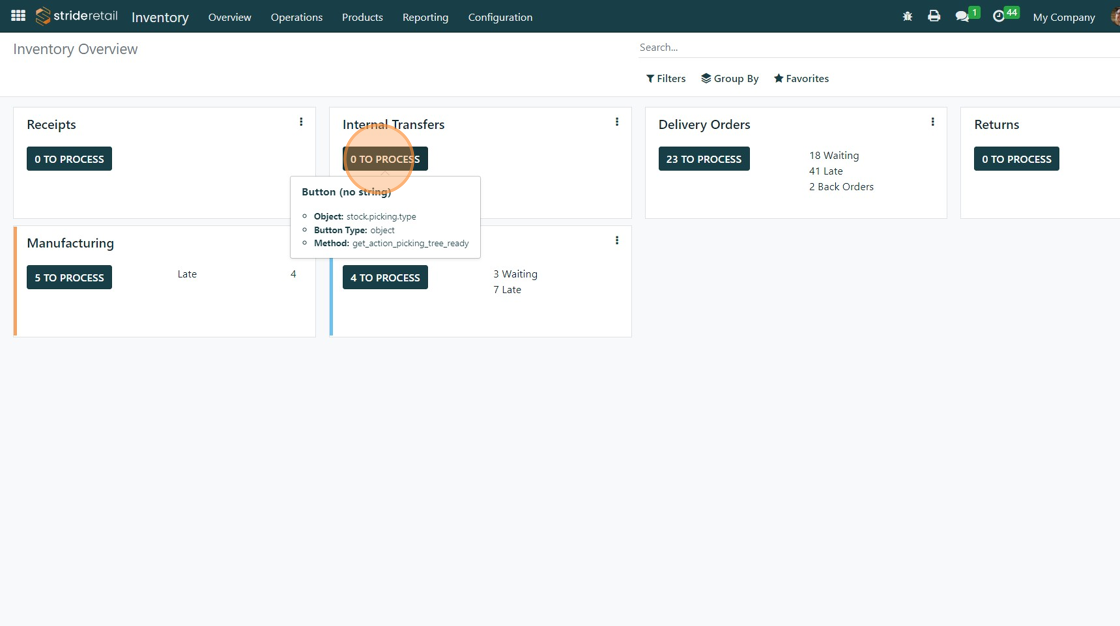
2. Go to the Internal Transfers section.
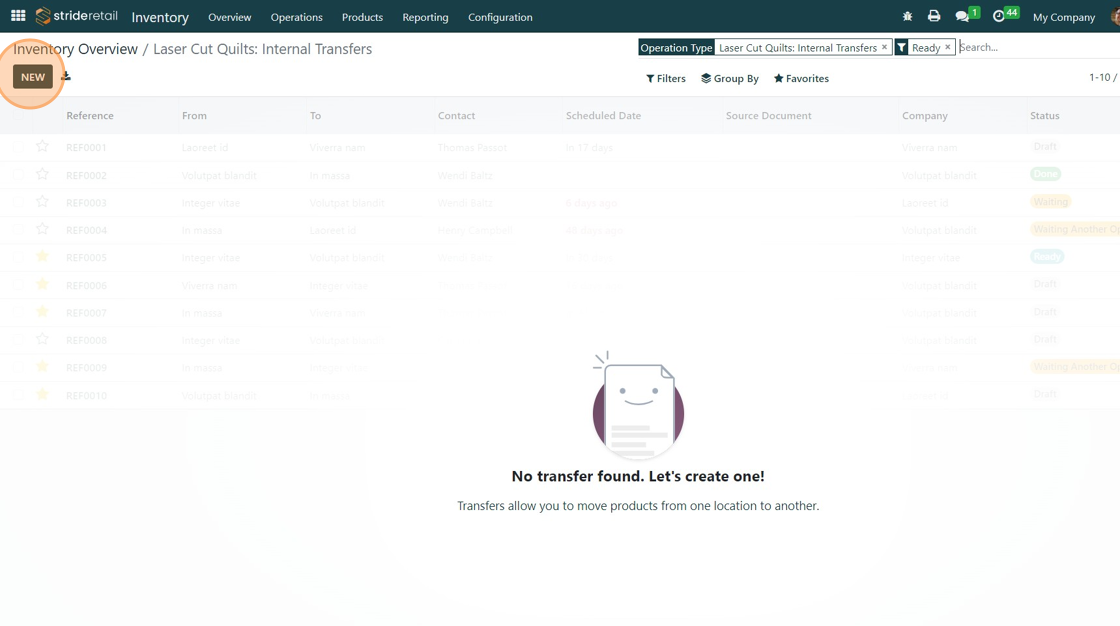
3. Click "NEW"
4. Enter the contact (can be yourself)
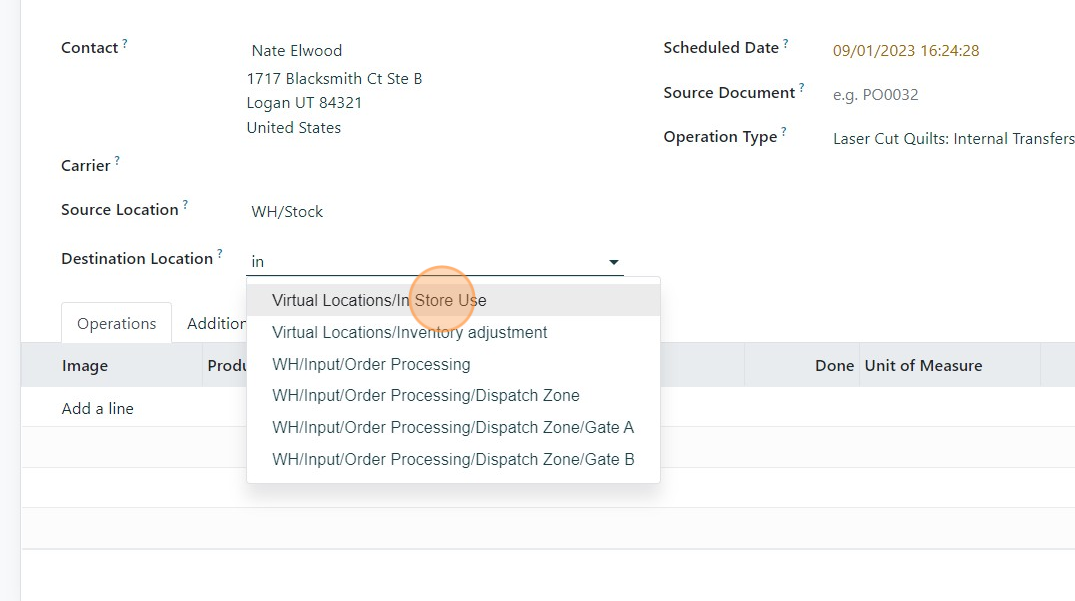
Enter the source and destination location.
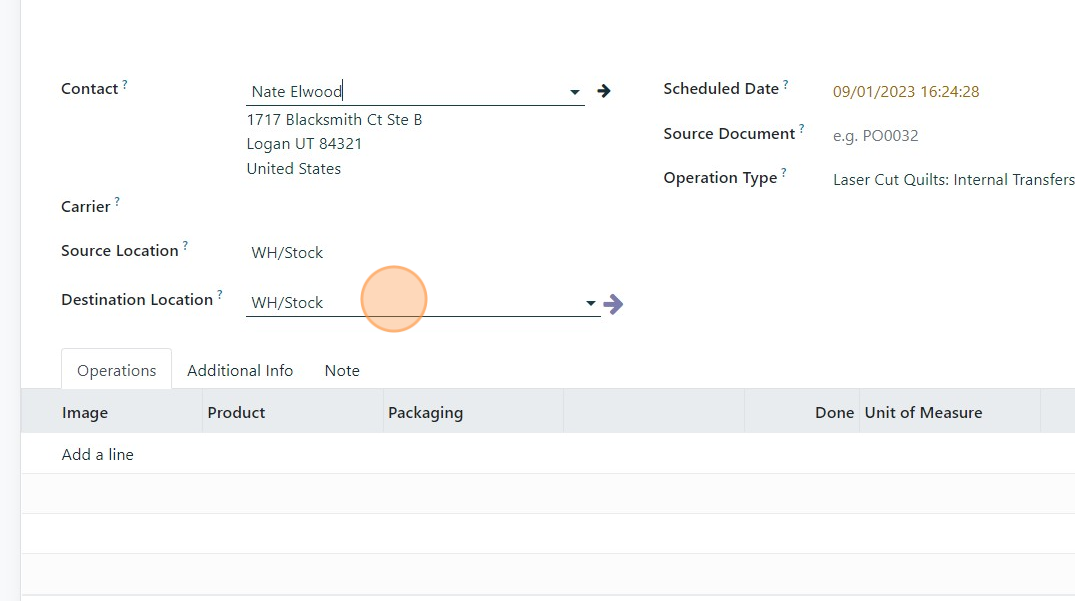
5. For our example we chose "In Store Use"
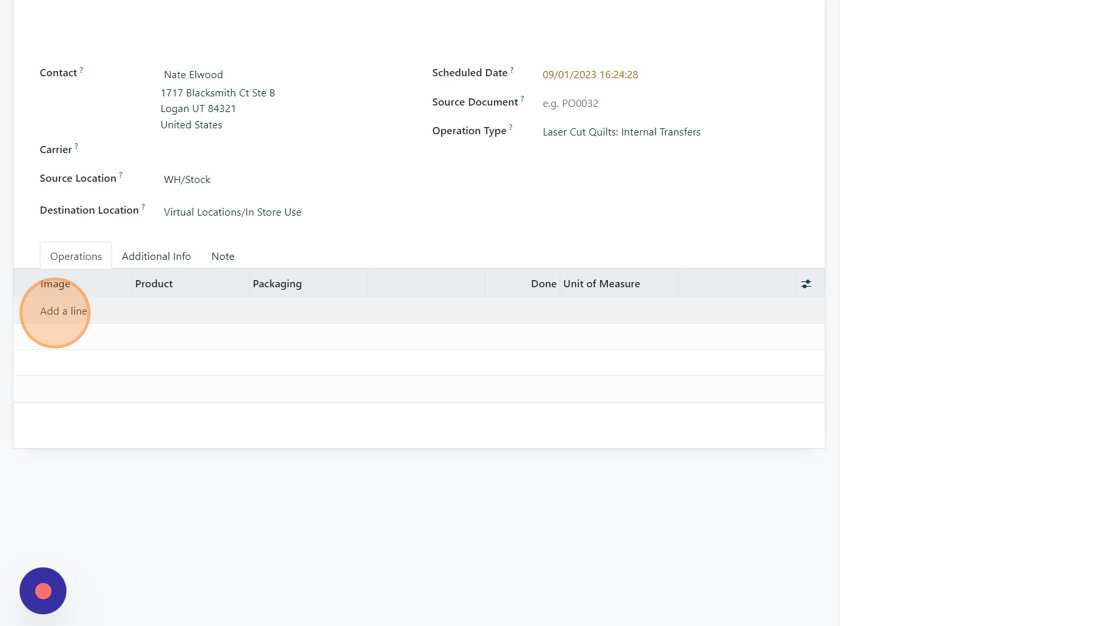
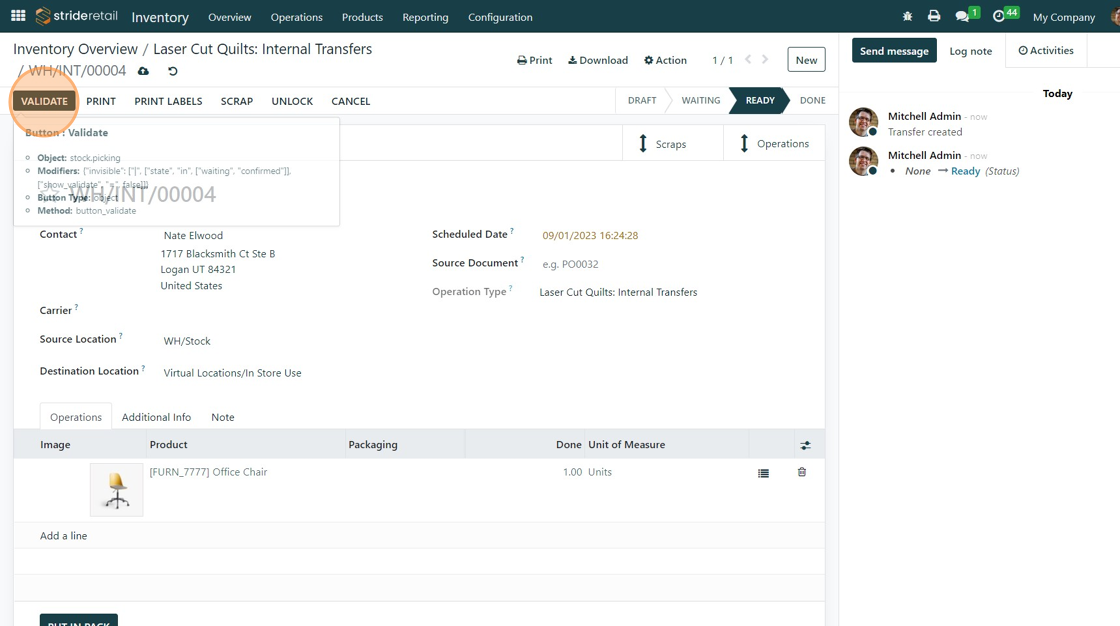
6. Add the Products one by one.
7.

8. After entering all the products and the quantity to transfer, Click "VALIDATE"
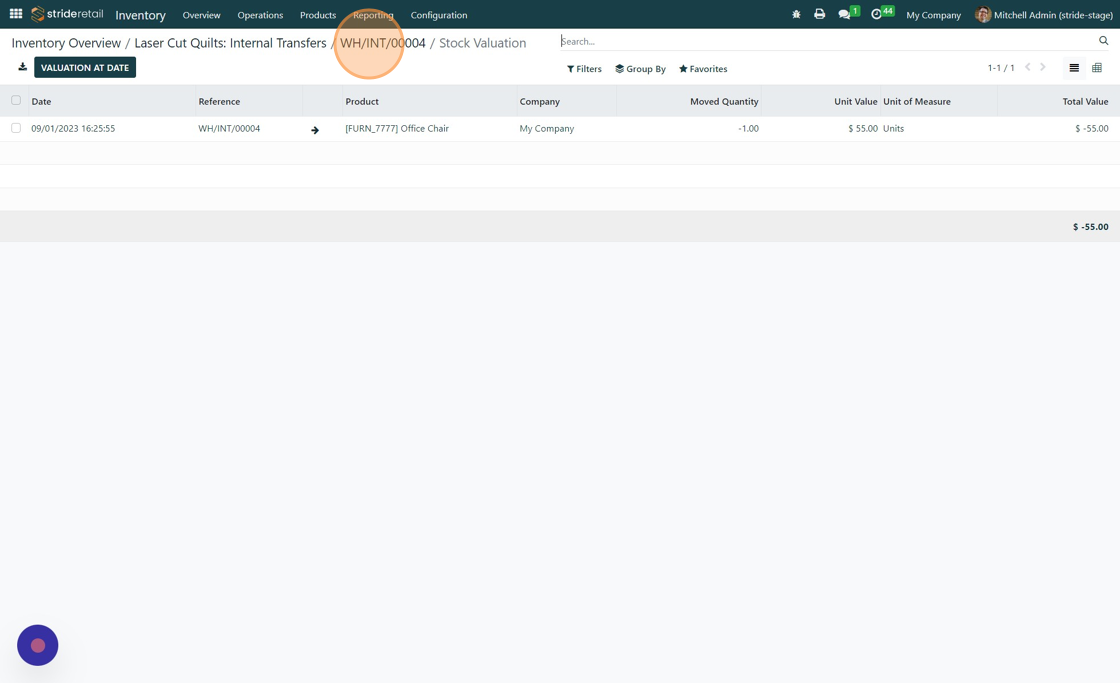
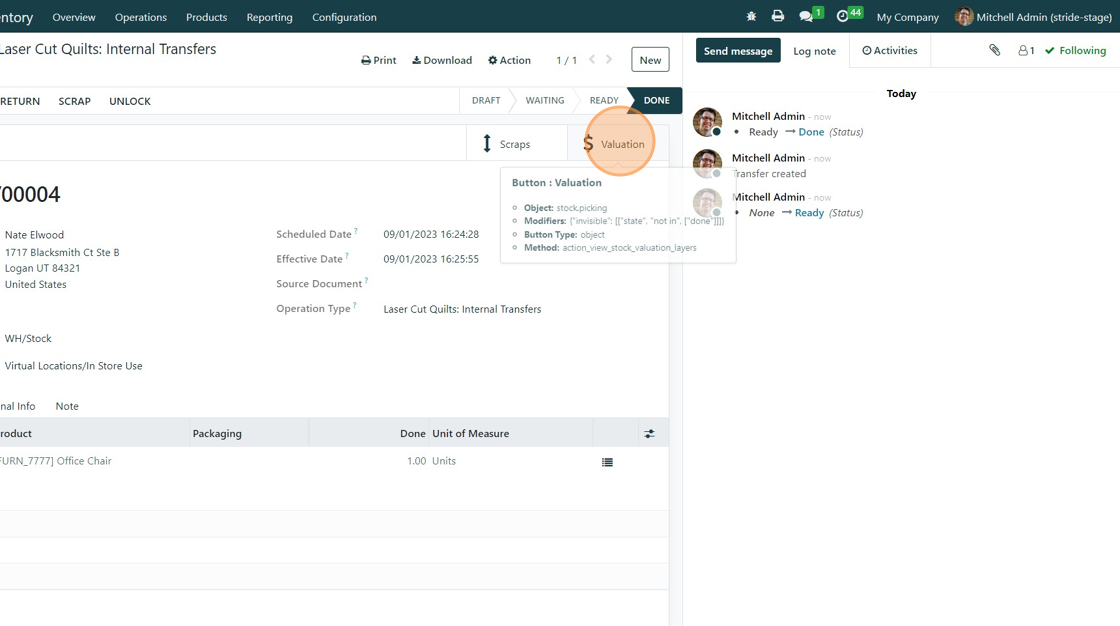
9. The following steps are for reference and seeing the effects of the inventory move. Click "Valuation"
10. Click "WH/INT/00004"