Event Registration - From next order coupon (promo - next purchase)
Event Registration - From next order coupon (promo - next purchase)
Create a next order coupon for event registration
1. In this tutorial we are showing how to create a "Next Order Coupon" that can be used for event registrations. The first 3 slides show the event and registration product we will be using in this example. To set up the next order coupon navigate to slide 5
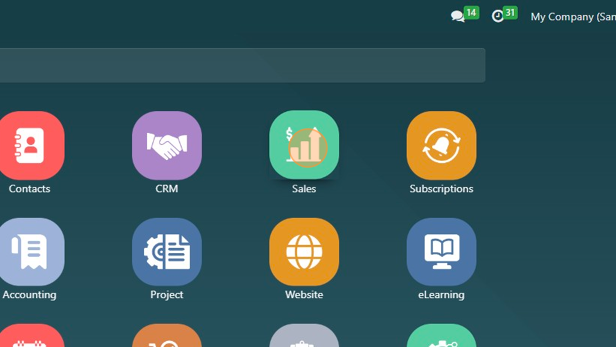
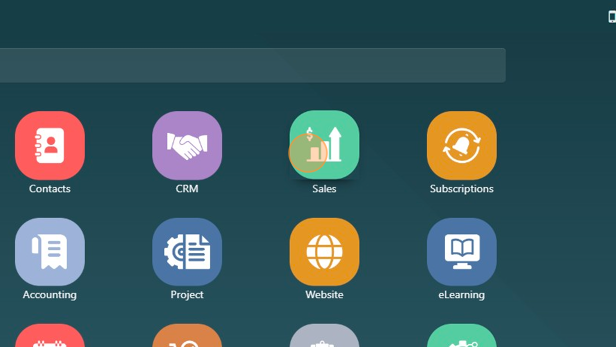
2. Click this image.
3. Click "My Company (San Francisco)"
4. Click here.
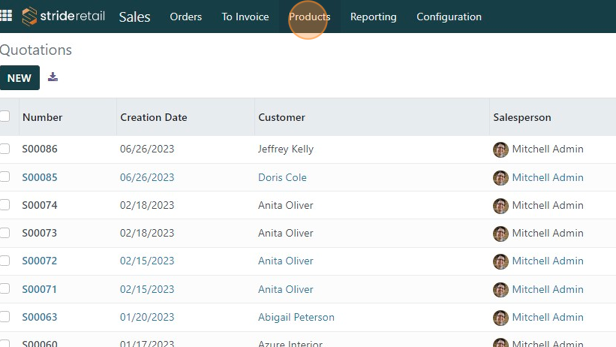
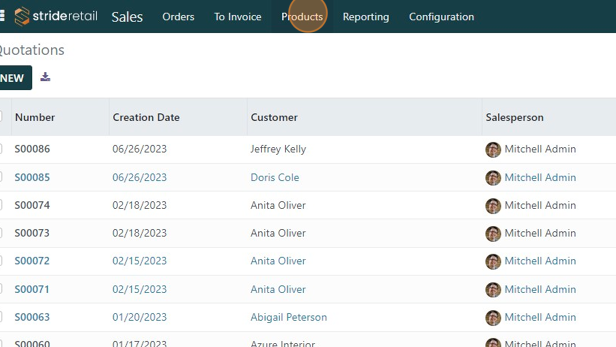
5. Click this image.
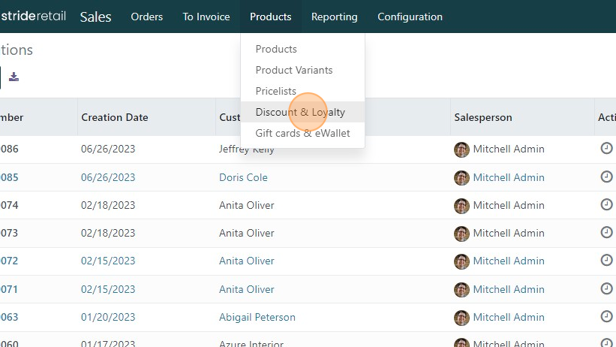
6. Click "Products"
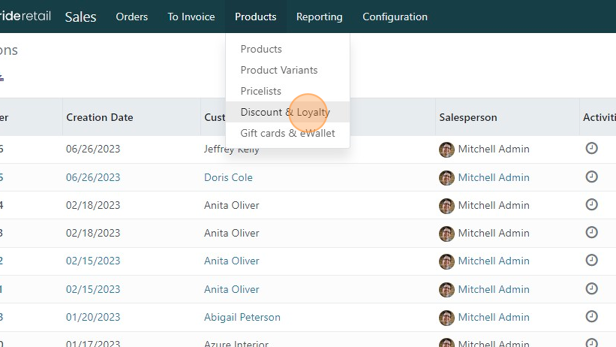
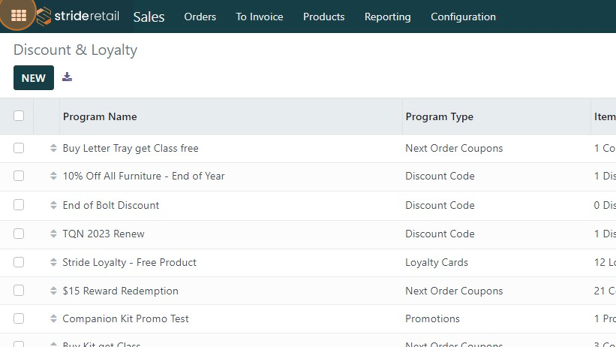
7. Click "Discount & Loyalty"
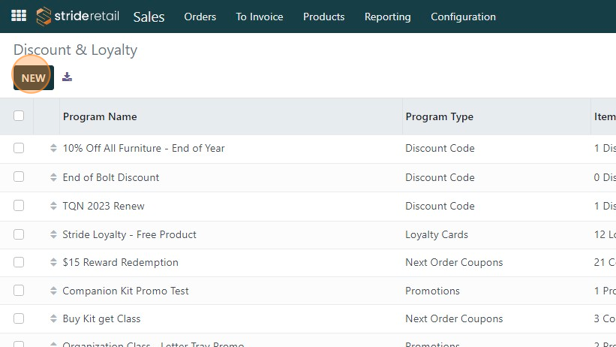
8. Click "NEW"
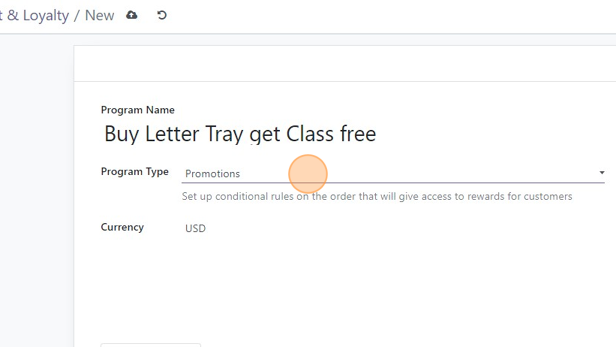
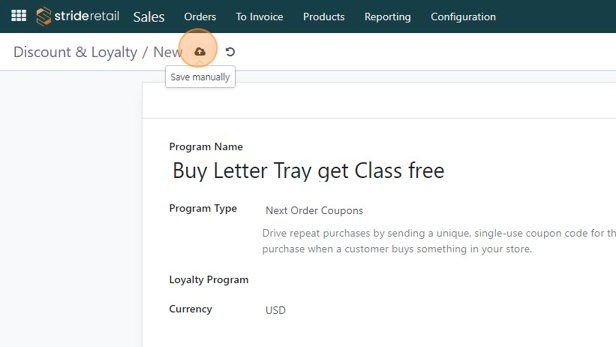
9. Type the name of your program.
10. Click here.

11. Click this dropdown and select "Next Order Coupon"
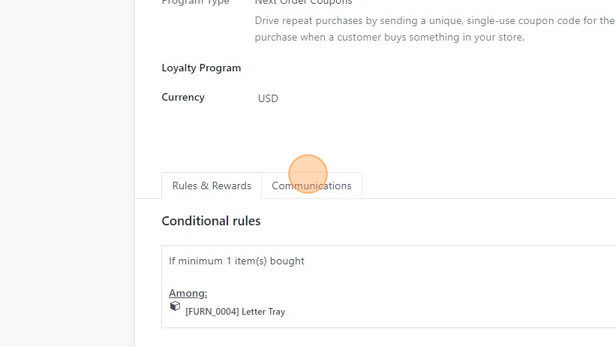
12. Click here to enter the rules for the program.
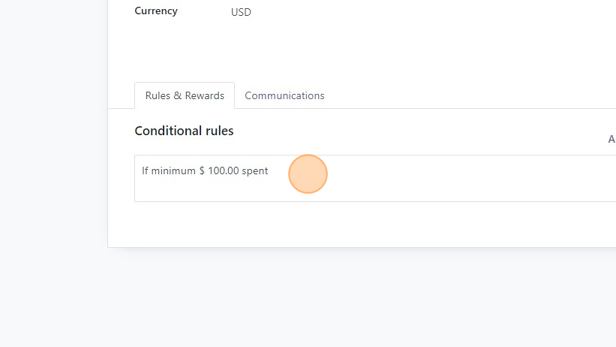
13. Double-click the "Minimum Purchase" field add minimum purchase if desired.
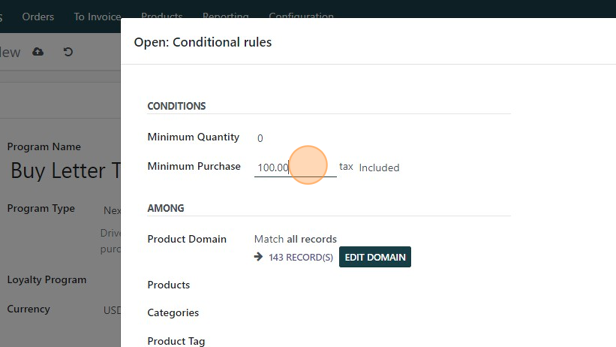
14. Double-click the "Minimum Quantity" field add minimum purchase quantity if desired.
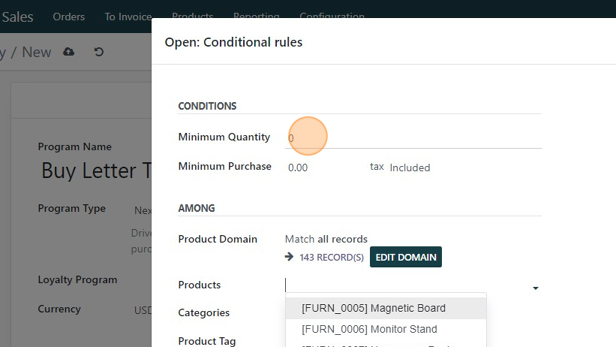
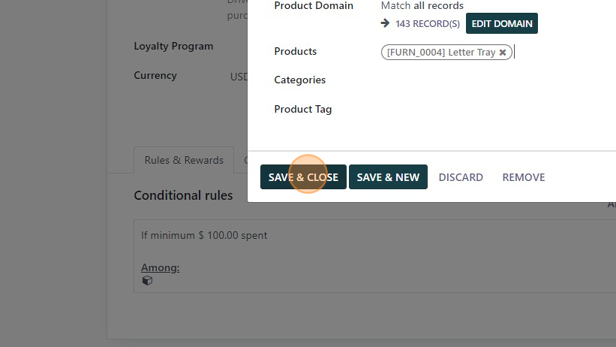
15. Click the "Products" field.

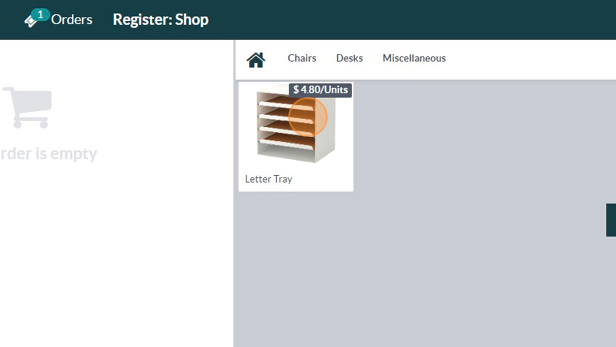
16. Search for your "Trigger Product". In our case it's the "Letter Tray"
17. Click "SAVE & CLOSE"
18. Click here to enter the rewards.
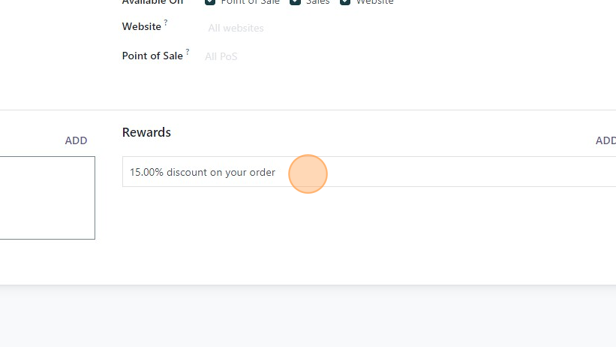
19. Click the "Discount" and add the desired discount amount. You can change the % to fixed dollar if you would want to.
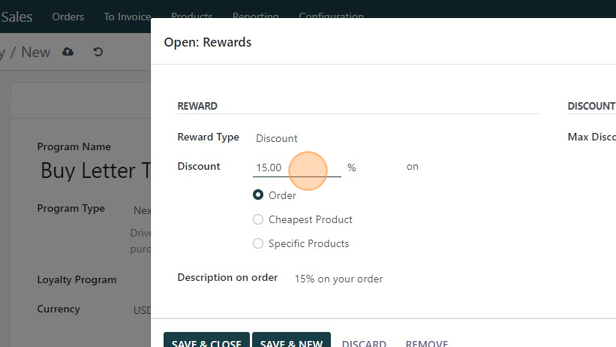
20. Enter desired amount of discount or reward.
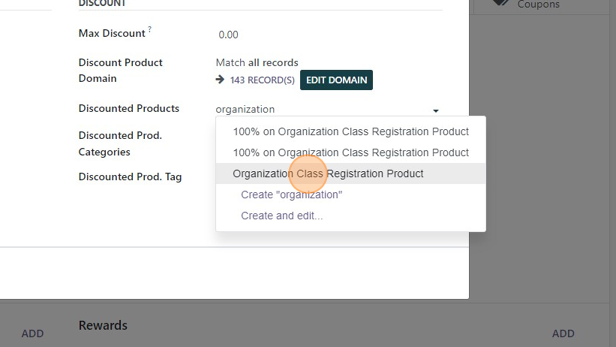
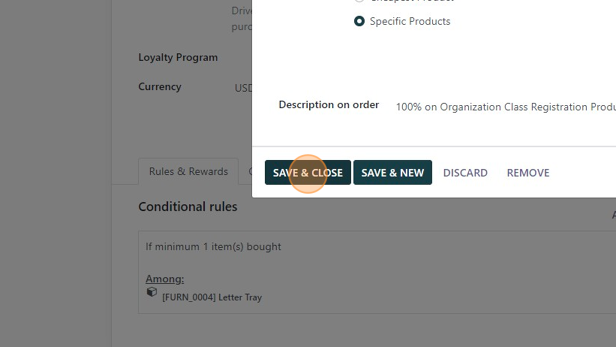
21. Click the "Specific Products" field.
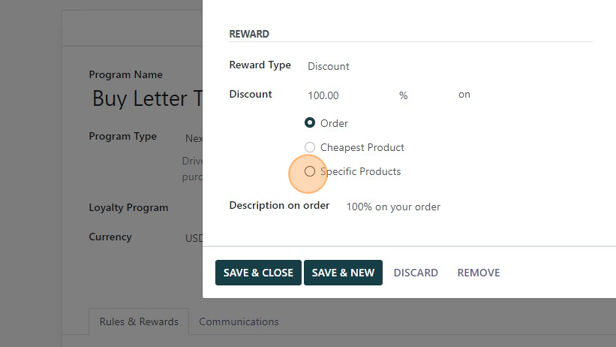
22. Click the "Discounted Products" field.

23. Enter the unique registration product for your event. In our case it was "Organization class registration product"
24. Click "Organization Class Registration Product"
25. Click "SAVE & CLOSE"
26. Click here to save. You have now finished creating the next order coupon program.
27. The remaining slides are for reference on how this will look to your customers.

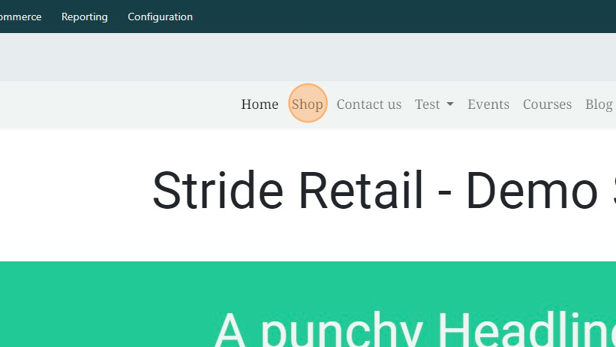
28. Click website.
29. Click "Shop"
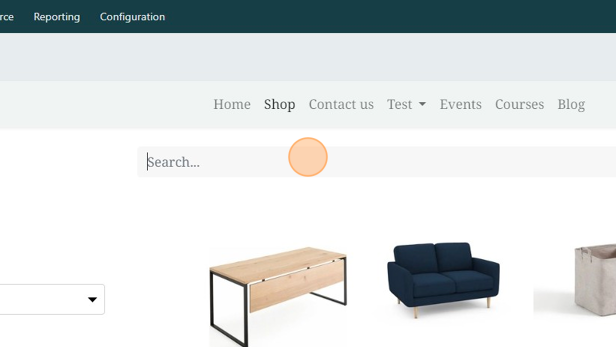
30. Click the "Search..." field.
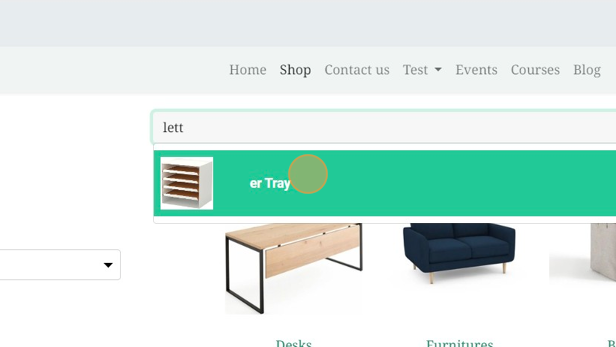
31. Type "lett"
32. Click here.
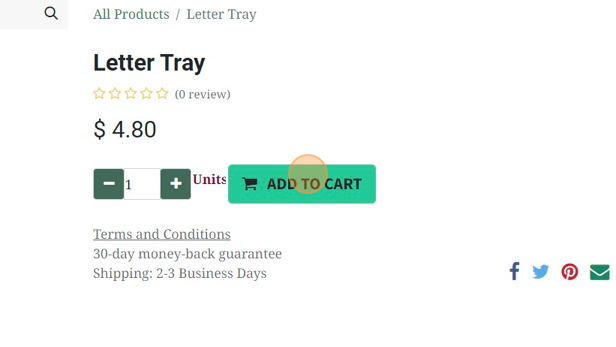
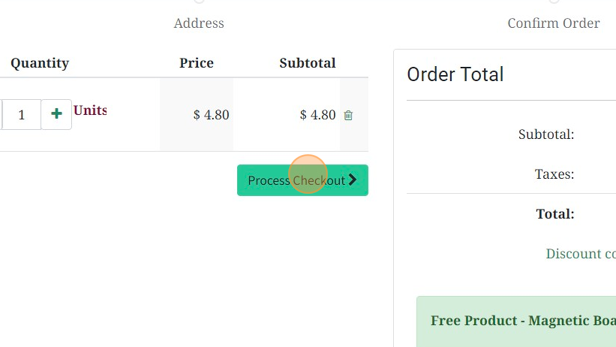
33. Click "ADD TO CART"
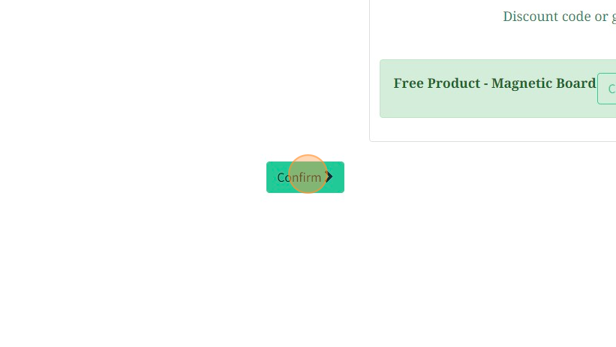
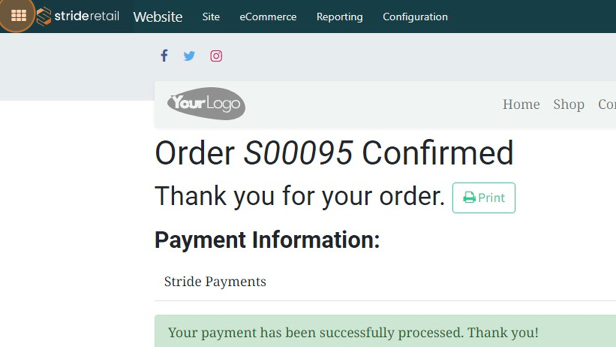
34. Click "My Cart"

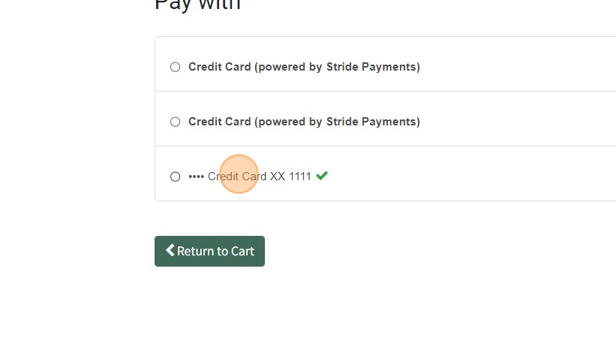
35. Click "Process Checkout"
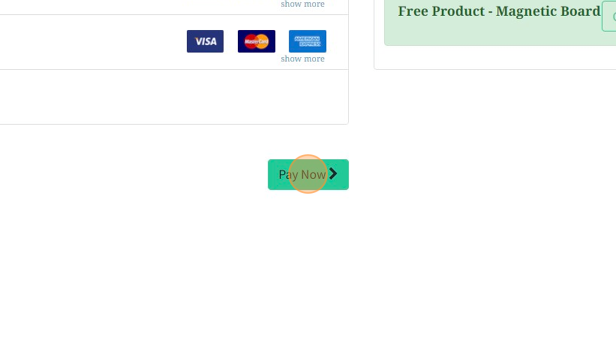
36. Click "Confirm"
37. Click "•••• Credit Card XX 1111"
38. Click "Pay Now"
39. The next order coupon on the website is sent as an email. So the customer will not see it at checkout. The next slides show you what email the customer will receive.
40. Click this image.
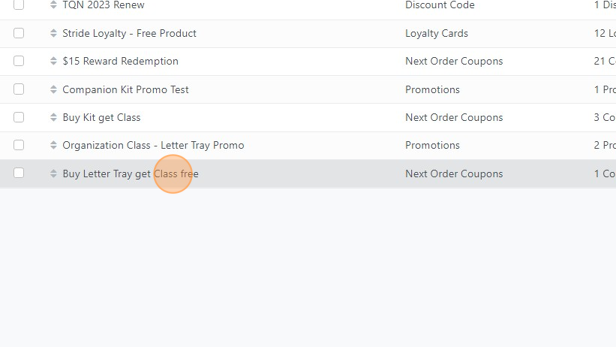
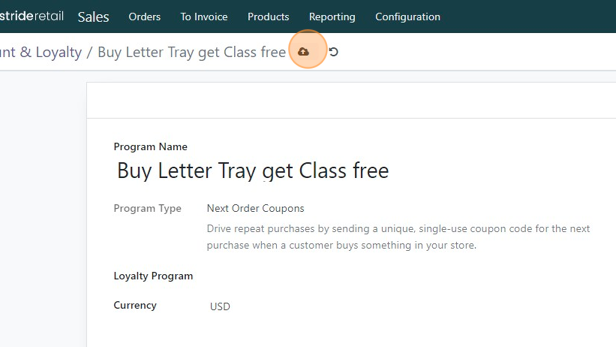
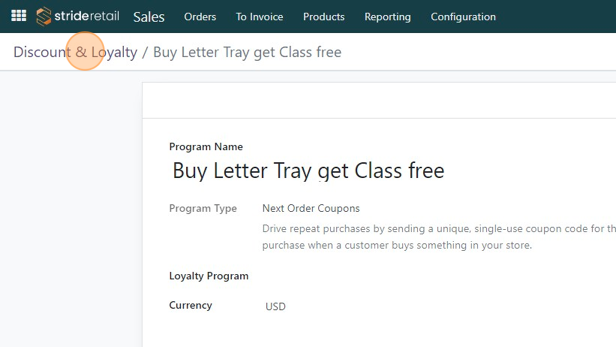
41. Click "Products"
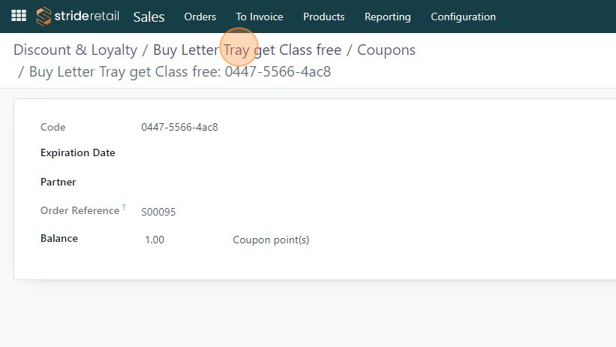
42. Click "Discount & Loyalty"
43. Click "Buy Letter Tray get Class free"
44. Click "Coupons"
45. Click "1.00 Coupon point(s)"

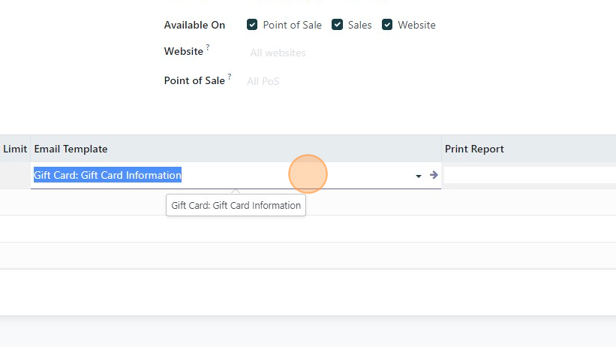
46. This shows that the customer received an email with a "gift card". We can change the email that goes to the customer by going back to the program and editing the communications tab.
47. Click "Communications"
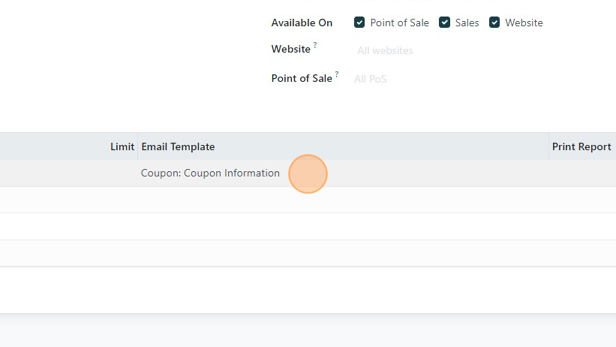
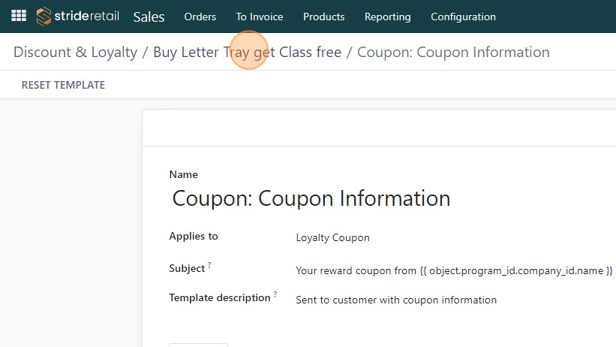
48. Click "Gift Card: Gift Card Information"

49. Click this text field.
50. Click "Coupon: Coupon Information"

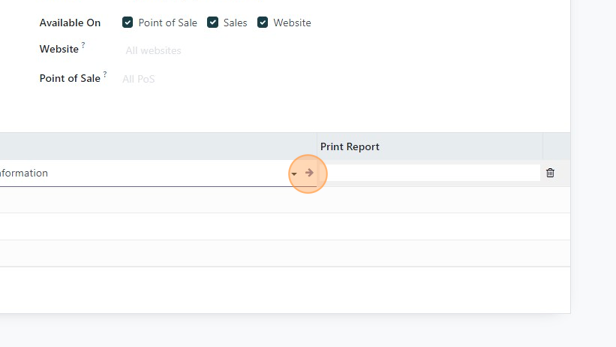
51. Click here.
52. Click "Coupon: Coupon Information"
53. Click this button.
54. Click "Buy Letter Tray get Class free"
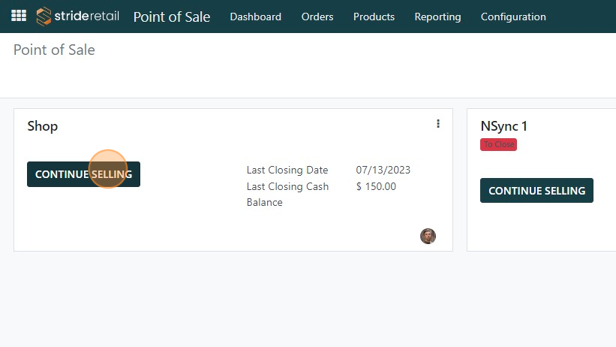
55. Click "Discount & Loyalty"
56. Click here.
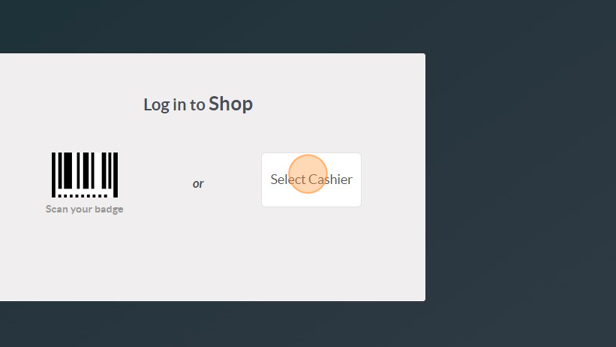
57. Point of Sale example.
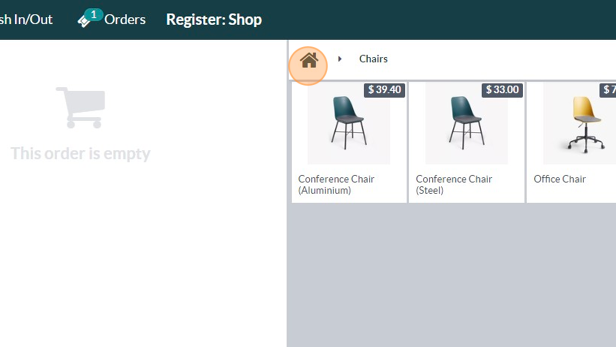
58. Click "CONTINUE SELLING"
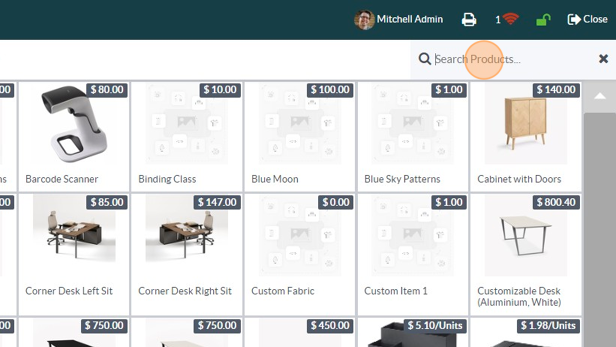
59. Click "Select Cashier"
60. Click "Home"
61. Click the "Search Products..." field.
62. Type "lett"
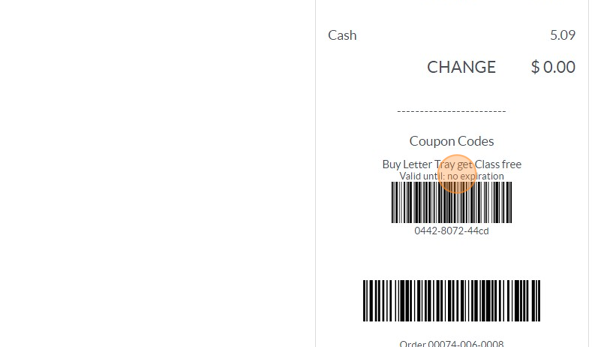
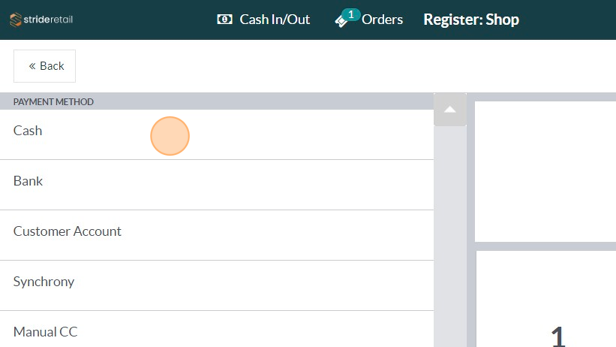
63. Click this image.
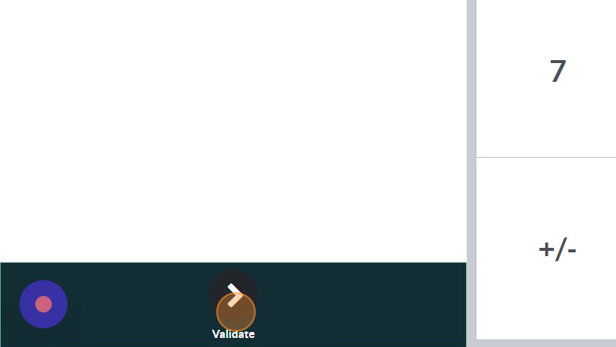
64. Again, no reward shows up until after checkout.

65. Click "Cash"
66. Click here.
67. Next order coupon prints on the receipt. It can be used online or in-store.