Dynamic Bill of Materials
Intro to Dynamic Bill of Materials
Create a Dynamic Bill of Materials
How to create a product with a Dynamic Bill of Materials
1. Navigate to your Inventory Module.
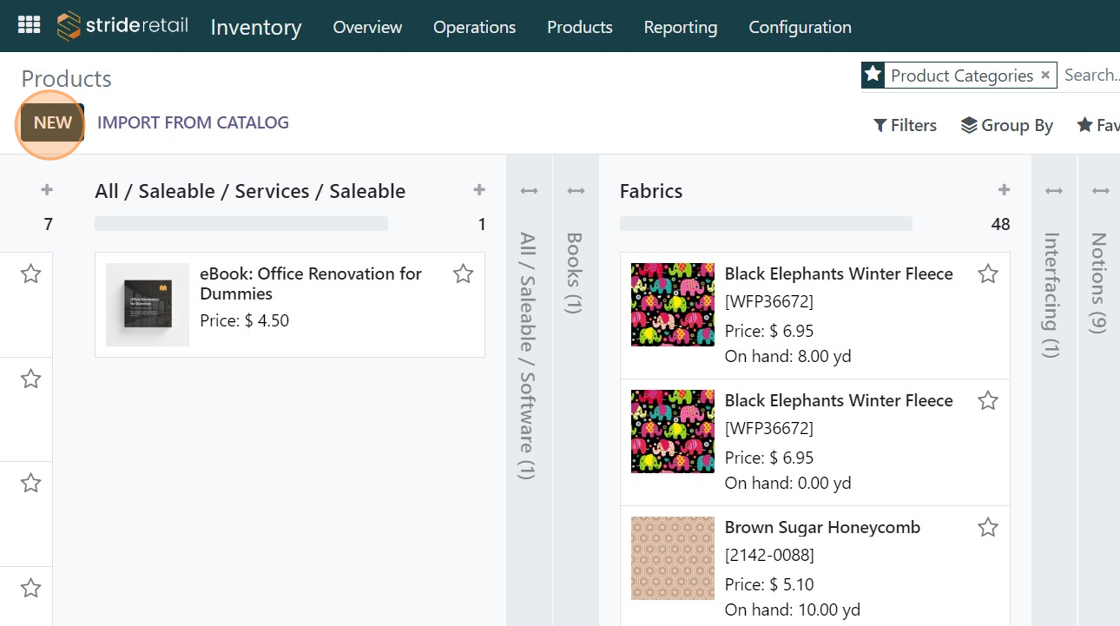
2. First thing we need to do is create our product. Click "New".
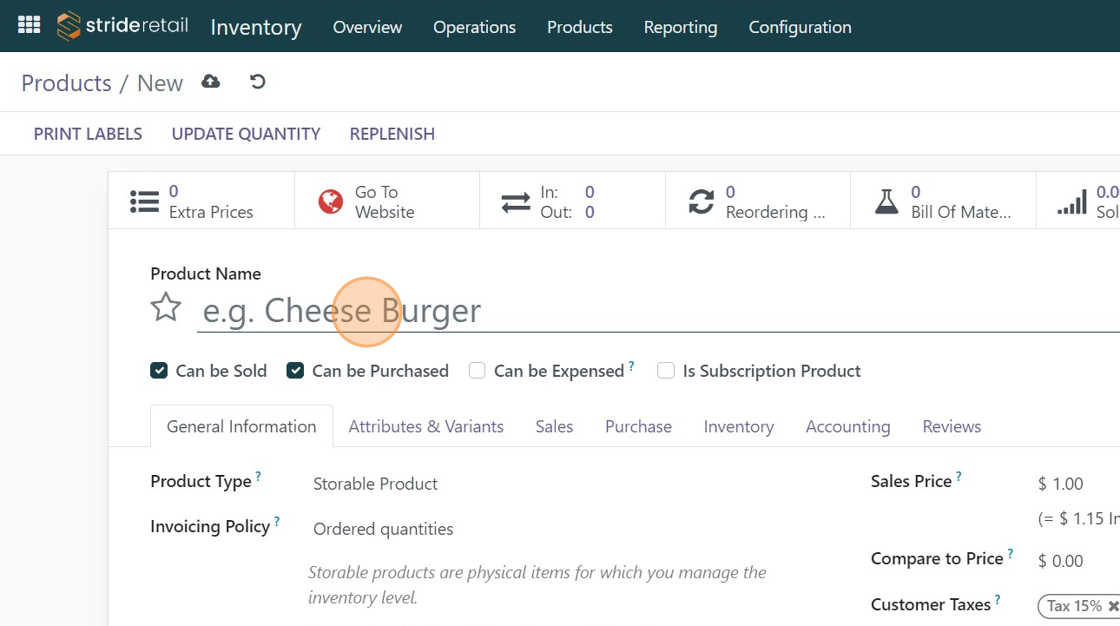
3. Add the information needed for the product. Price, sales description, category, ecommerce categories, tags, etc.
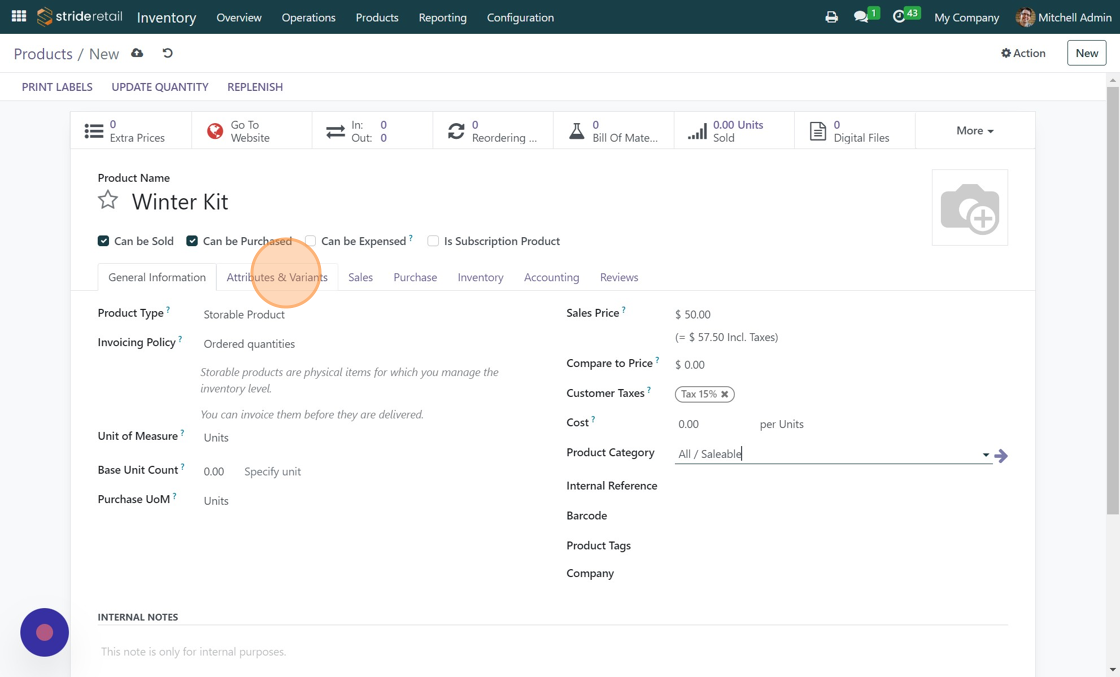
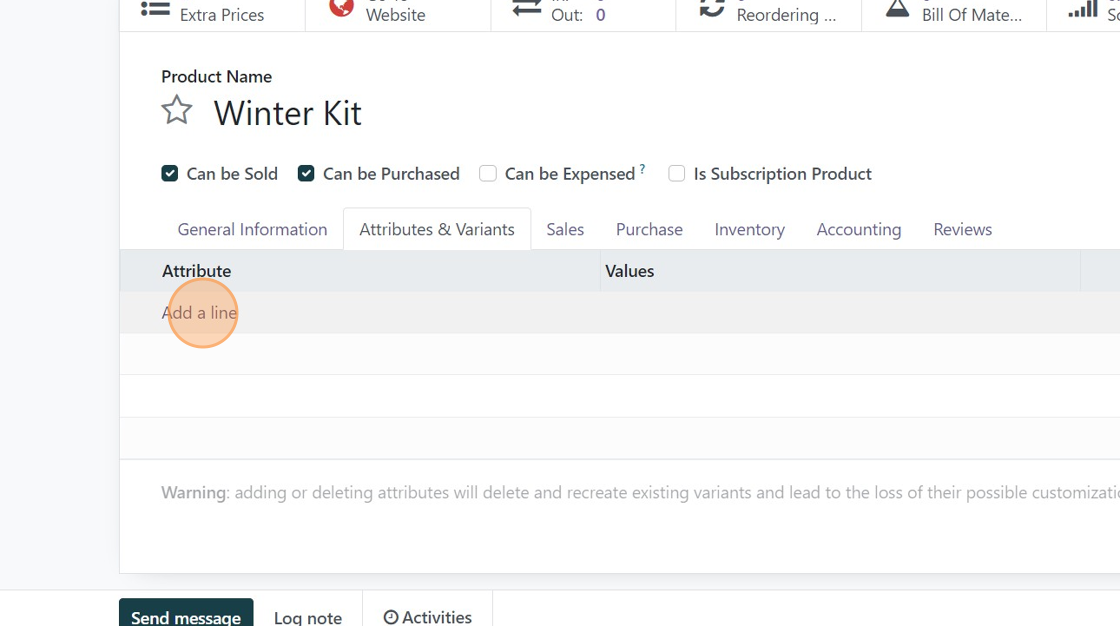
4. Make sure you have all the required fields checked. Next we need to add our attributes that customers can select. Click "Attributes & Variants"
5. Click "Add a line"
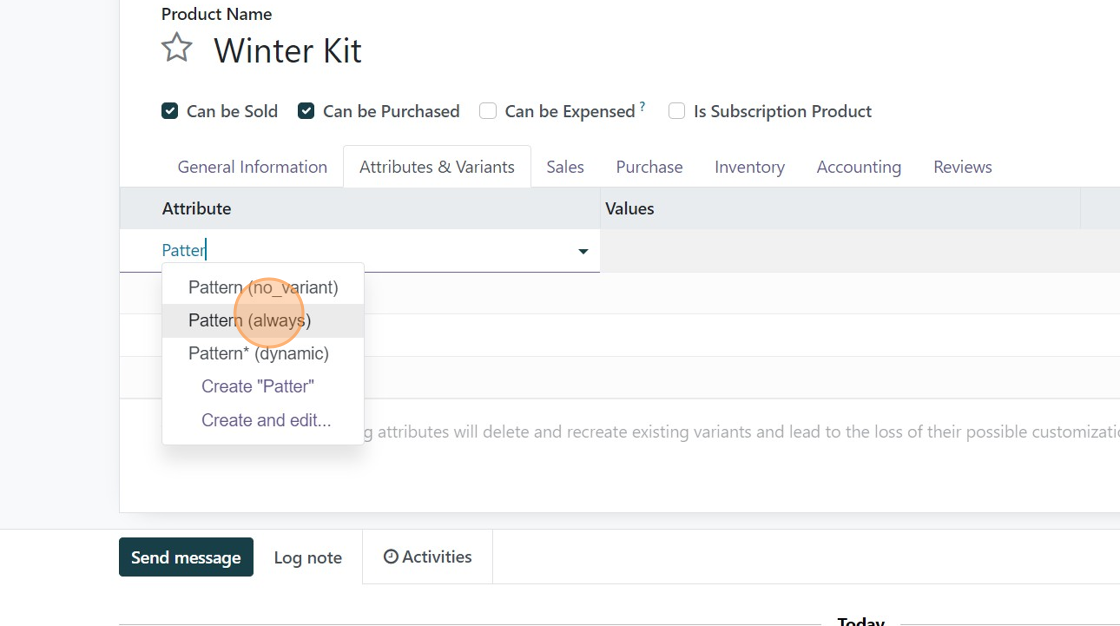
6. Add your variant name. Make sure the type is "always"
7. Click "Pattern (always)" (in this example, we had already used the "Pattern (always)" attribute but you might have to create yours. You can do this by typing in the name and then clicking "Create and Edit"
8. Click this text field.
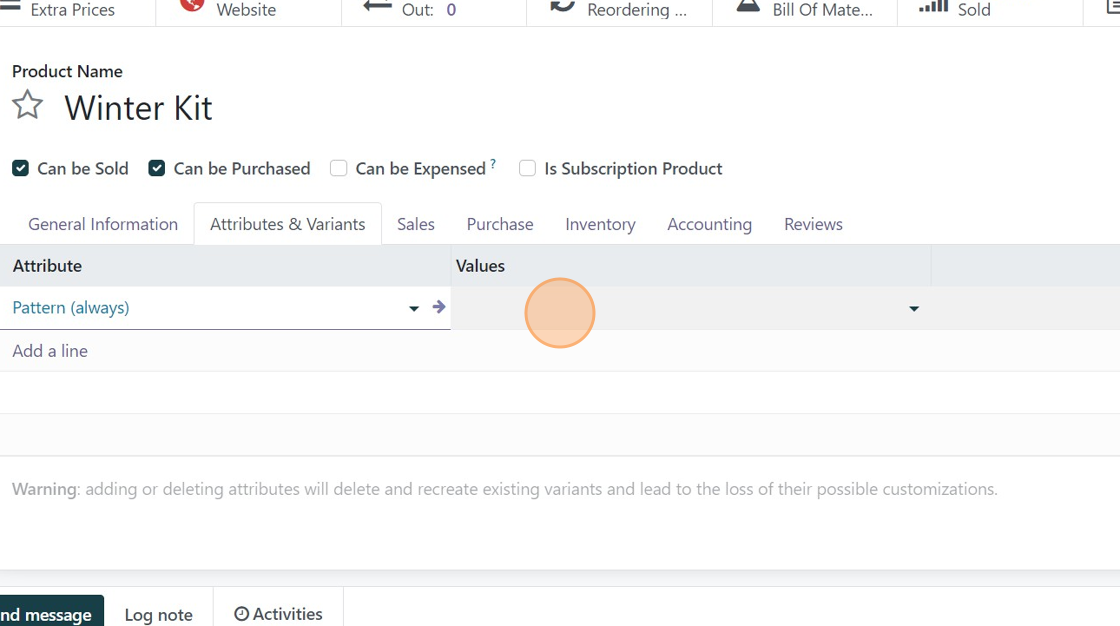
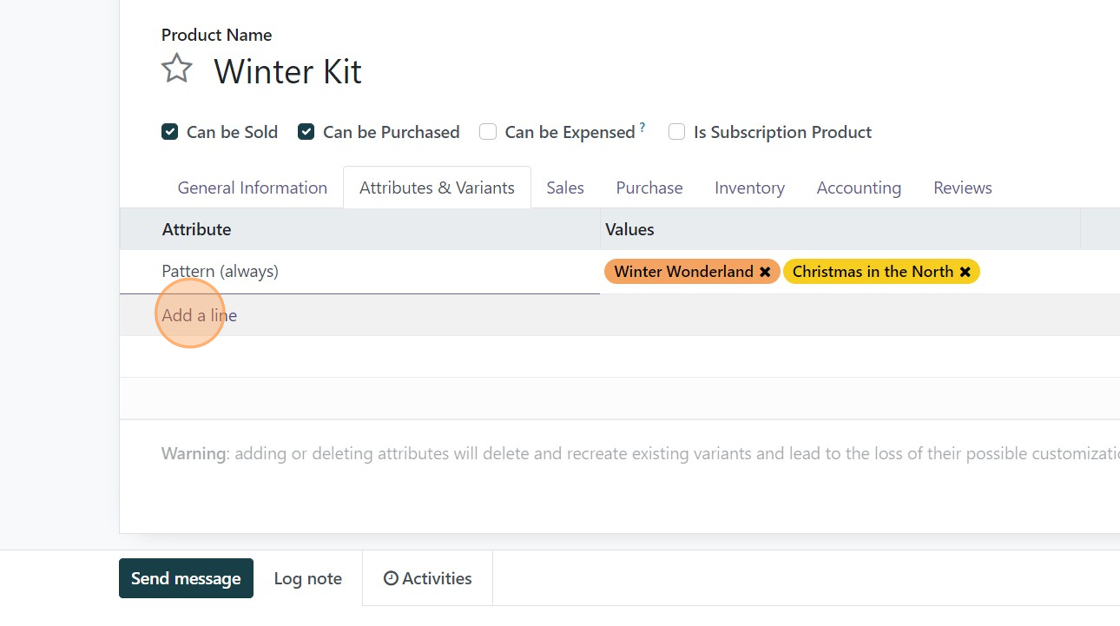
9. Add your values here. You can create them as needed.
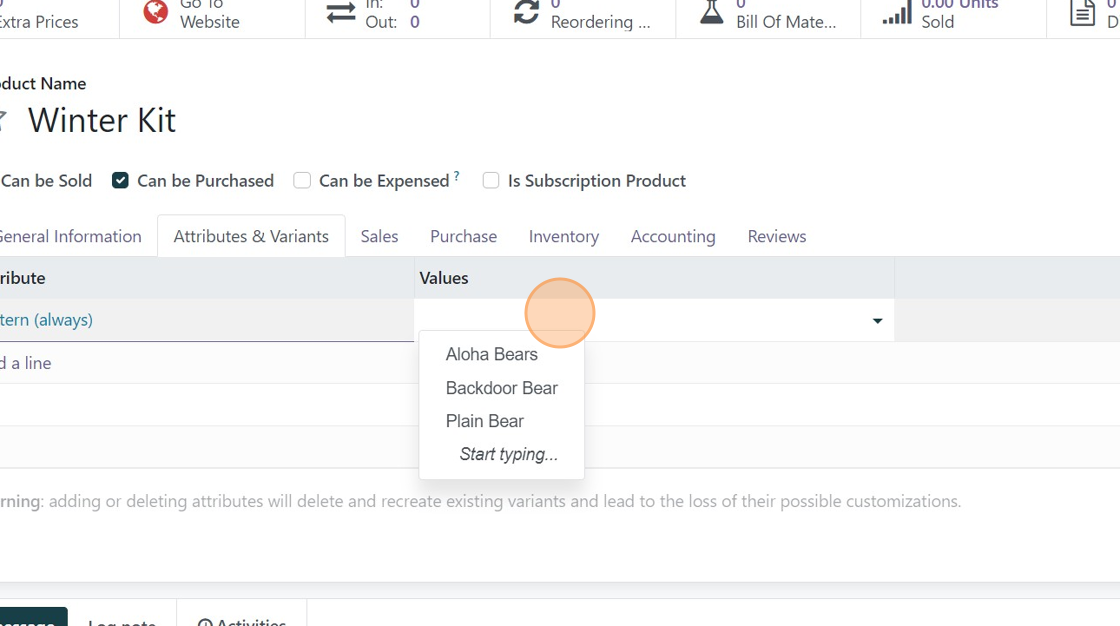
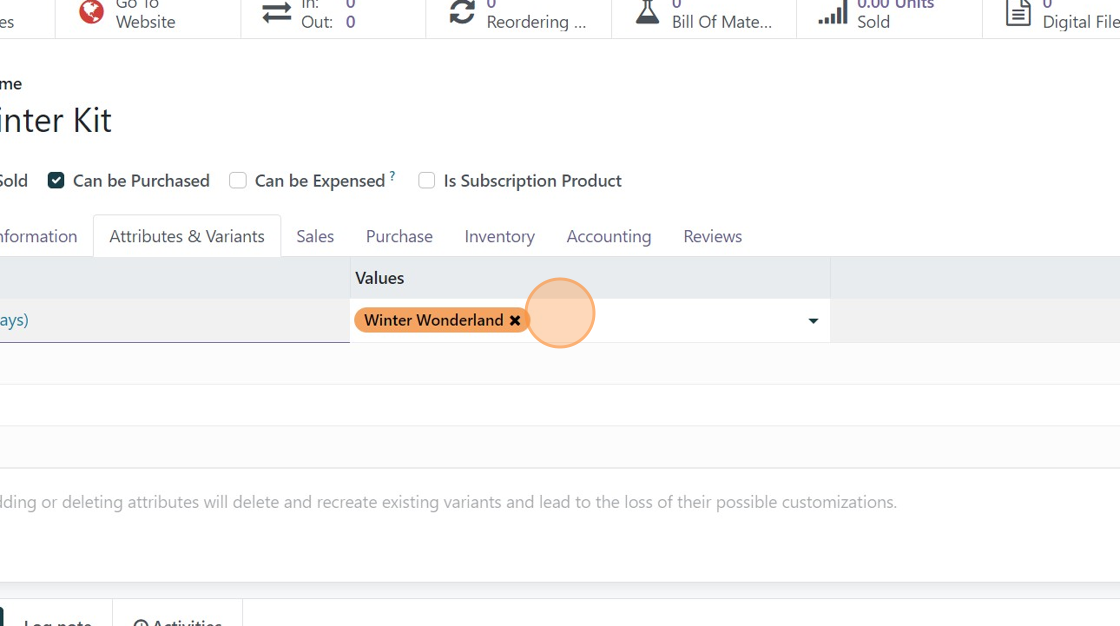
10. Type the name of your value. Type Enter. Continue adding values.
11. Click this text field.
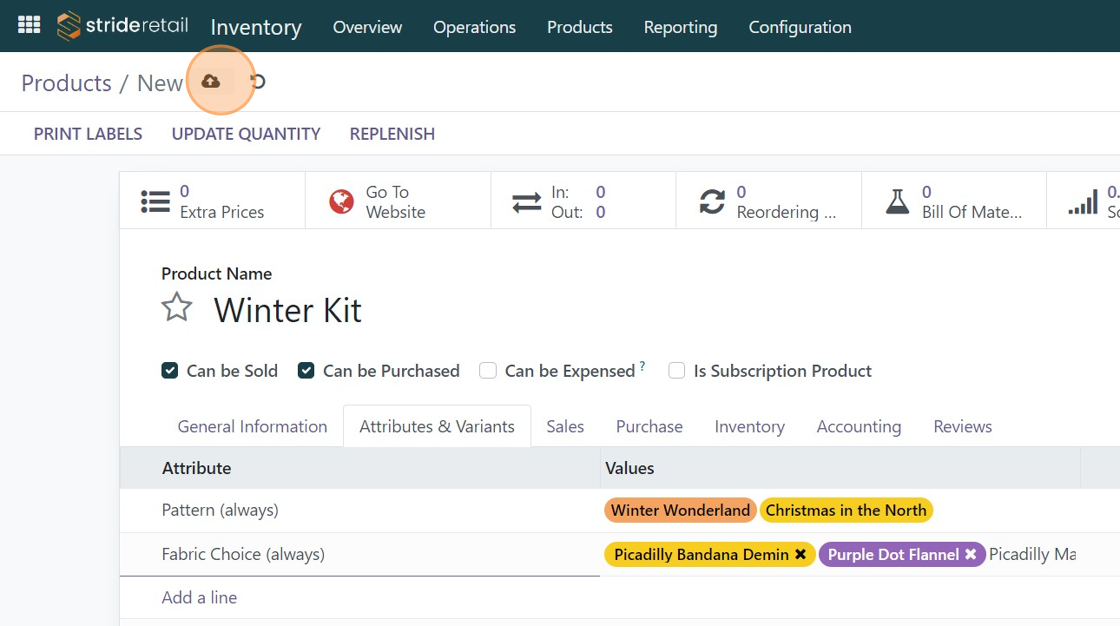
12. Click "Add a line" to add additional attributes. Follow the above steps for adding additional attributes and values.
13. Click here to save.
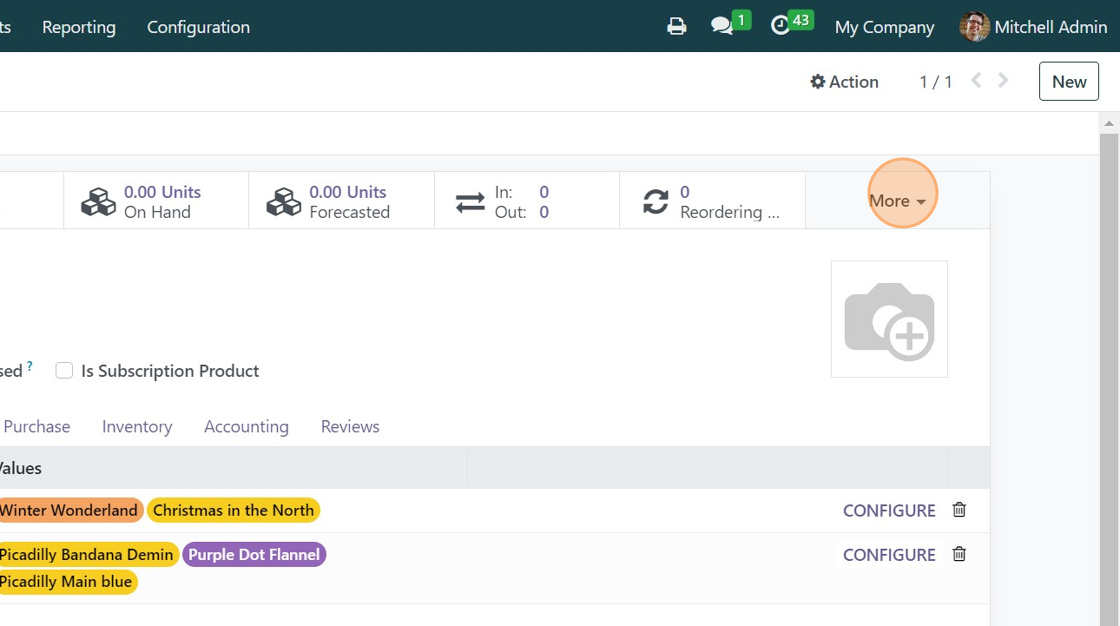
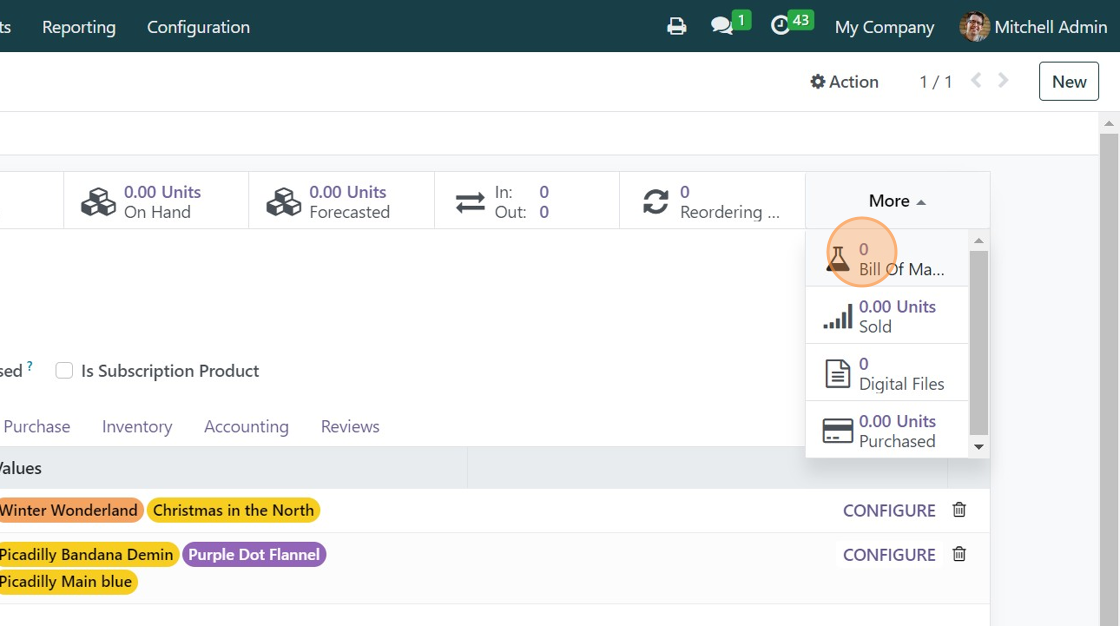
14. Click "More"
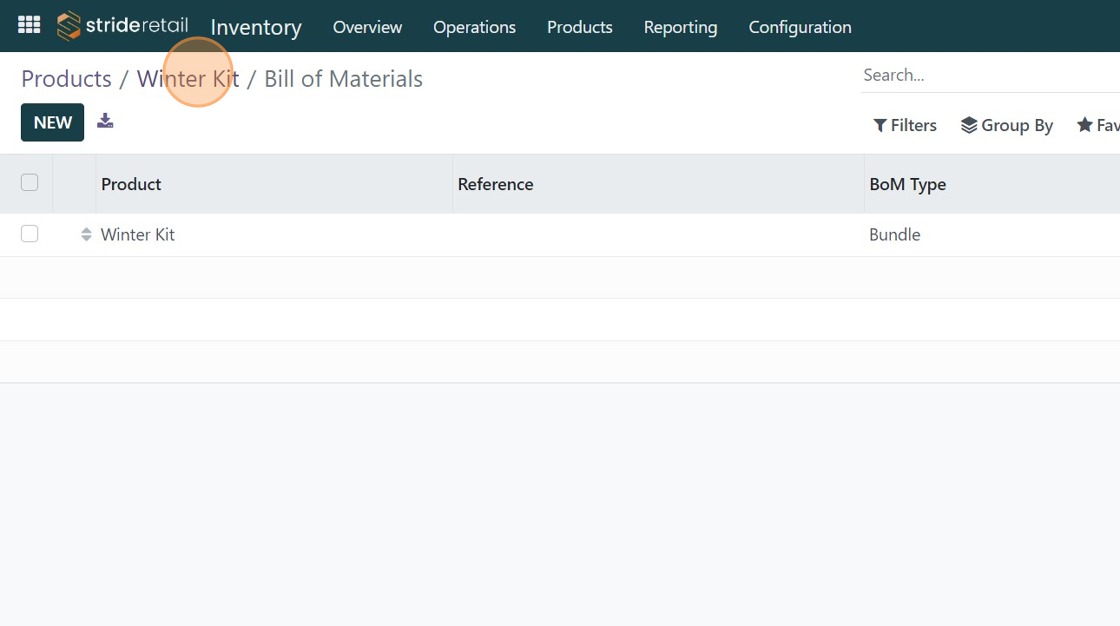
15. Click "Bill of Materials"
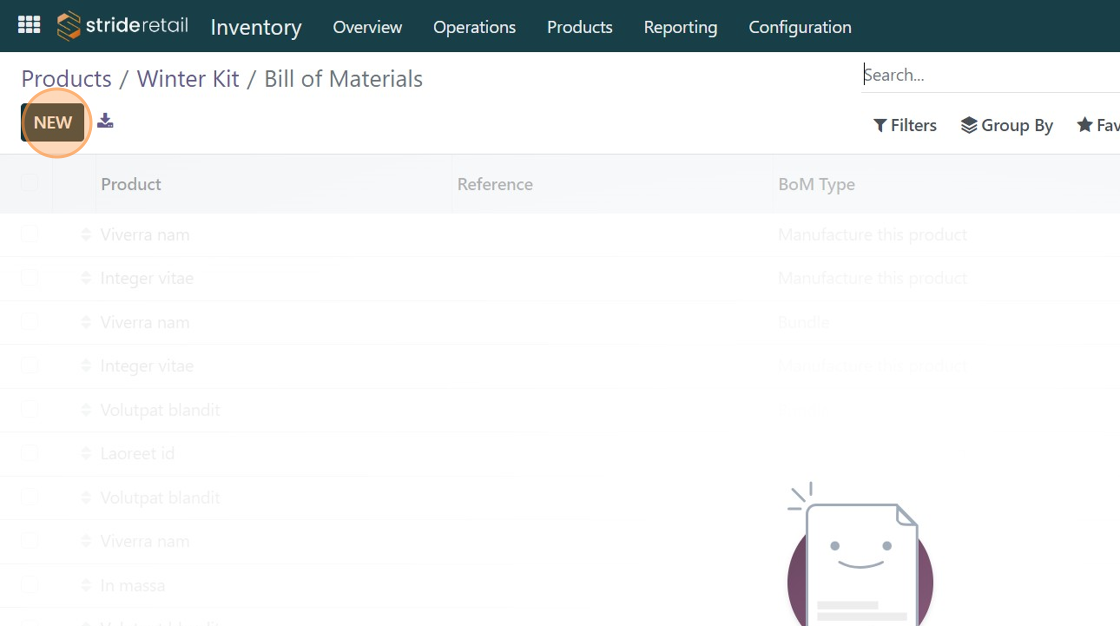
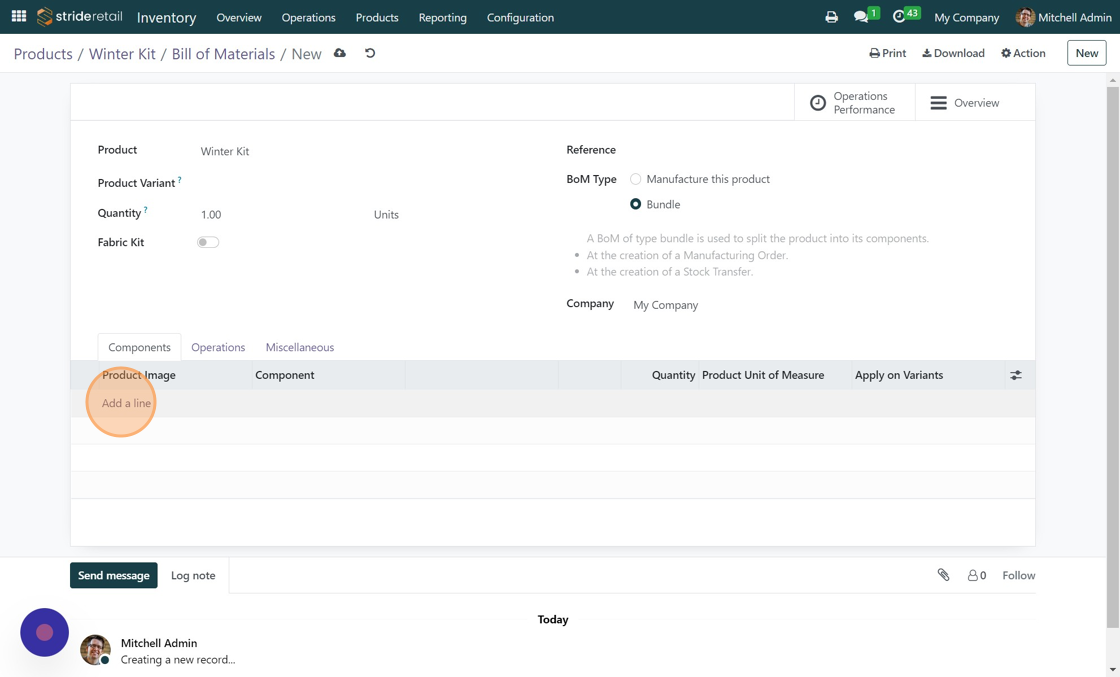
16. Click "NEW"
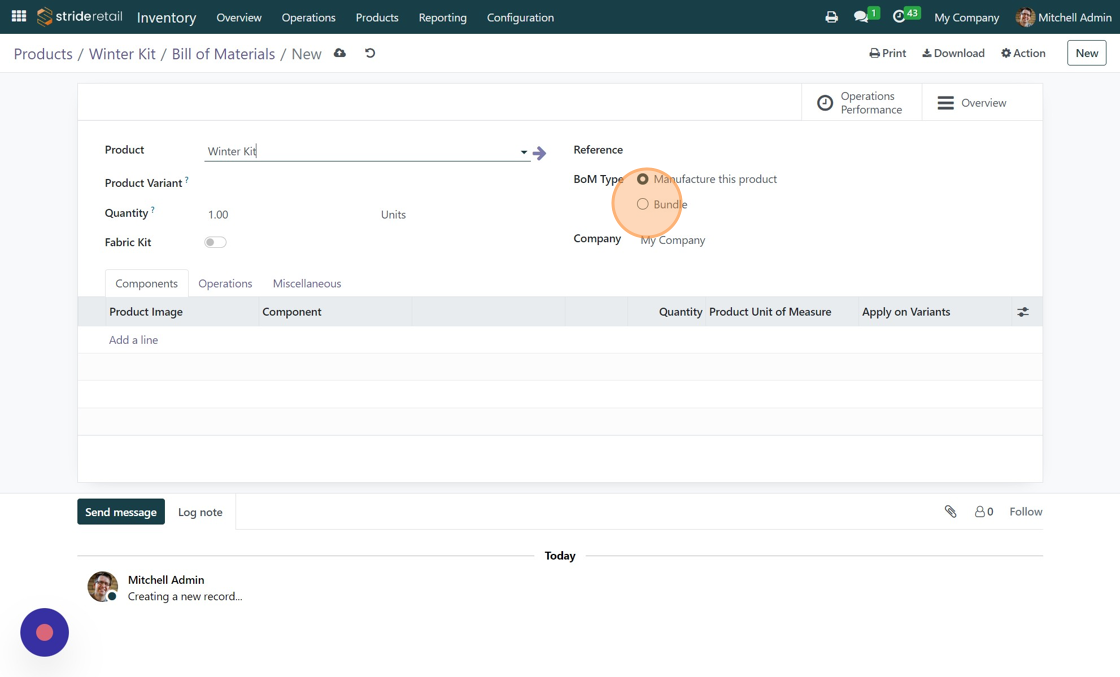
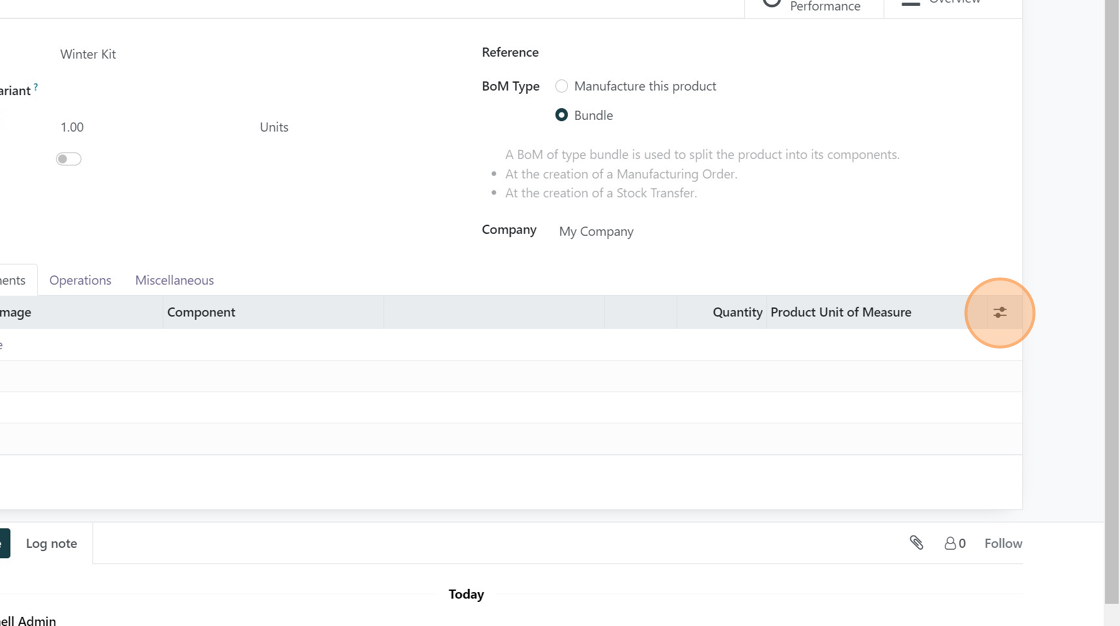
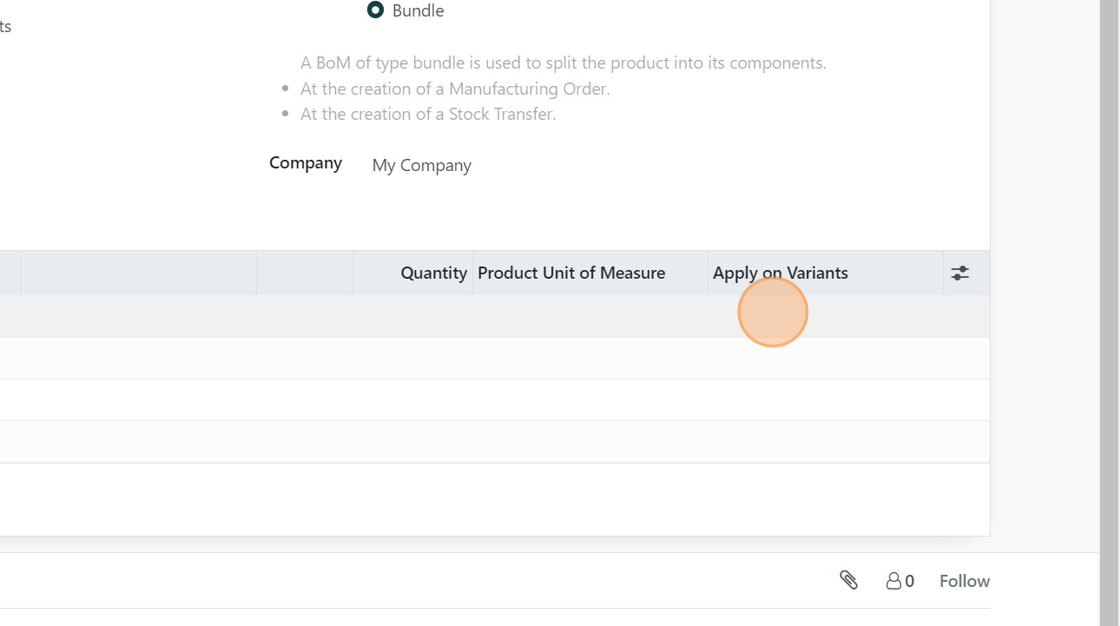
17. Click the "Bundle" field.
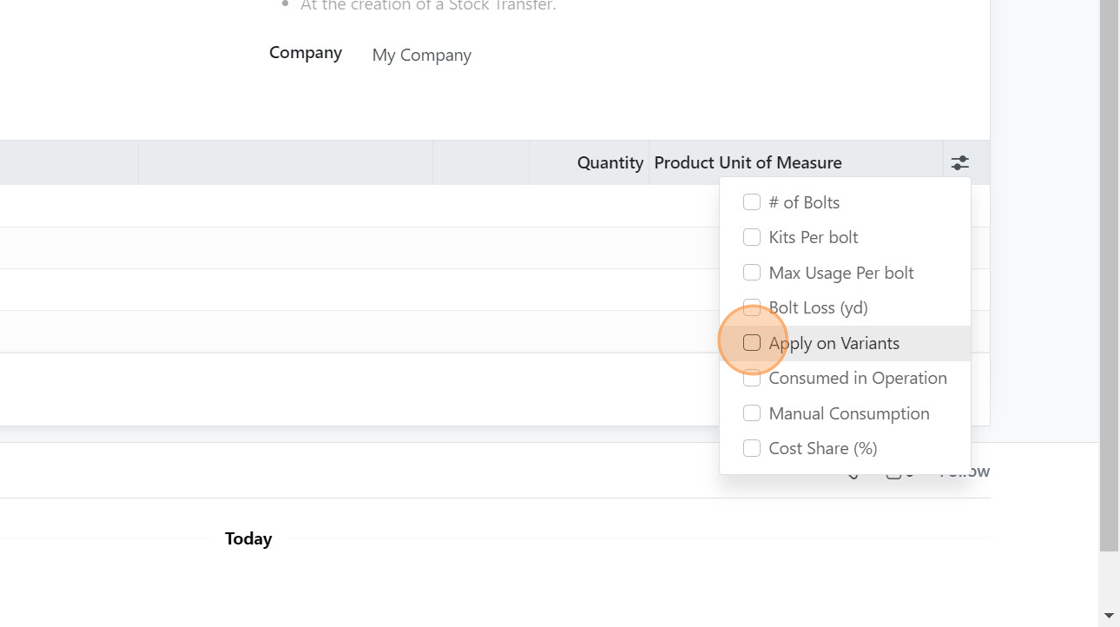
18. Click here if the field "Apply on Variants" is not showing.
19. Click the "Apply on Variants" field.
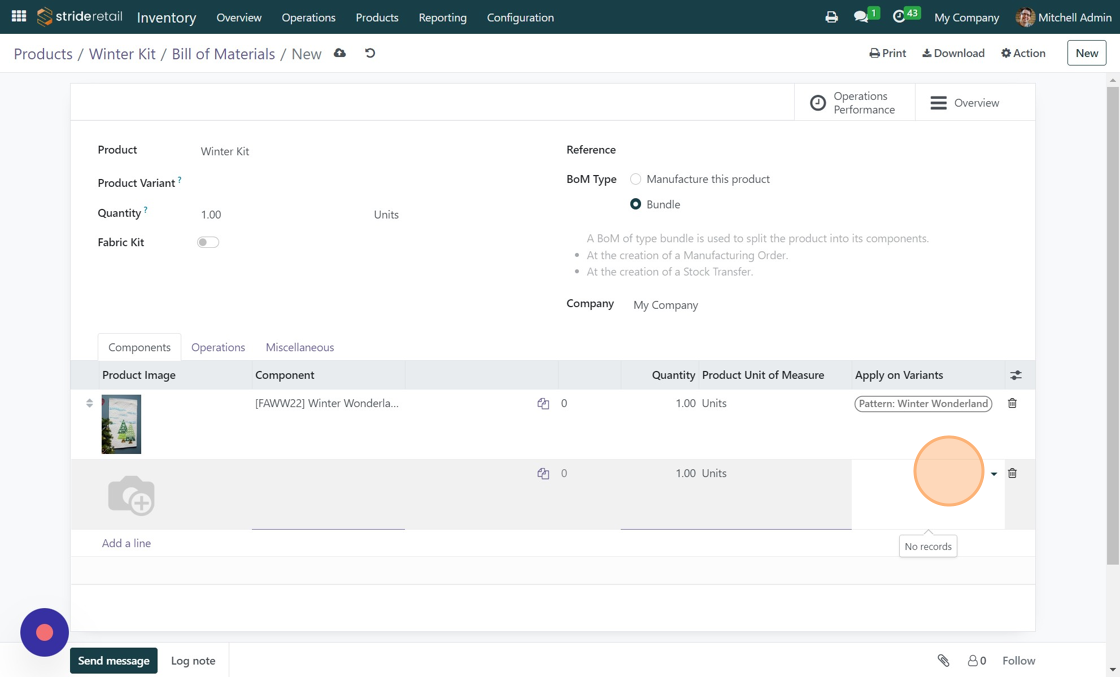
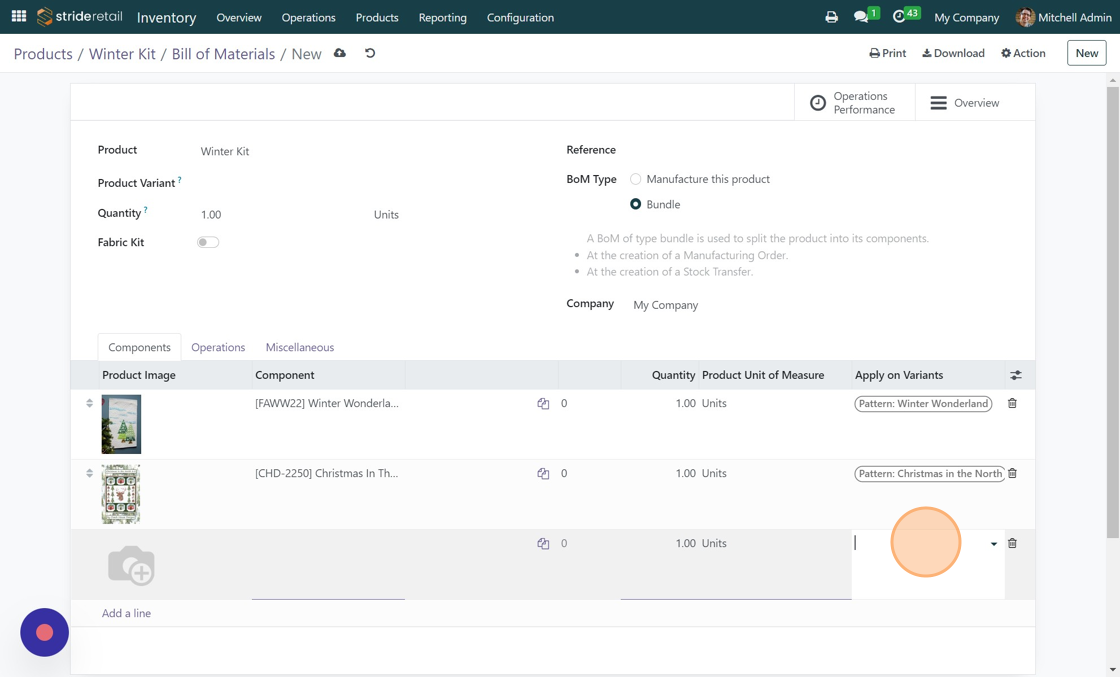
20. Click "Add a line"
21. Click "Add a line"
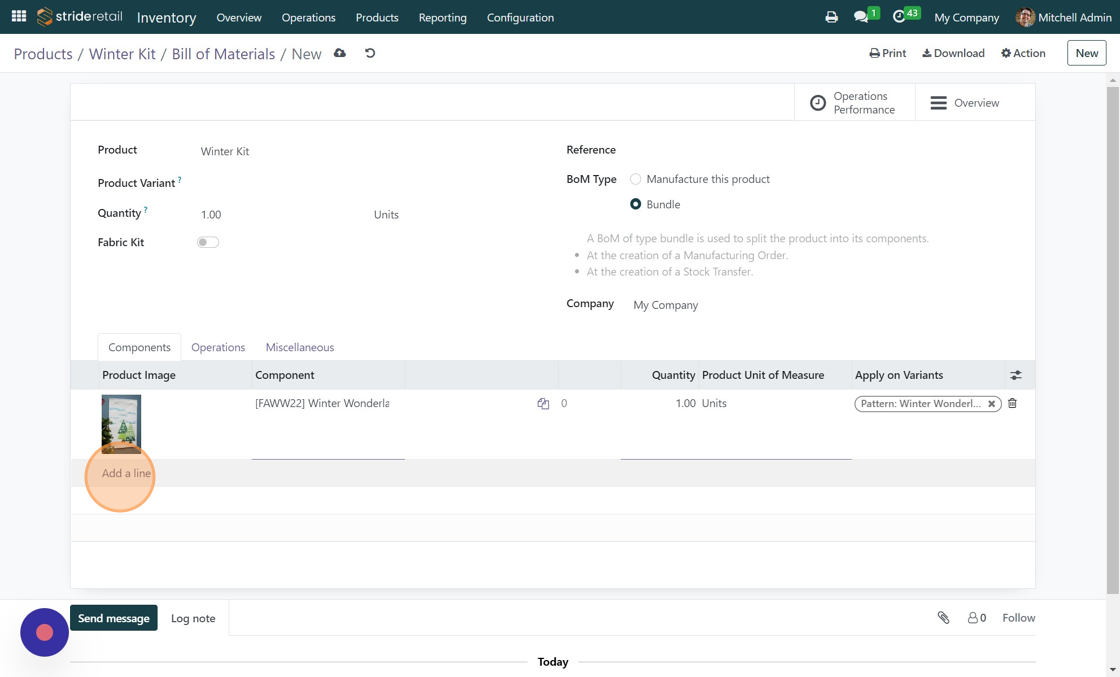
22. Select an attribute and it's accompanying component that you want the product tied to. In our case, if a customer selects the attribute "Winter Wonderland" we want to include the pattern "Winter Wonderland". You will continue doing this for all the different attributes. See the examples below.
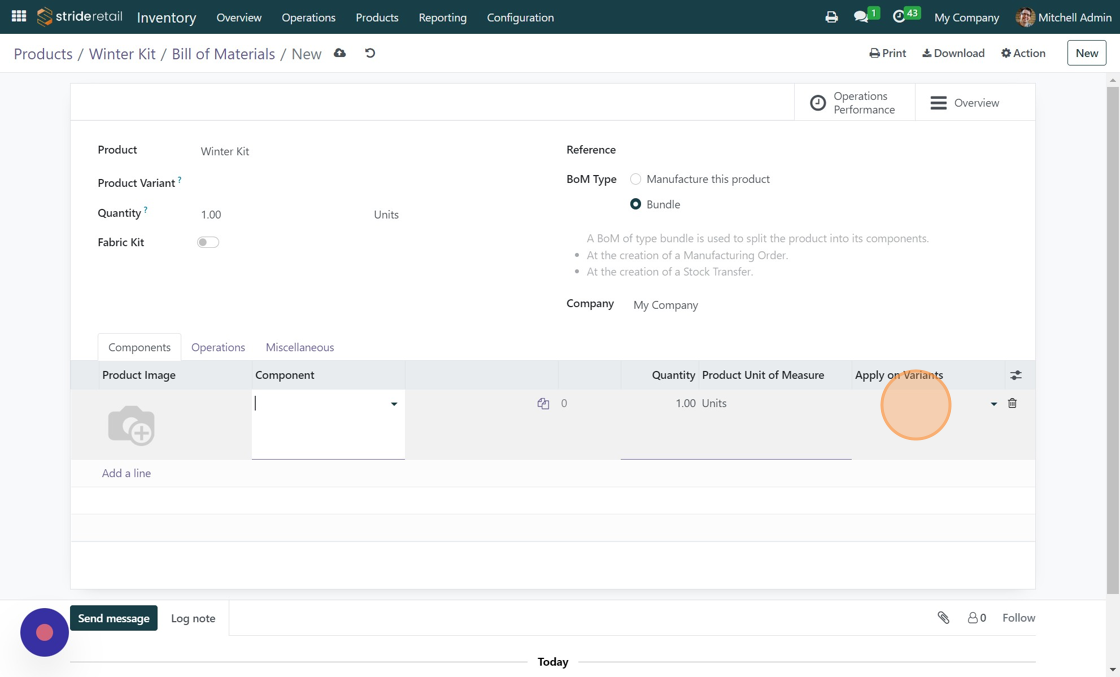
23. Click "Pattern: Winter Wonderland"

24. Click this text field.
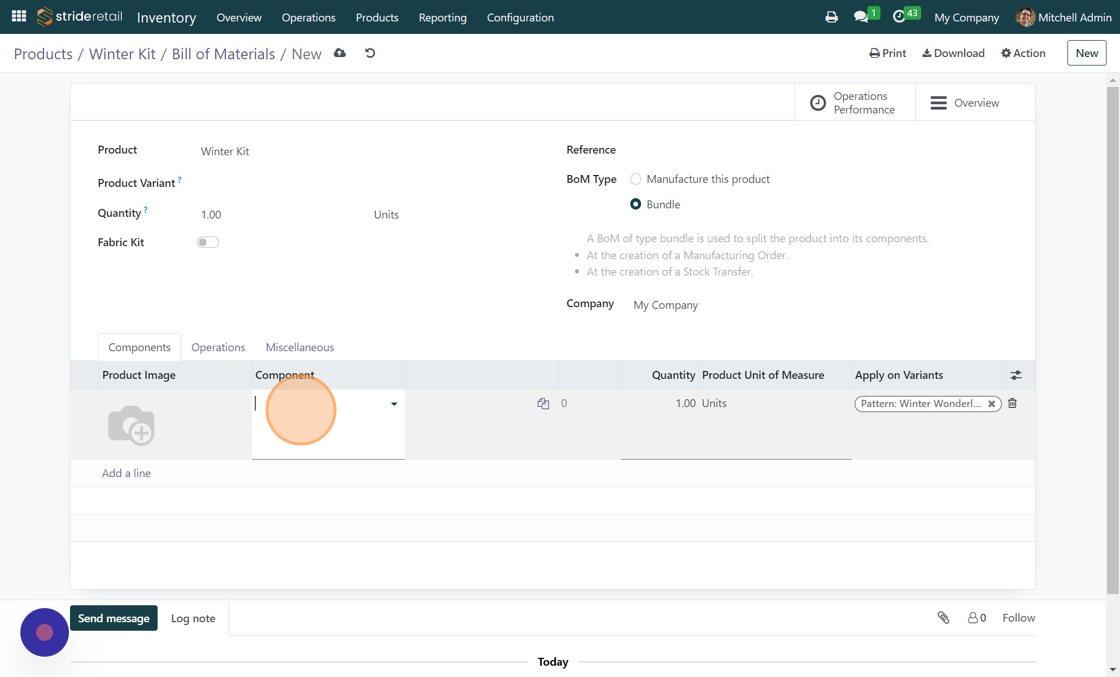
25. Click this text field.
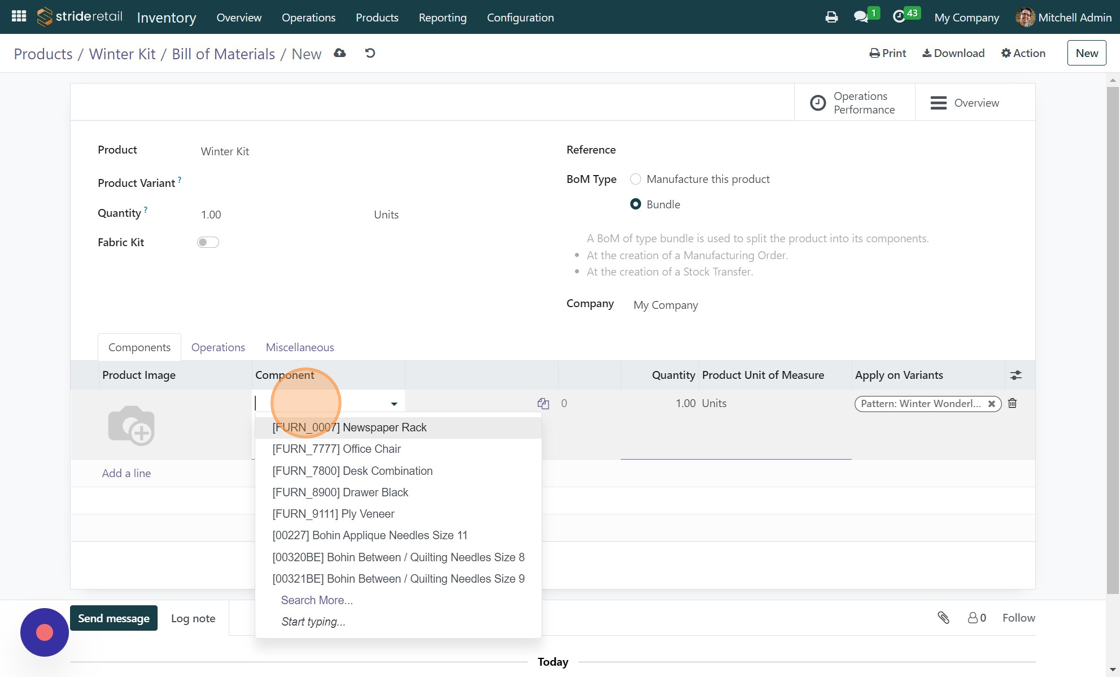
26. Type "winter wonder"
27. Click "[FAWW22] Winter Wonderland"
![Screenshot of: Click "[FAWW22] Winter Wonderland"](https://ajeuwbhvhr.cloudimg.io/colony-recorder.s3.amazonaws.com/files/2023-08-08/51f73268-cfd1-4dd4-8543-8ef24a5037b5/ascreenshot.jpeg?tl_px=0,0&br_px=1983,1199&force_format=png&width=1120.0&wat=1&wat_opacity=0.7&wat_gravity=northwest&wat_url=https://colony-recorder.s3.us-west-1.amazonaws.com/images/watermarks/FB923C_standard.png&wat_pad=326,389)
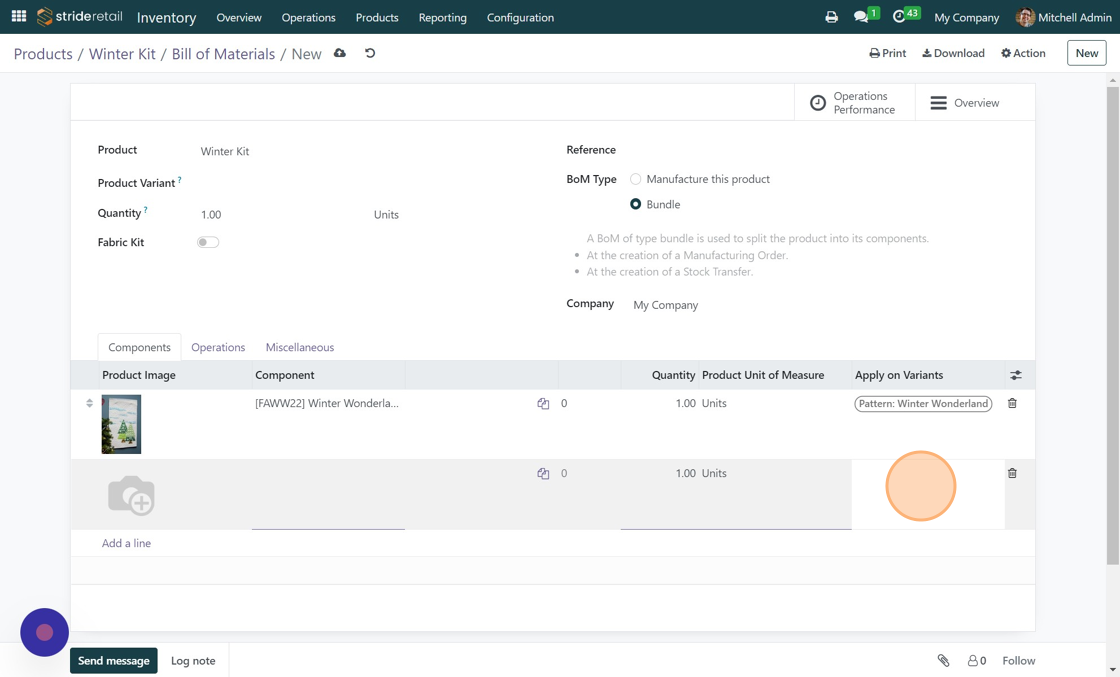
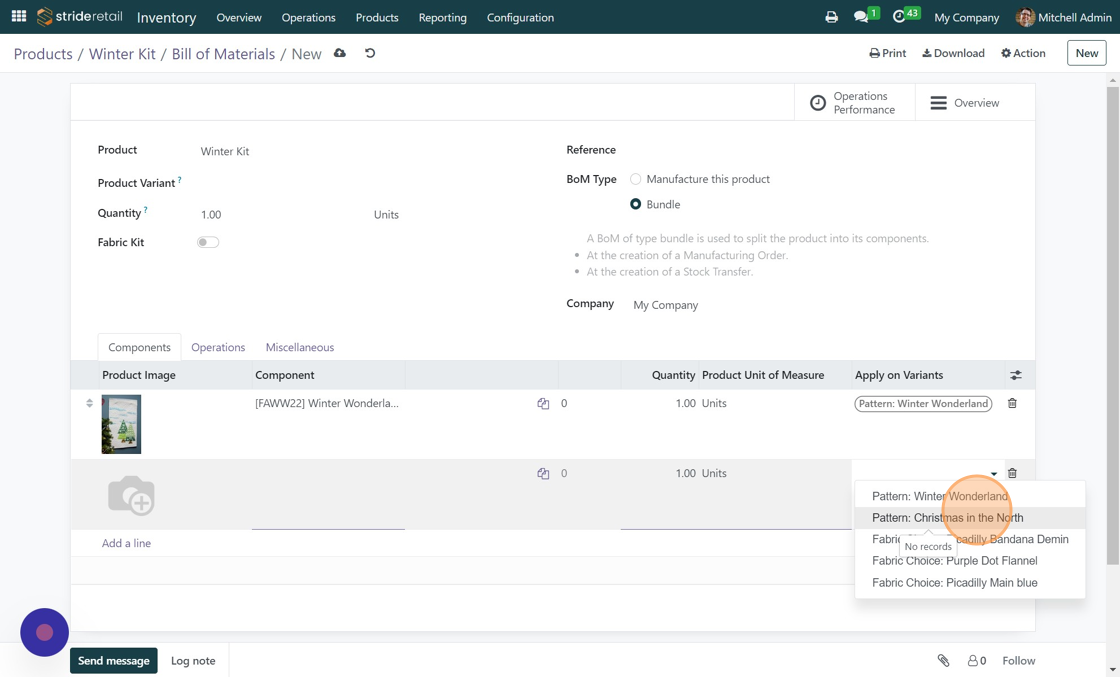
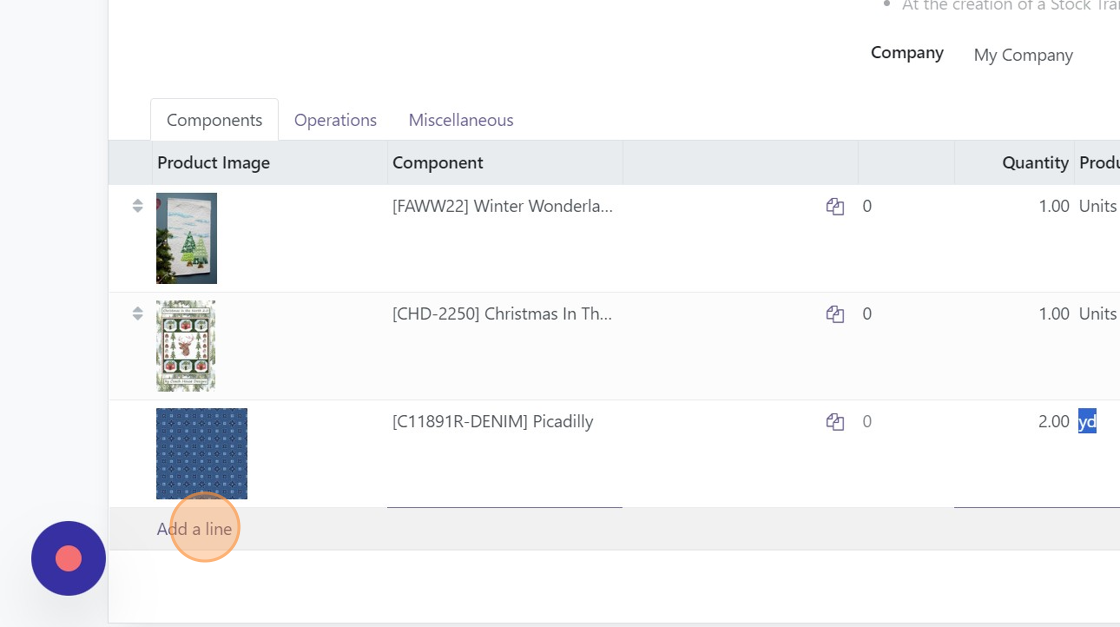
28. Click "Add a line"
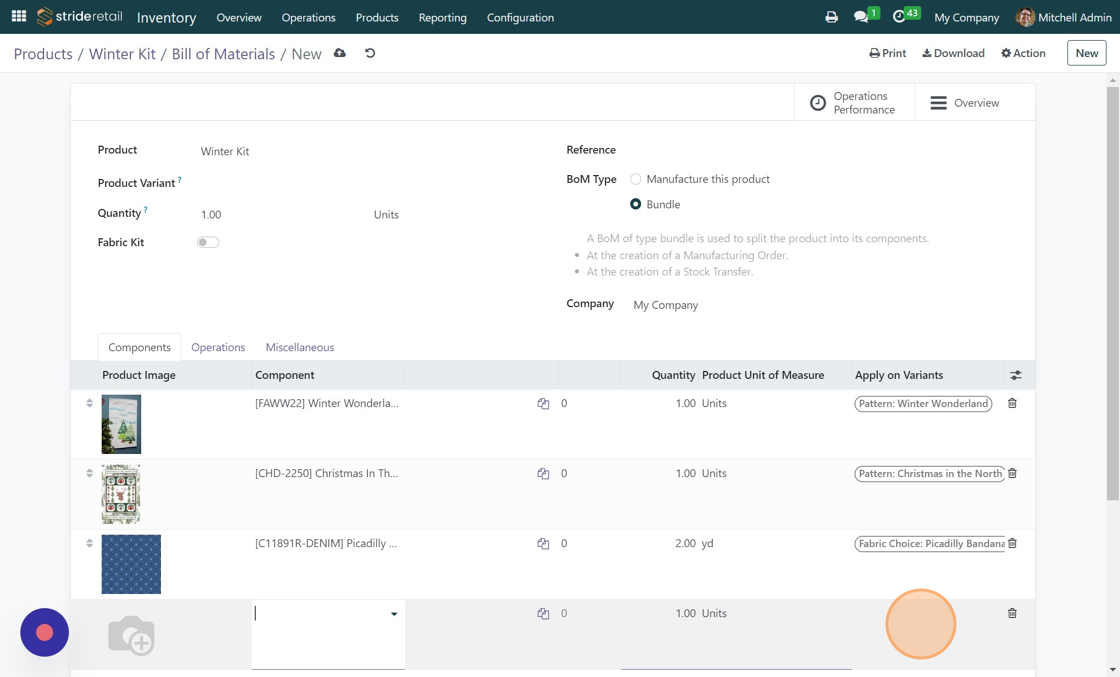
29. Click here.
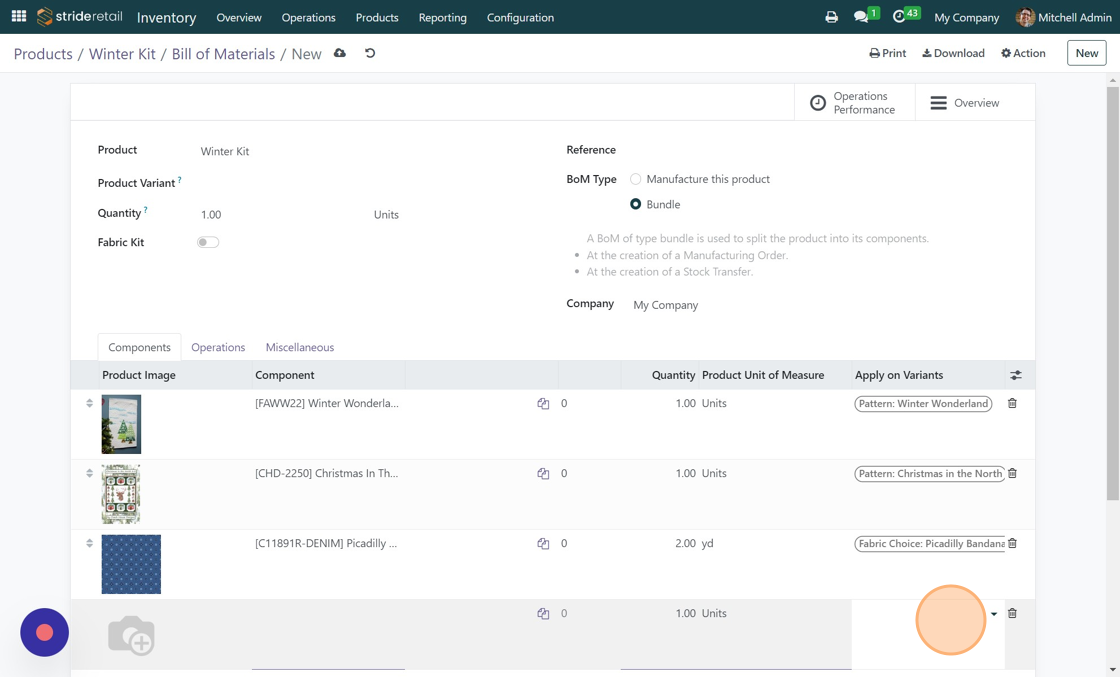
30. Click this text field.
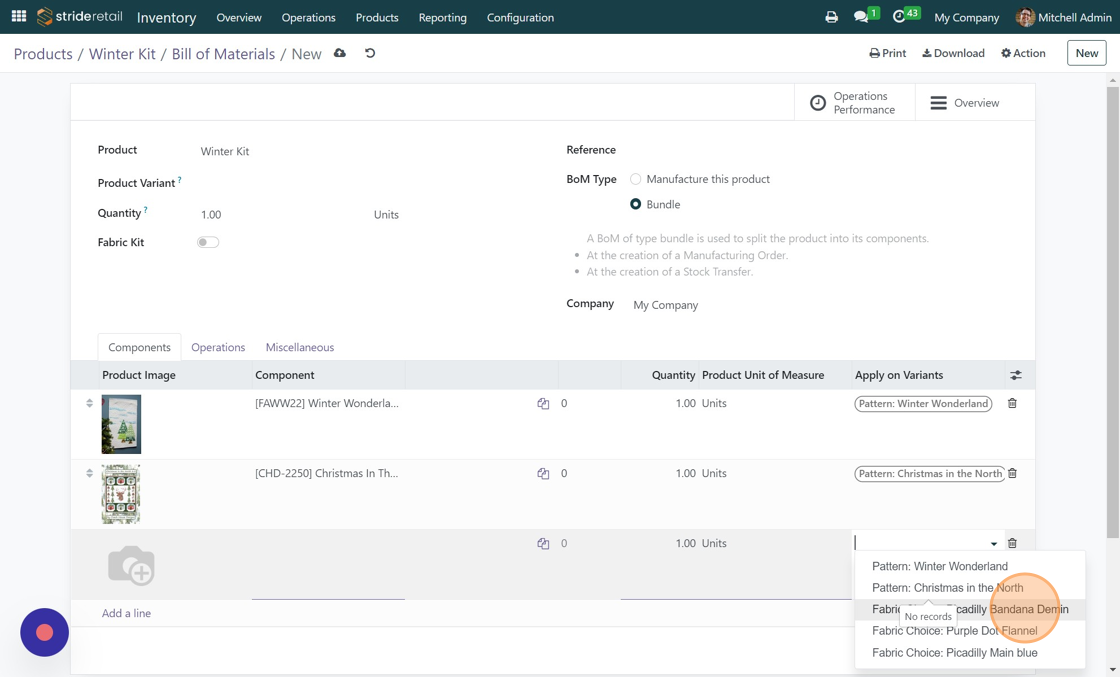
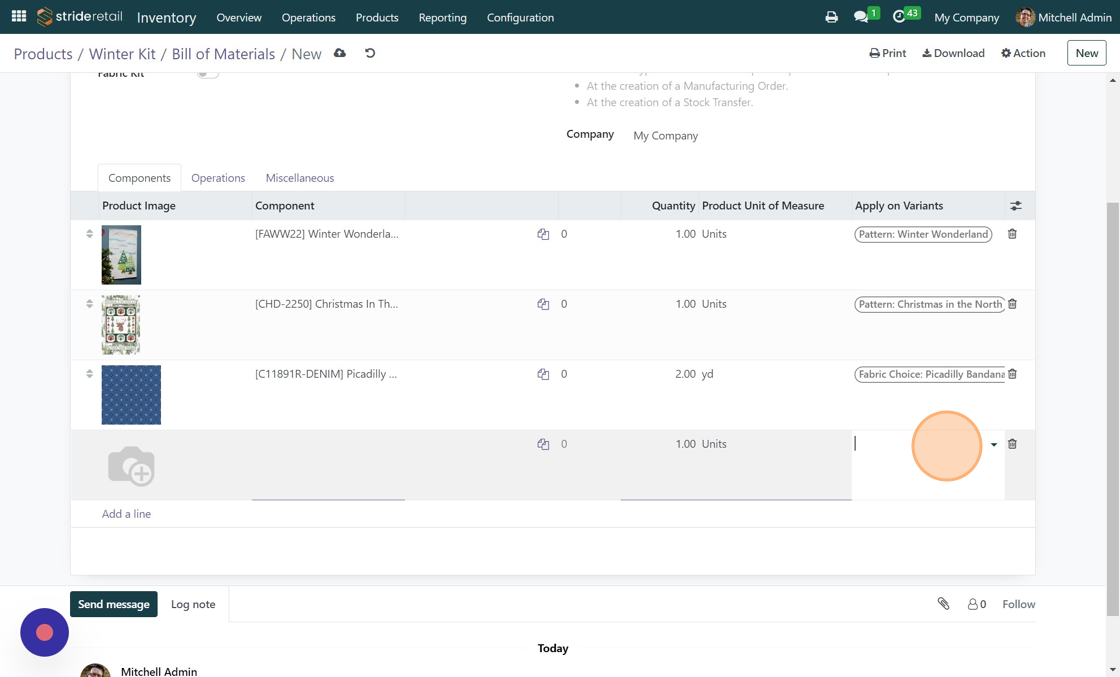
31. Click "Pattern: Christmas in the North"
32. Click this text field.
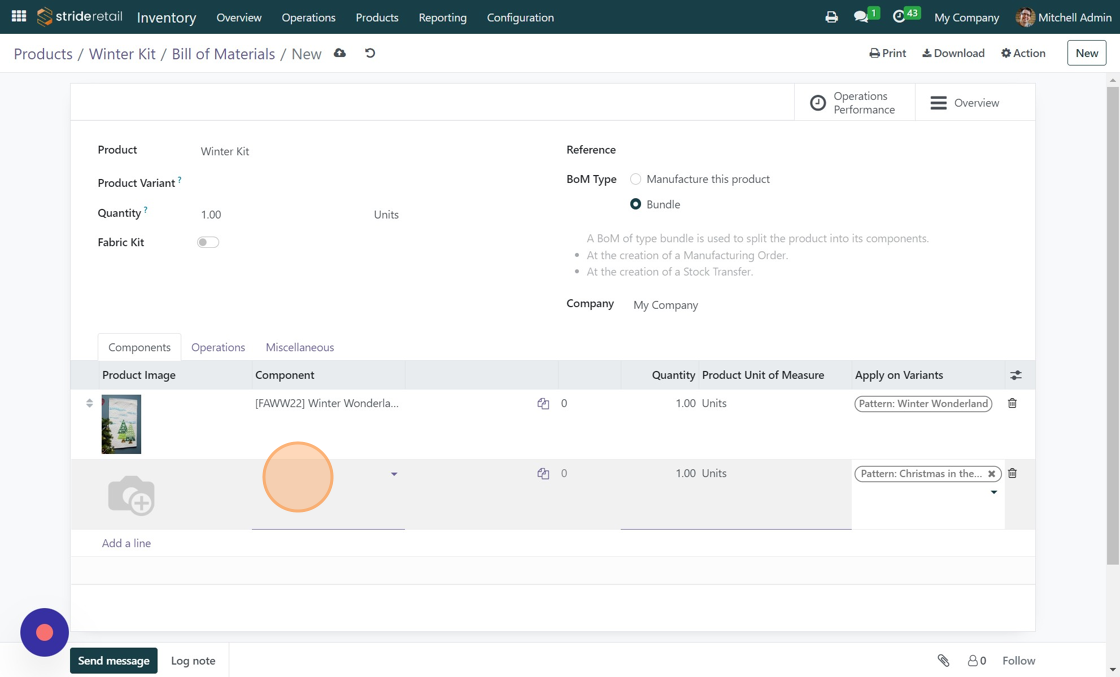
33. Type "christmas [[enter]]"
34. Click "Add a line"
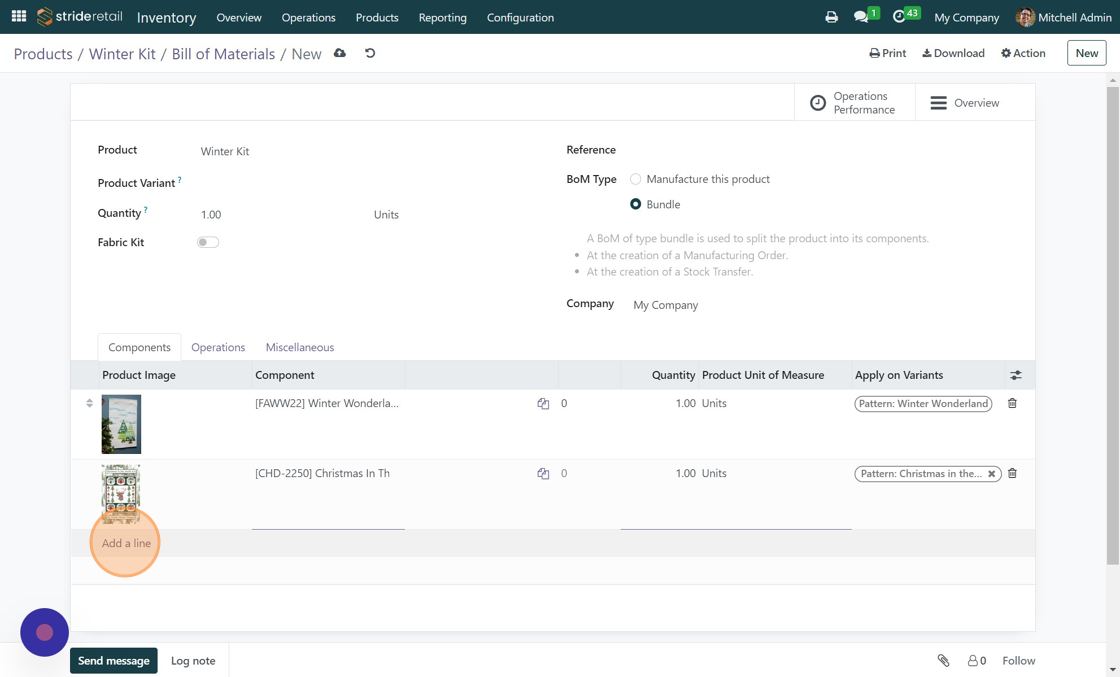
35. Click this text field.
36. Click "Fabric Choice: Picadilly Bandana Demin"
37. Click this text field.
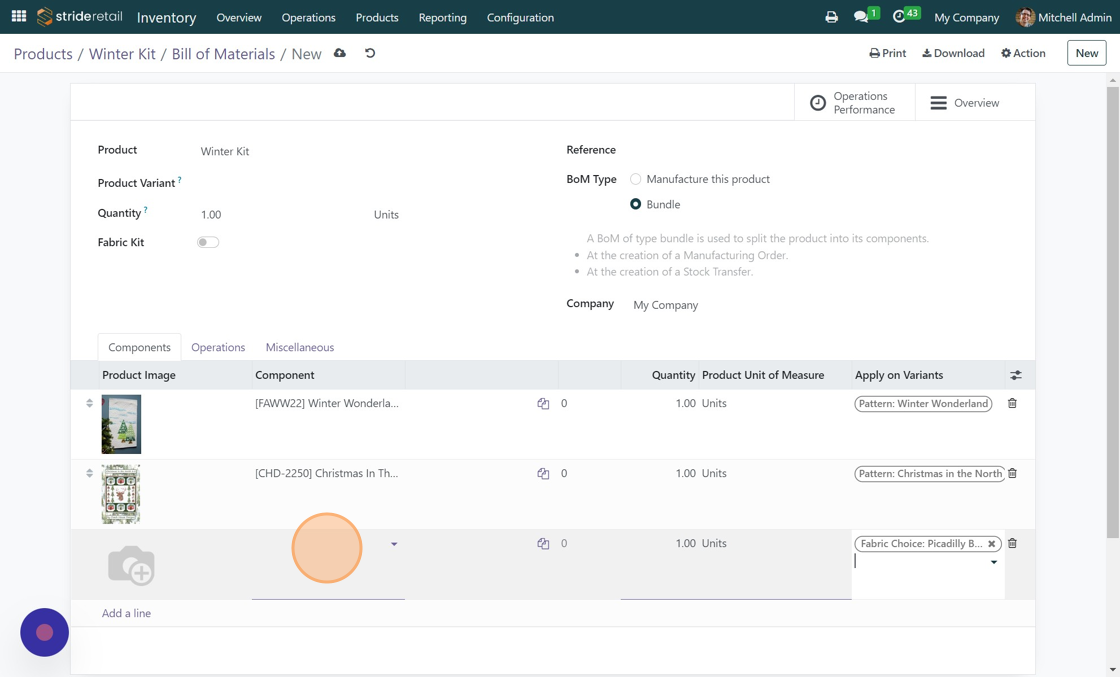
38. Type "bandan"
39. Click "[C11891R-DENIM] Picadilly Bandana Denim"
![Screenshot of: Click "[C11891R-DENIM] Picadilly Bandana Denim"](https://ajeuwbhvhr.cloudimg.io/colony-recorder.s3.amazonaws.com/files/2023-08-08/34042f70-7222-424f-ad34-2a144407e418/ascreenshot.jpeg?tl_px=0,0&br_px=1983,1199&force_format=png&width=1120.0&wat=1&wat_opacity=0.7&wat_gravity=northwest&wat_url=https://colony-recorder.s3.us-west-1.amazonaws.com/images/watermarks/FB923C_standard.png&wat_pad=416,531)
40. You can change the quantities of the individual products in the bill of materials.
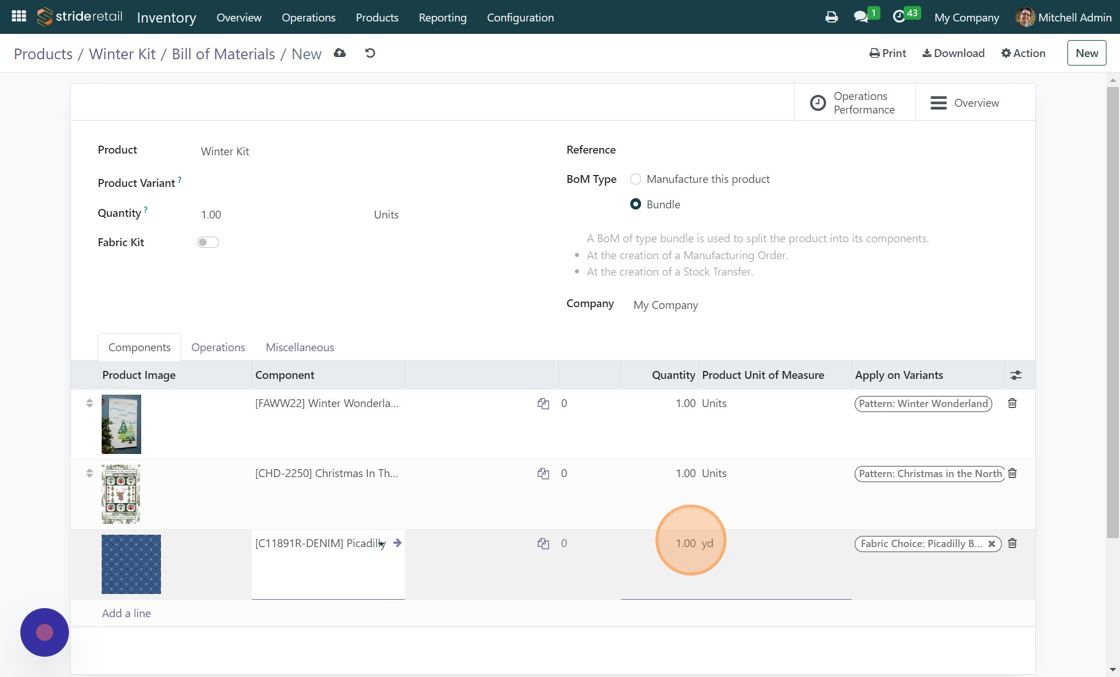
41. Type "2 [[tab]]"
42. Click "Add a line"
43. Click here.
44. Click here.
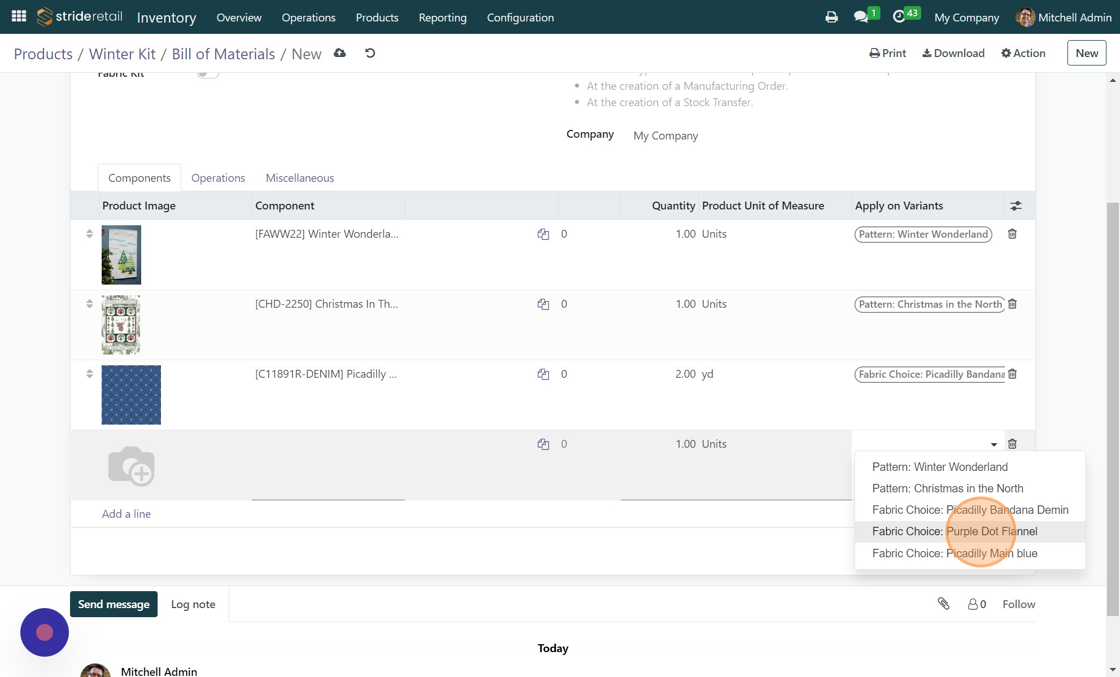
45. Click this text field.
46. Click "Fabric Choice: Purple Dot Flannel"
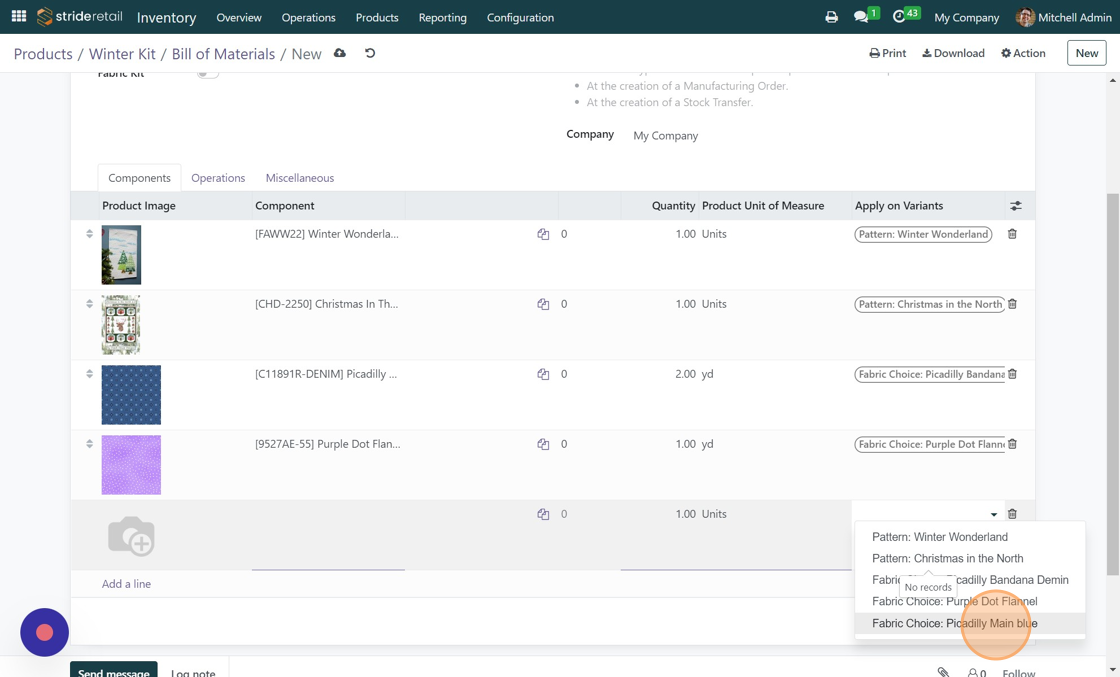
47. Click this text field.
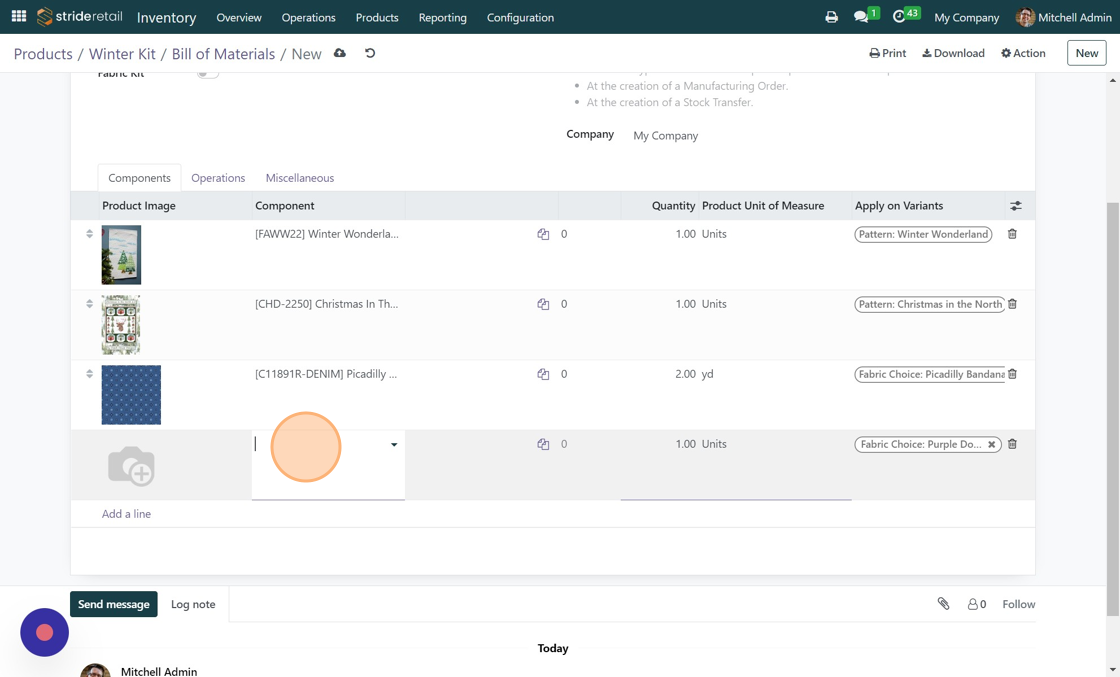
48. Type "purple dot"
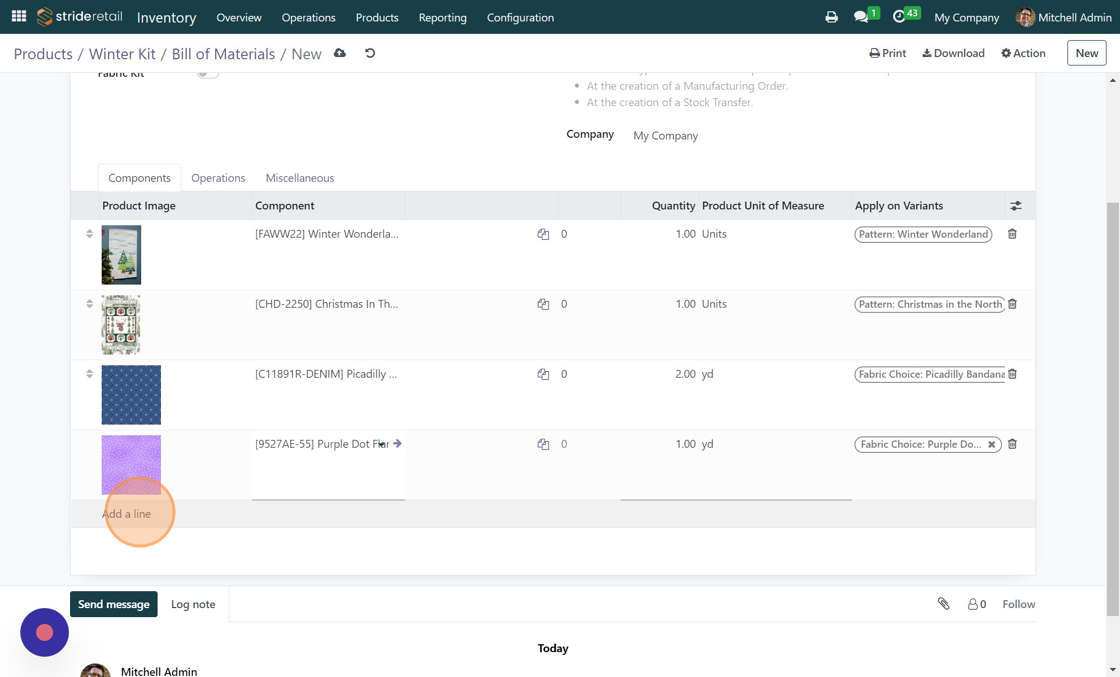
49. Click "[9527AE-55] Purple Dot Flannel"
![Screenshot of: Click "[9527AE-55] Purple Dot Flannel"](https://ajeuwbhvhr.cloudimg.io/colony-recorder.s3.amazonaws.com/files/2023-08-08/eb45bb7a-9134-4c03-8628-f528b1bb6c69/ascreenshot.jpeg?tl_px=0,0&br_px=1983,1199&force_format=png&width=1120.0&wat=1&wat_opacity=0.7&wat_gravity=northwest&wat_url=https://colony-recorder.s3.us-west-1.amazonaws.com/images/watermarks/FB923C_standard.png&wat_pad=336,431)
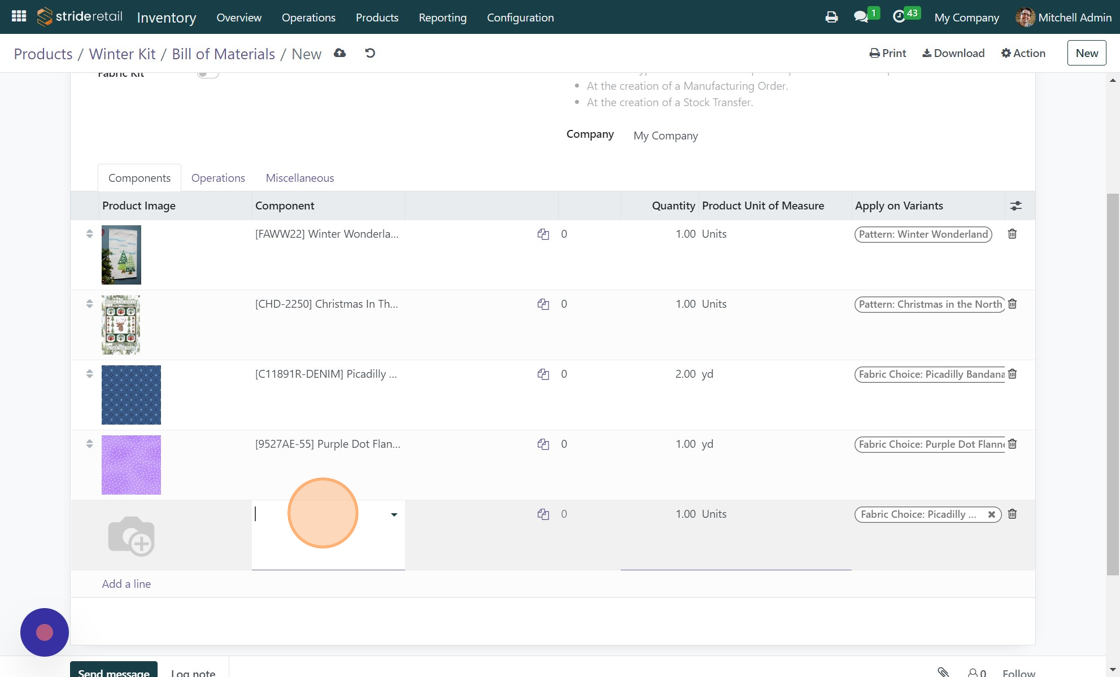
50. Click "Add a line"
51. Click this text field.
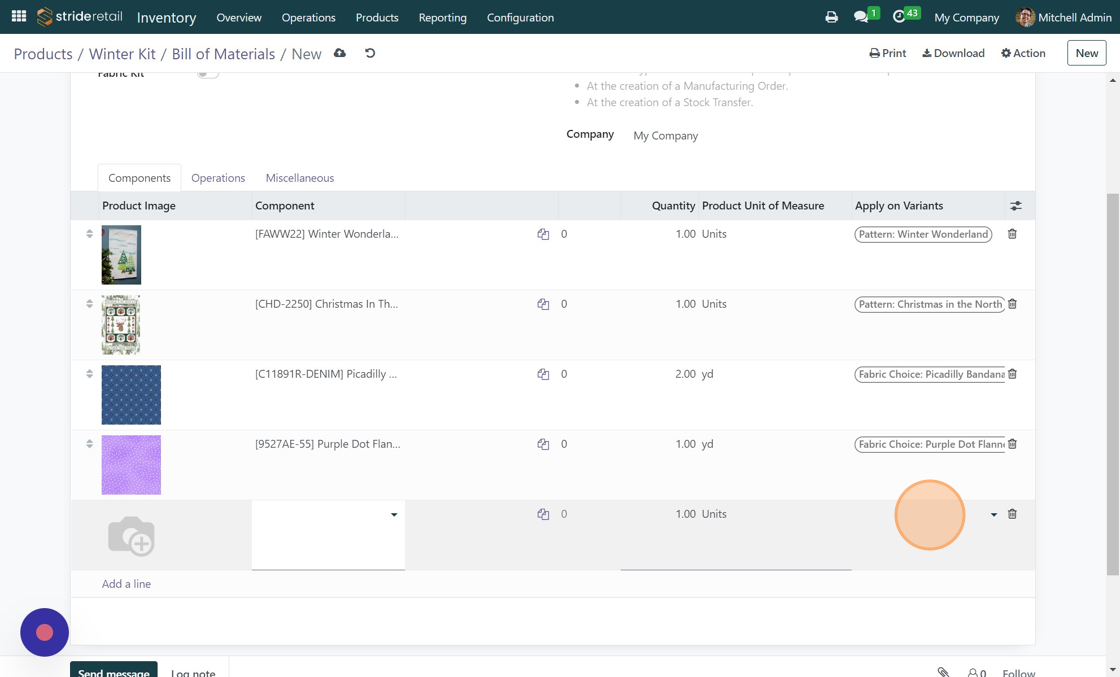
52. Click "Fabric Choice: Picadilly Main blue"
53. Click this text field.
54. Type "main blue"
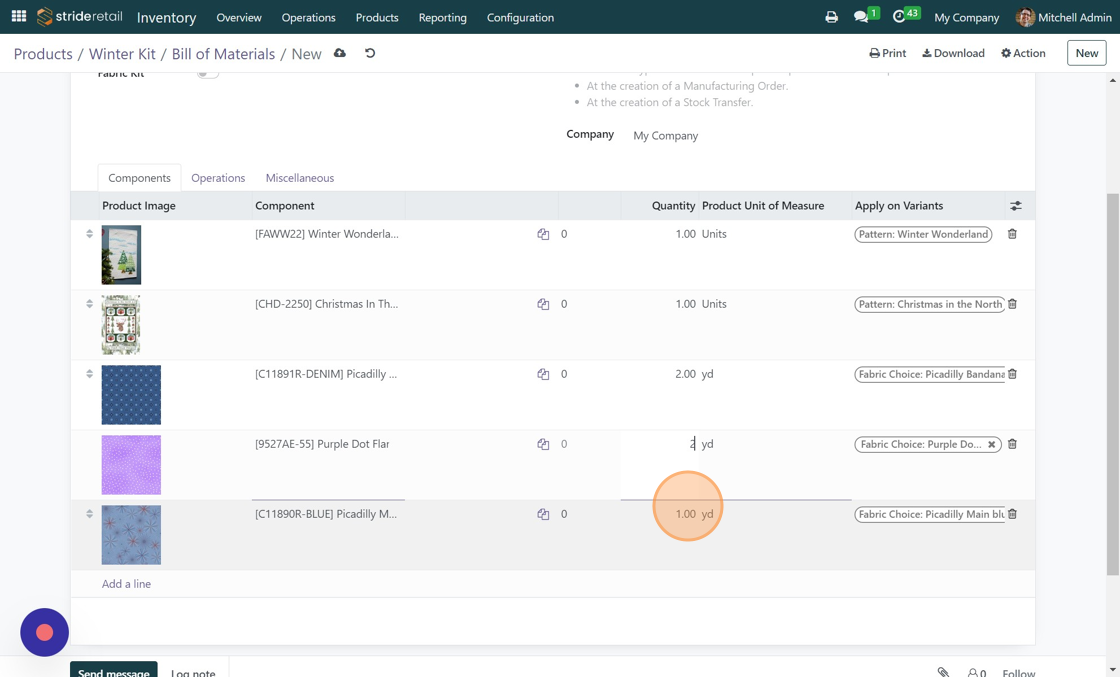
55. Click "[C11890R-BLUE] Picadilly Main Blue"
![Screenshot of: Click "[C11890R-BLUE] Picadilly Main Blue"](https://ajeuwbhvhr.cloudimg.io/colony-recorder.s3.amazonaws.com/files/2023-08-08/85ca4d0a-65dc-4ee2-acc3-123fb1586892/ascreenshot.jpeg?tl_px=0,0&br_px=1983,1199&force_format=png&width=1120.0&wat=1&wat_opacity=0.7&wat_gravity=northwest&wat_url=https://colony-recorder.s3.us-west-1.amazonaws.com/images/watermarks/FB923C_standard.png&wat_pad=357,497)
56. Click "1.00"

57. Type "2"
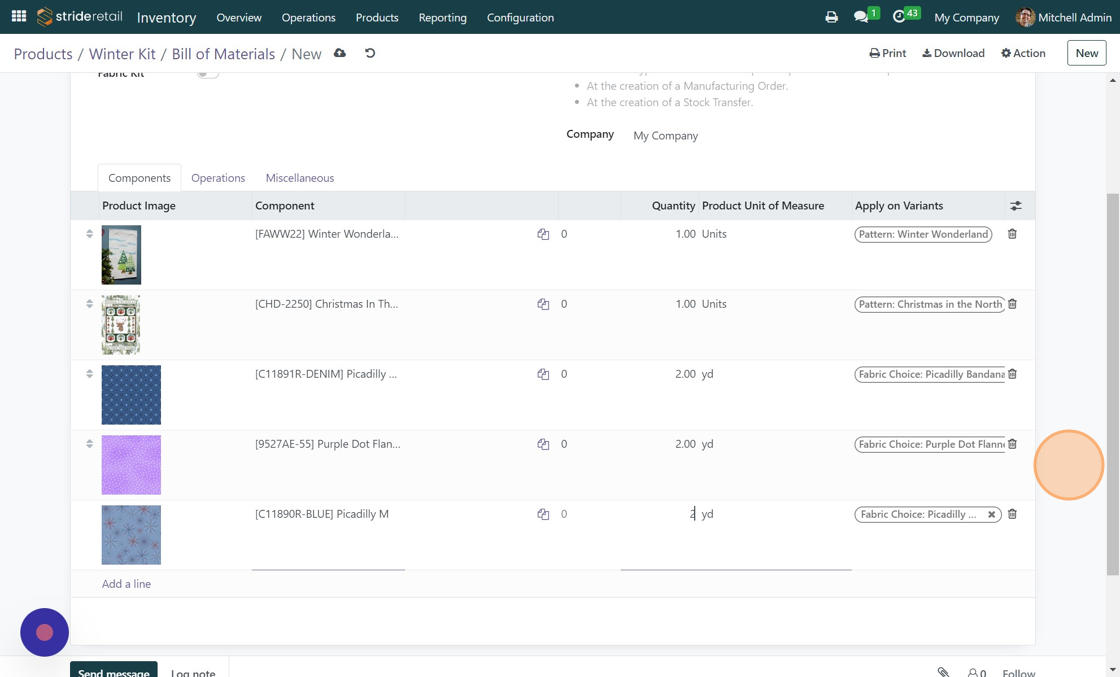
58. Click "1.00"
59. Type "2"
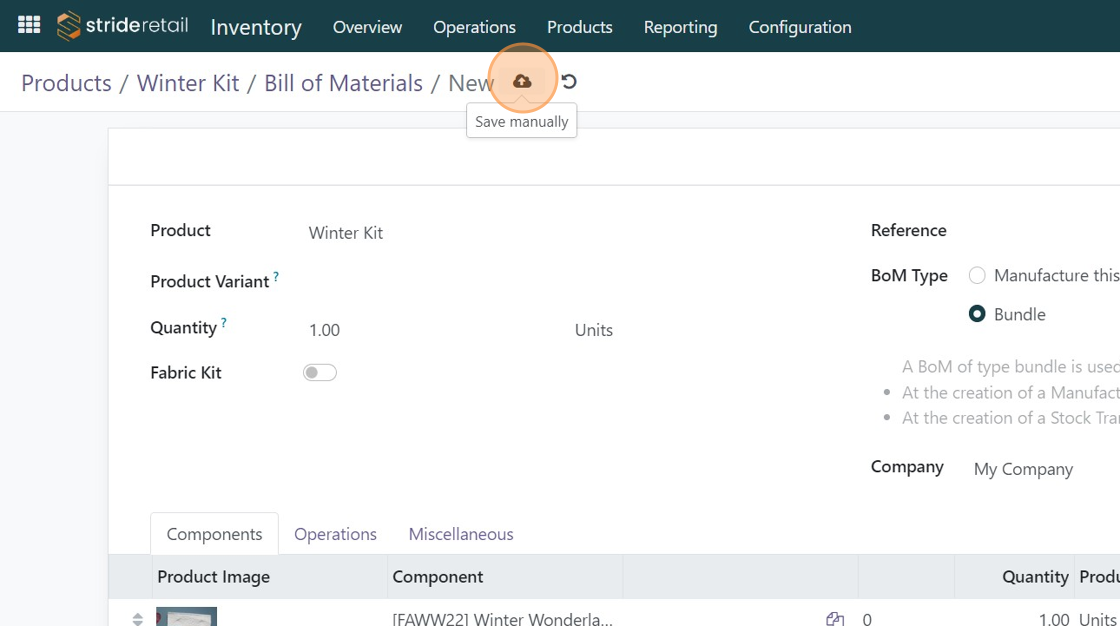
60. Click here.
61. Click here to save.
62. Click "Bill of Materials"
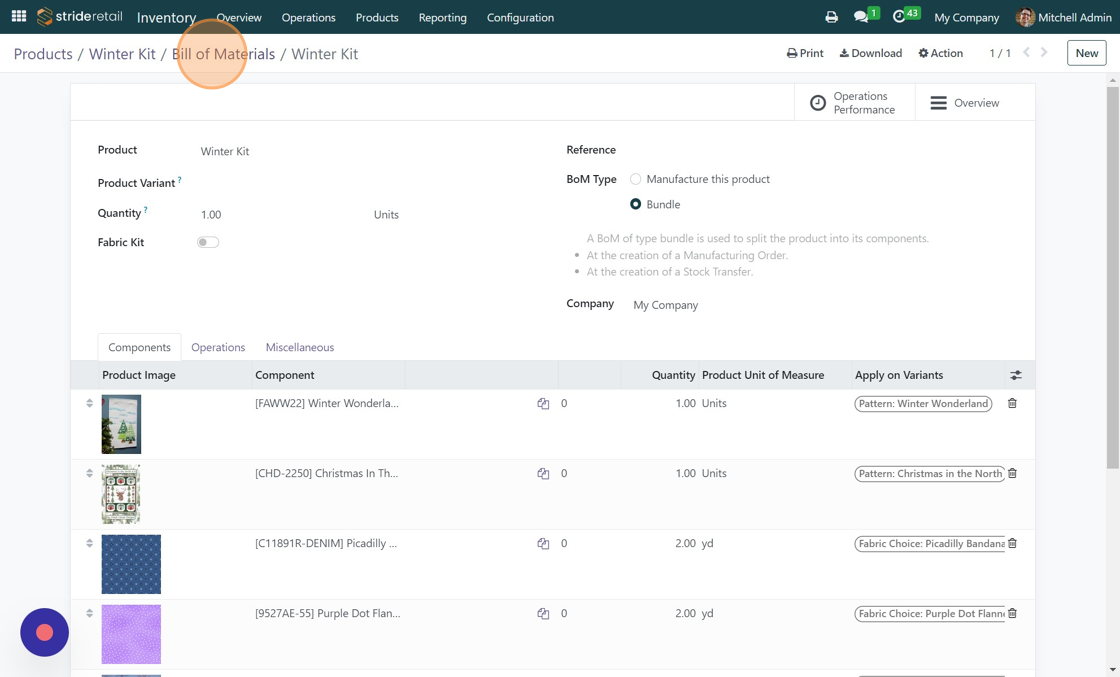
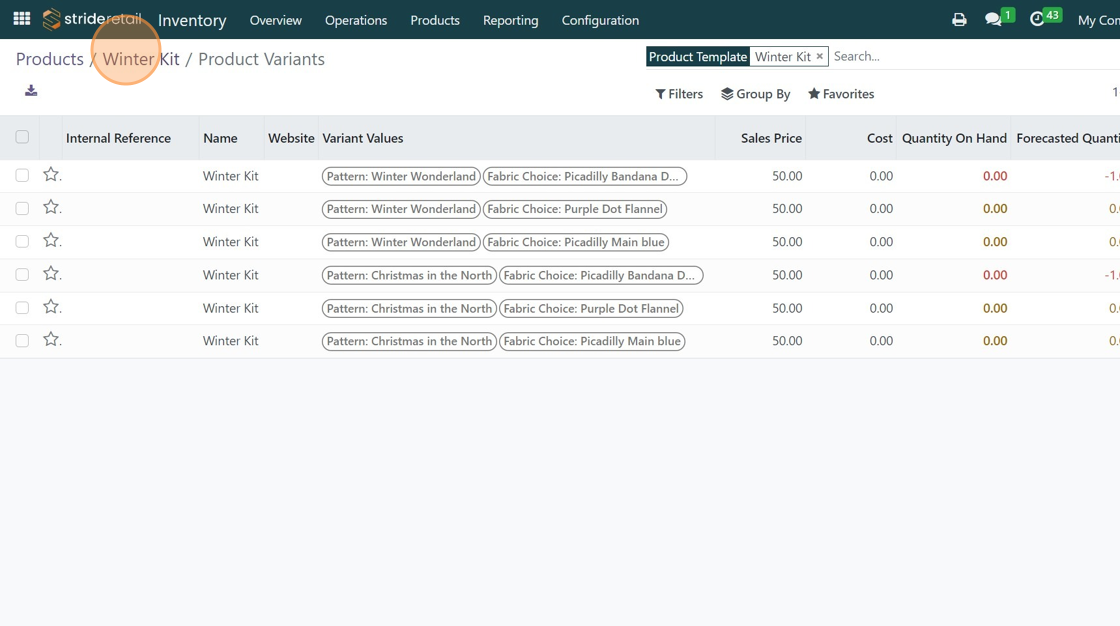
63. Click "Winter Kit" to go back to the product card. From here you are finished. The following slides show you how to check the inventory levels of the different variants.
64. Click "Variants"
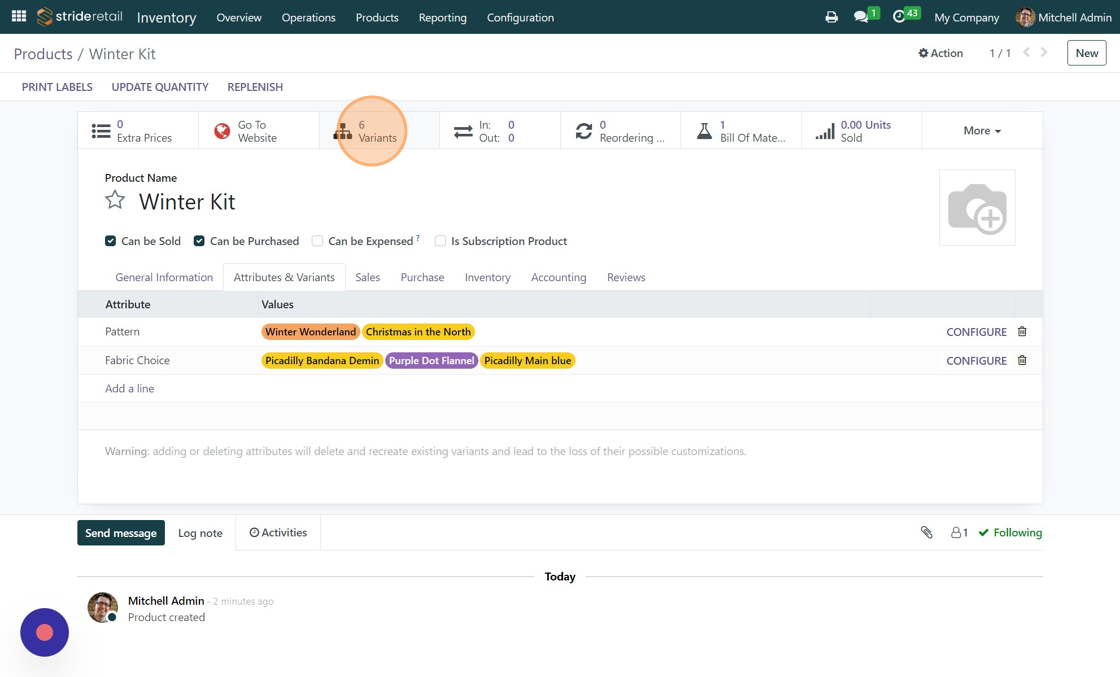
65. From here you can see that I don't have inventory for any of my individual components so there is nothing to sell for this product. I will need to add inventory before I can sell this.