Create an Event
Create an Event
Create an Event
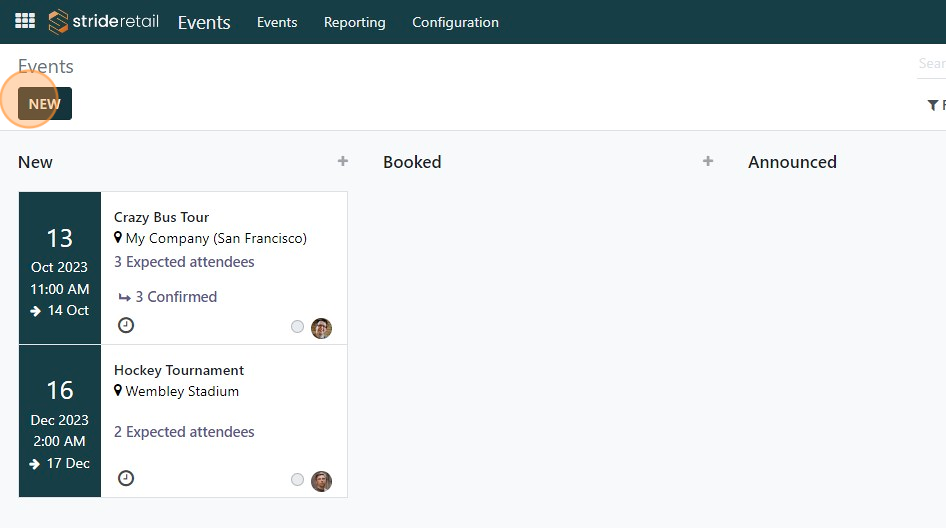
2. Click "NEW"
3. Click the "Event Name" field.
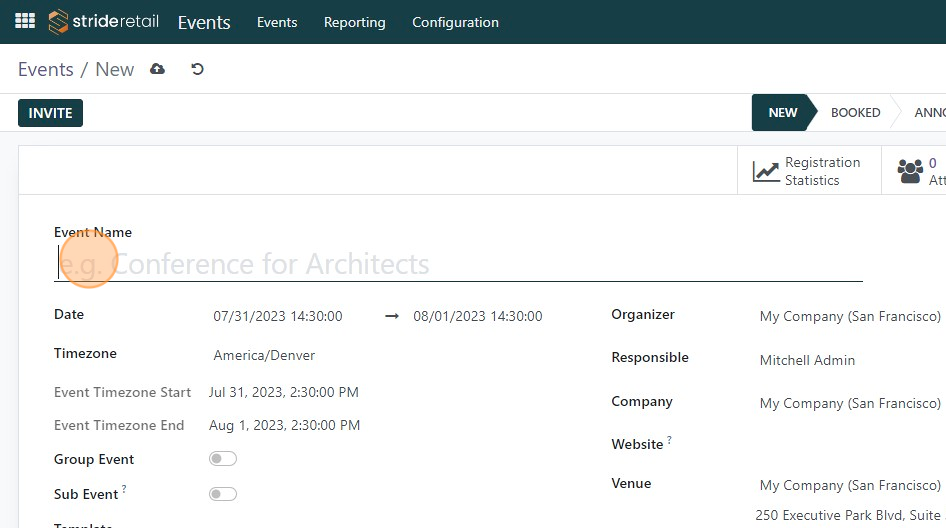
4. Add event name
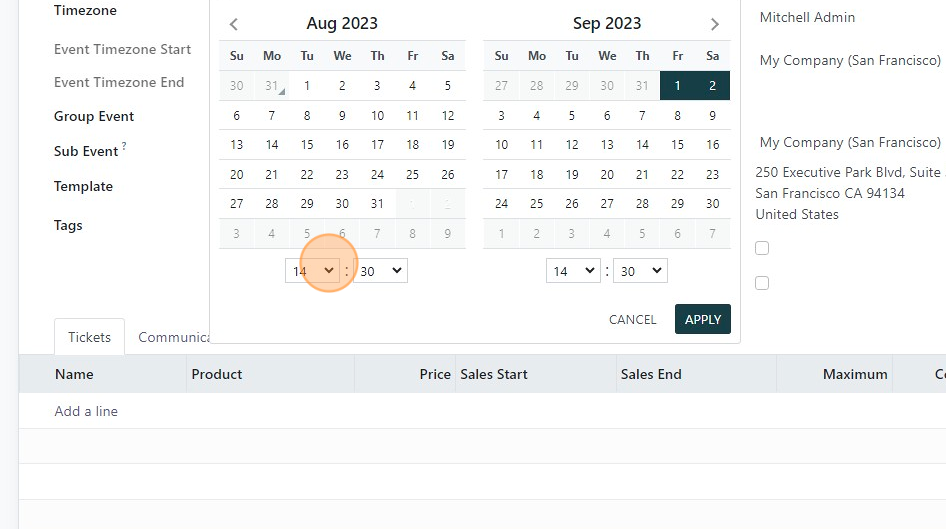
5. Click the "Date" field and select the start and end date as well as the time. Please note, times are listed in 24 hour format.
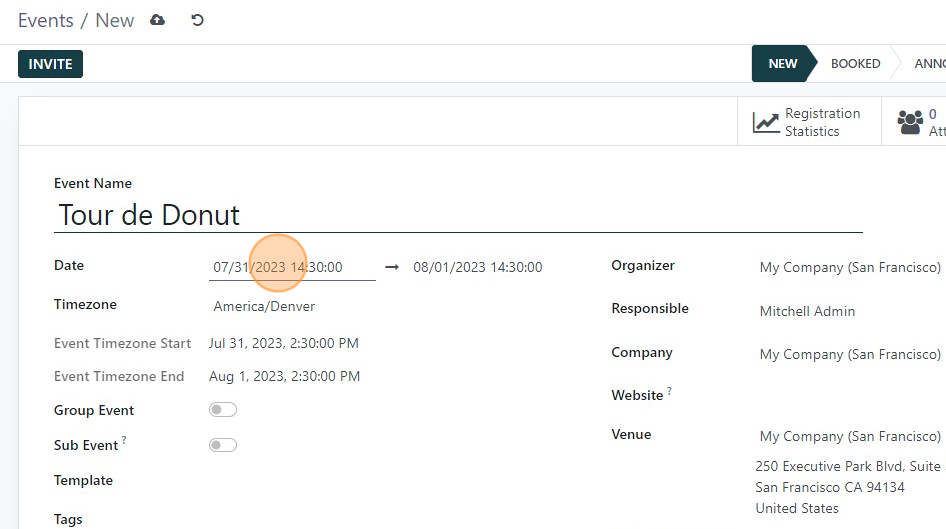
6. Click this dropdown to edit the time and date of the event.
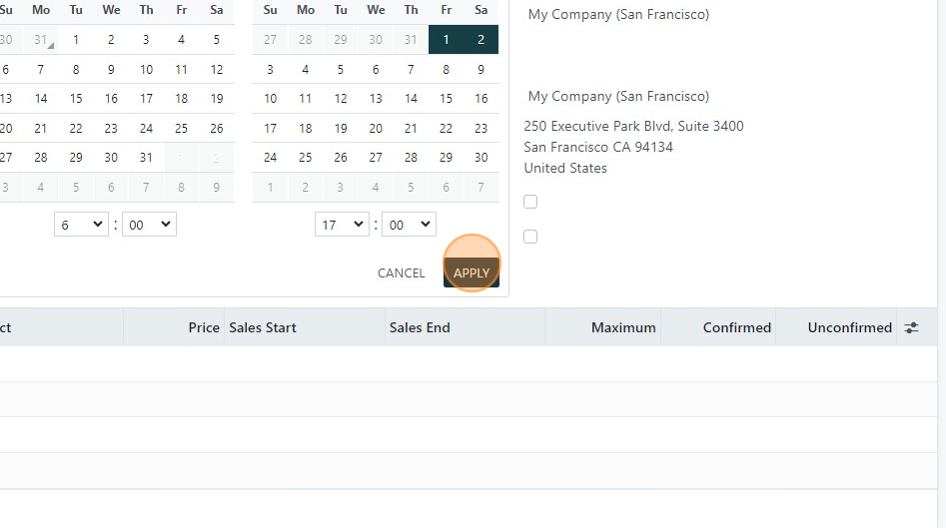
7. Click "APPLY"
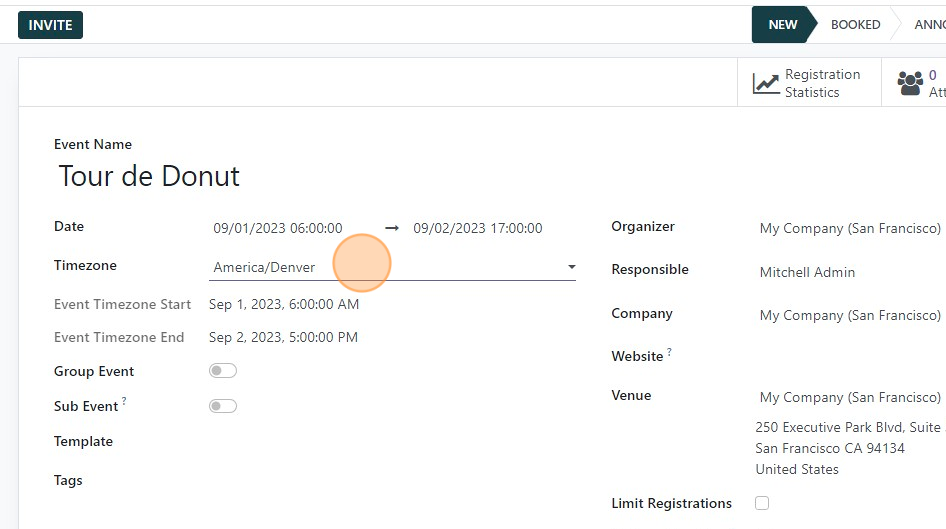
8. Timezone dropdown lets you change the timezone if needed.
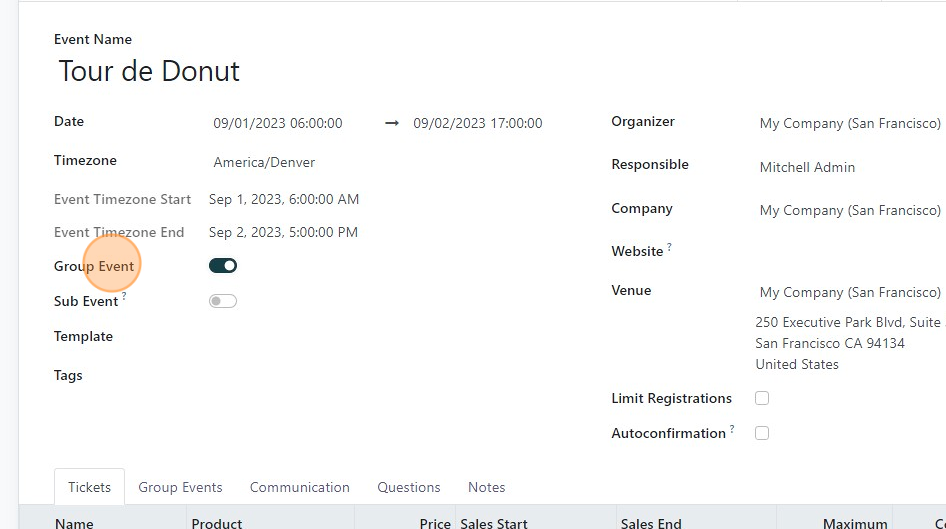
10. Group event or sub event toggle. You can use these to create grouped events. There is a separate training for creating a grouped event.
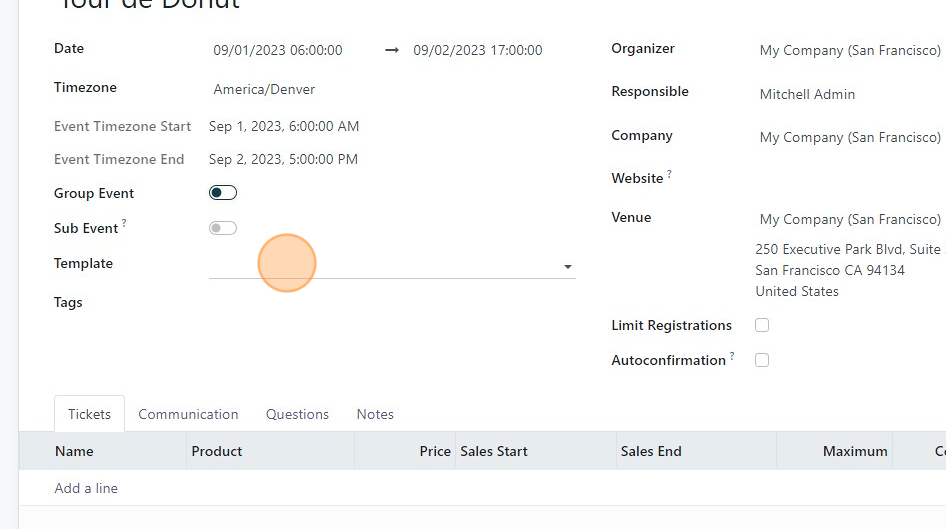
11. The template field allows you to select a template. There is a separate training on how to create new templates.
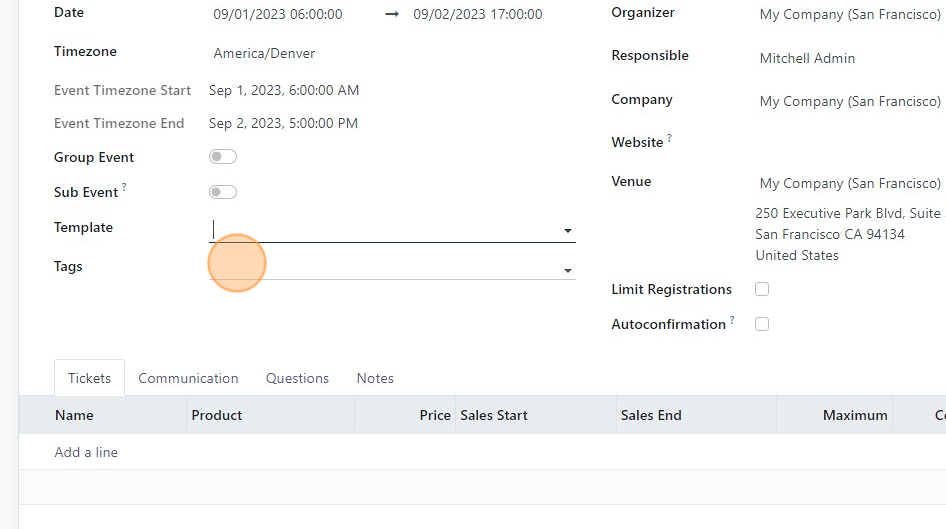
12. Click the "Tags" to add tags. You can create them from here, but there is a separate training on how to create tags and categories for organizing online.
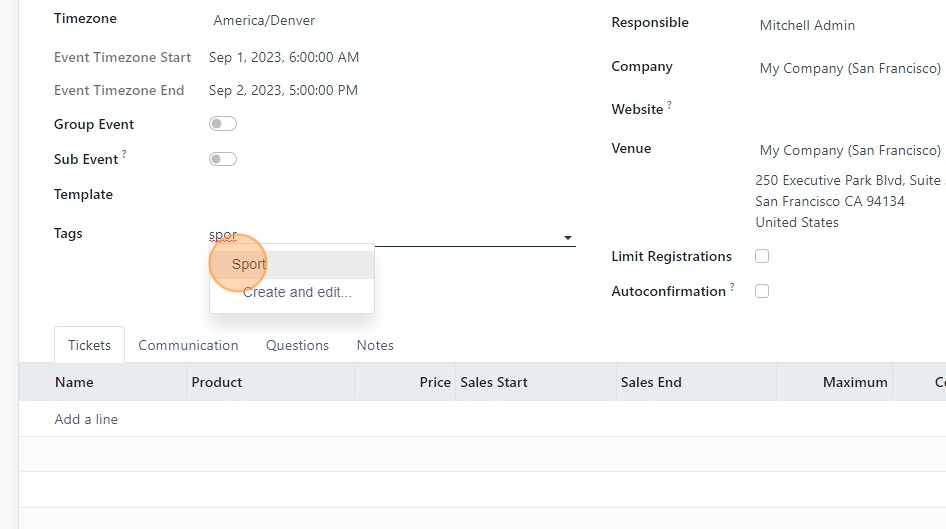
13. Click the tag you wish to use. (optional)
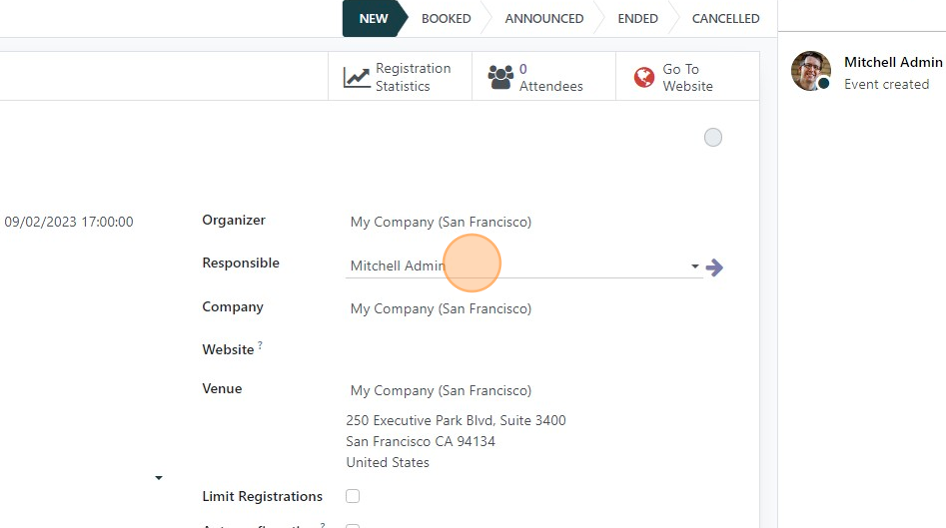
14. Click the "Responsible" field and select who is responsible for the event. Only users with an internal account can be assigned as responsible.
15. Click the "Venue" field to select a venue. It defaults to your company, but you can change it to any location needed. Please note that the Venue field is populated from your contacts. You can add a venue on the fly by deleting out your company information and creating a new "contact" and adding the location. See the next steps.
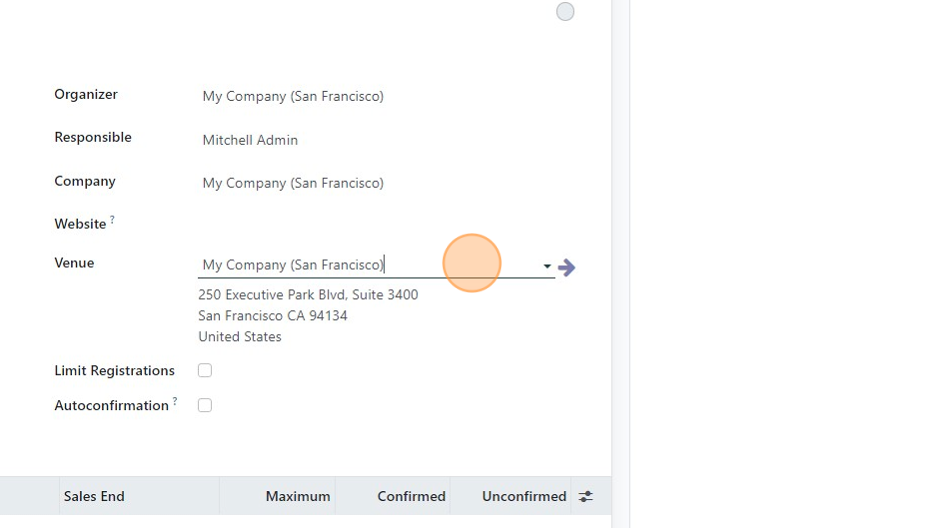
16. Click the "Venue" field.
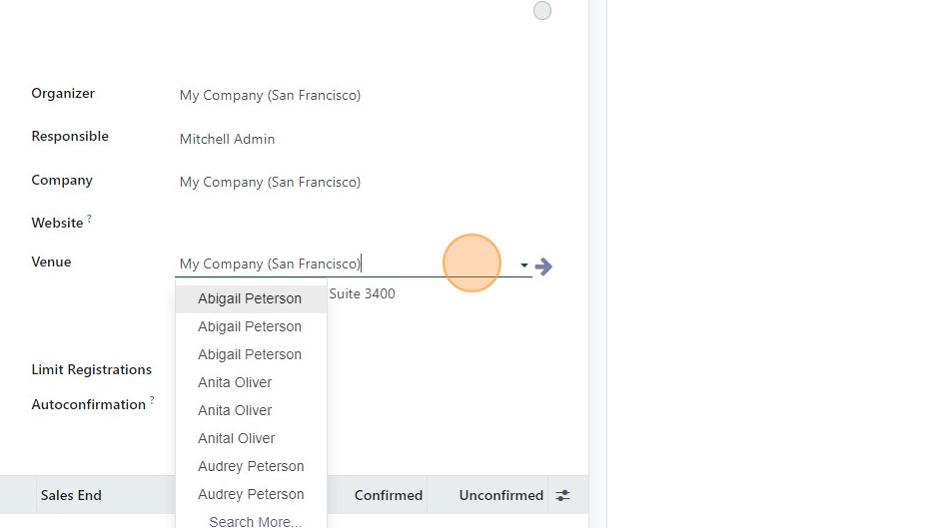
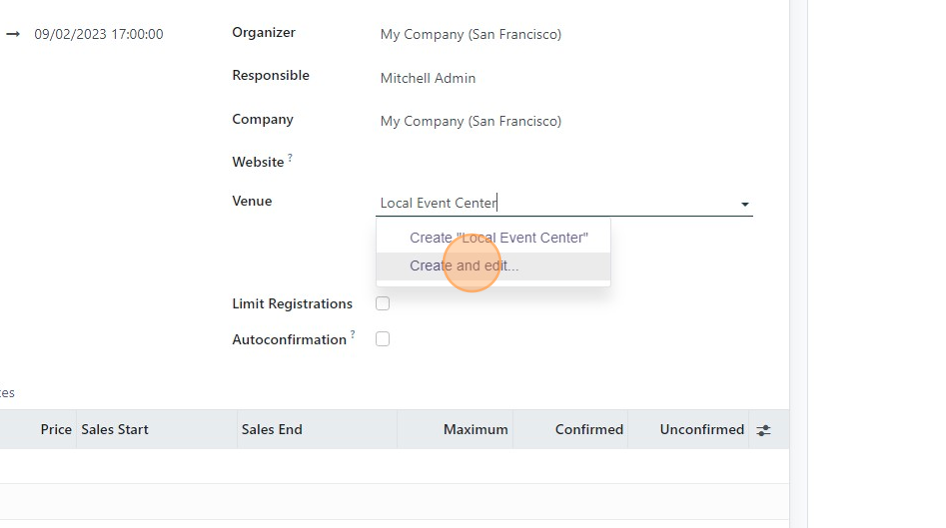
17. Delete your company information. Type in the name and select if the venue already exists in your system. If not, "click create and edit".
18. Click "Create and edit..."
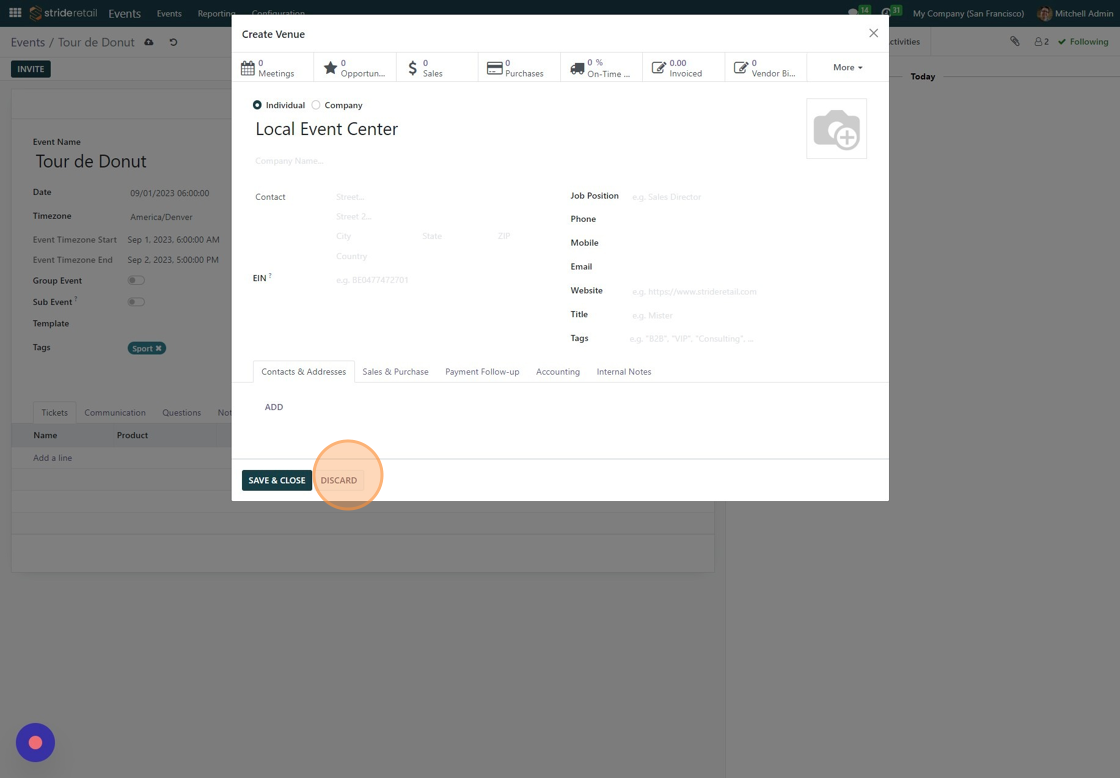
19. This will bring up a dialogue where you can create a new contact with the venue information. If you will be using this new contact hit "save and close". Otherwise you can discard.
20. Click the "Limit Registrations" field.
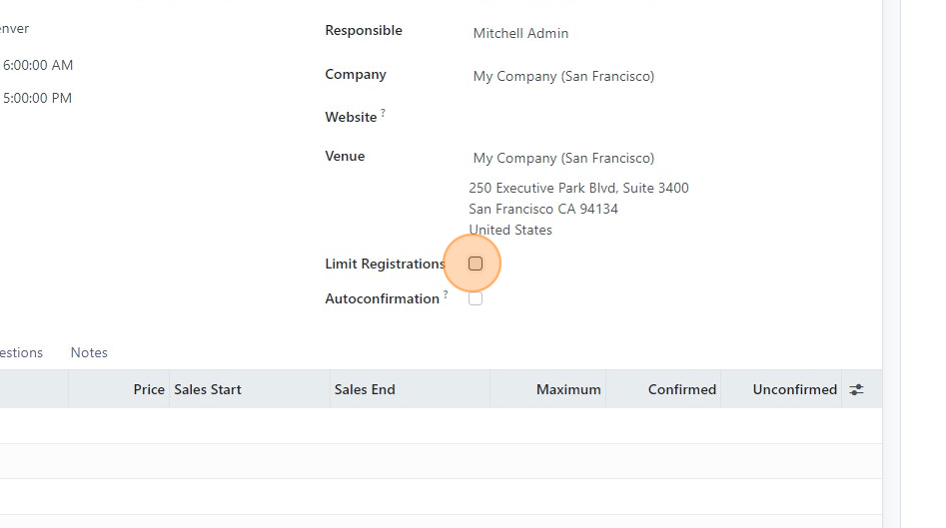
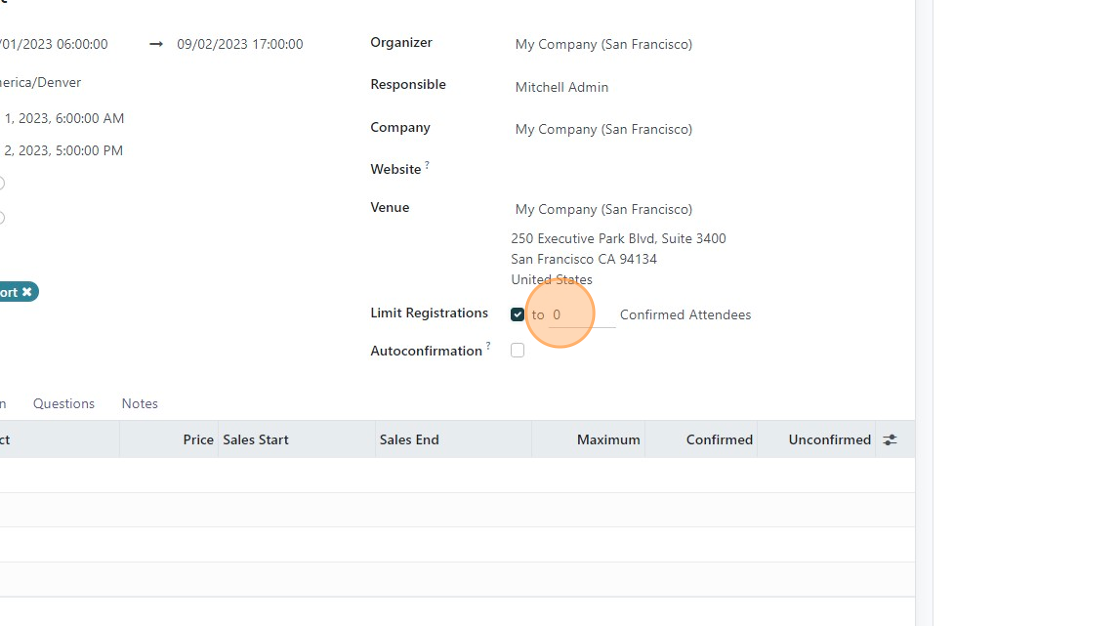
21. This button limits the overall number of registrations. With Stride you can create multiple ticket types with different amounts of tickets available for each type. This field here is the master and will limit all sales.
22. Click "?" to see what the prompt says.
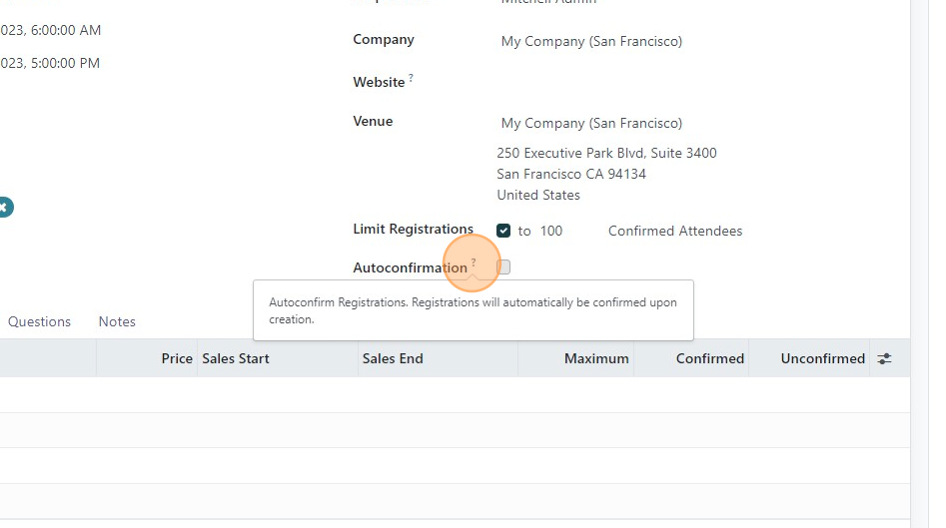
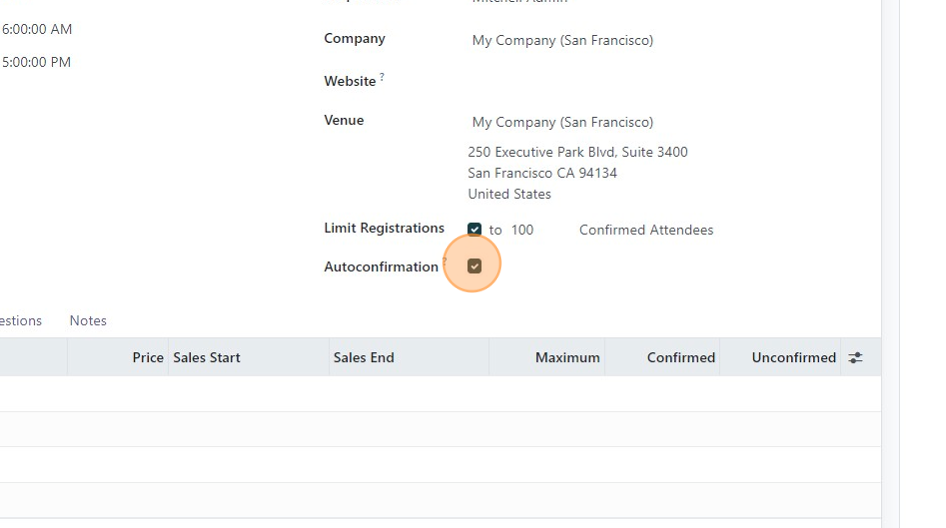
23. The autoconfirmation field confirms the attendee as soon as they complete the registration form BUT before they have paid. So, if potential attendee fills out the form, but doesn't pay they will still be confirmed. This allows customers to sign up and it reserves their spot. Invoices could be sent out separately for payment. Leave blank if you need payment before confirmation.
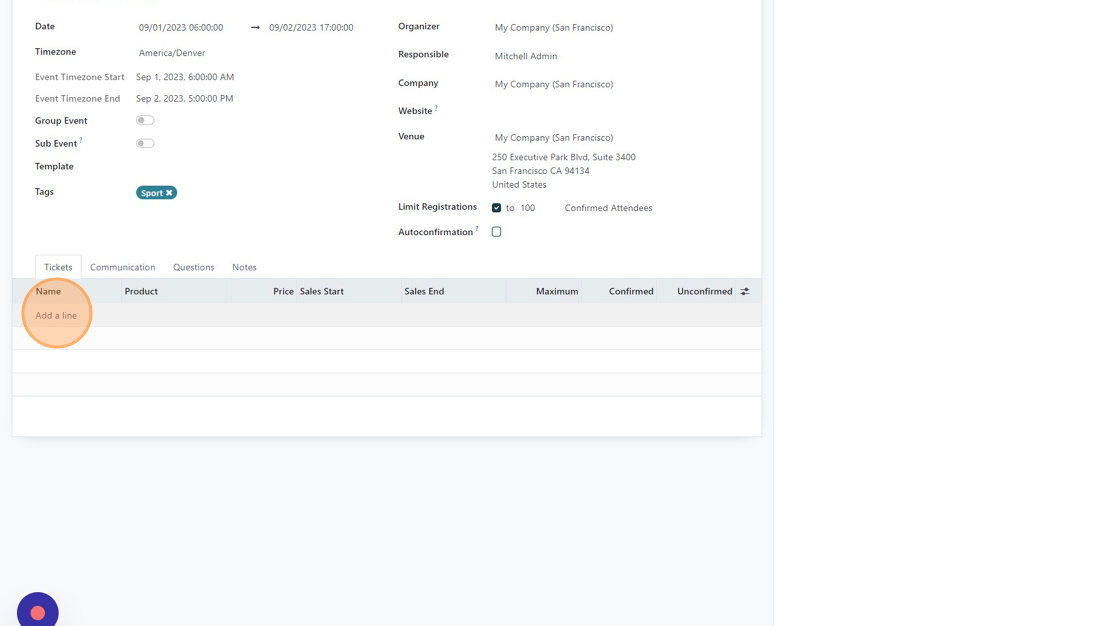
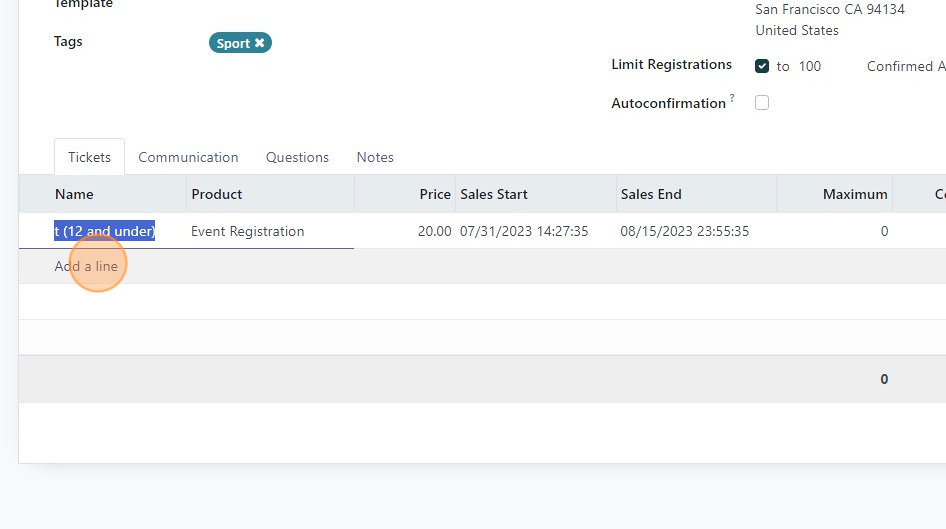
24. In the tickets tab you can add different ticket types. Click "add a line".
25. Click the "Name" Field and change the name of the ticket if desired.
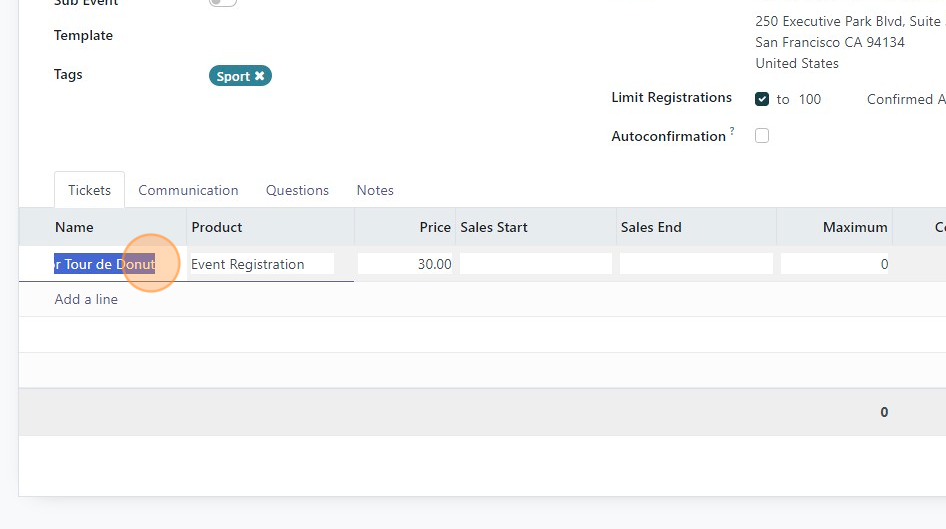
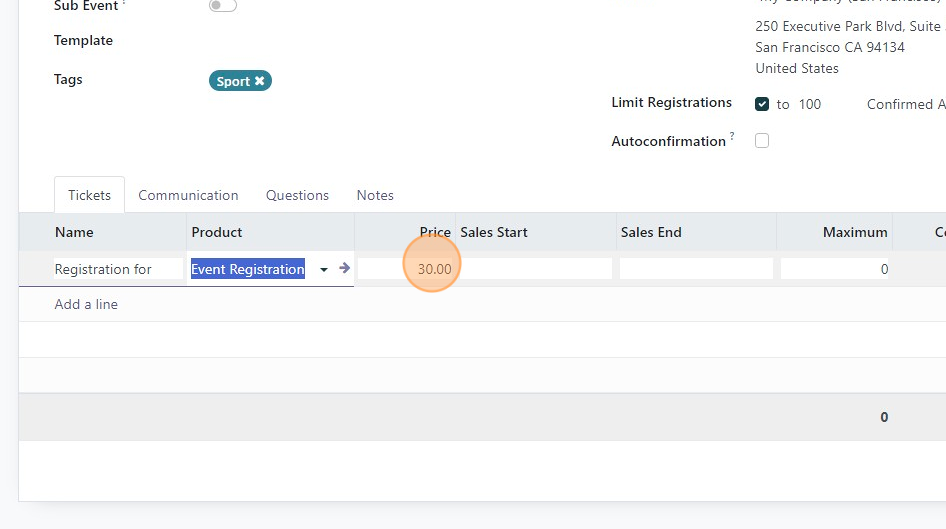
26. The event product defaults to the "Event Registration" product. If you need more specific reporting or need to tie this to a subscription you will need to change the Product to something specific. There is another tutorial for this operation. Click the "Price" column to change the price of this ticket.
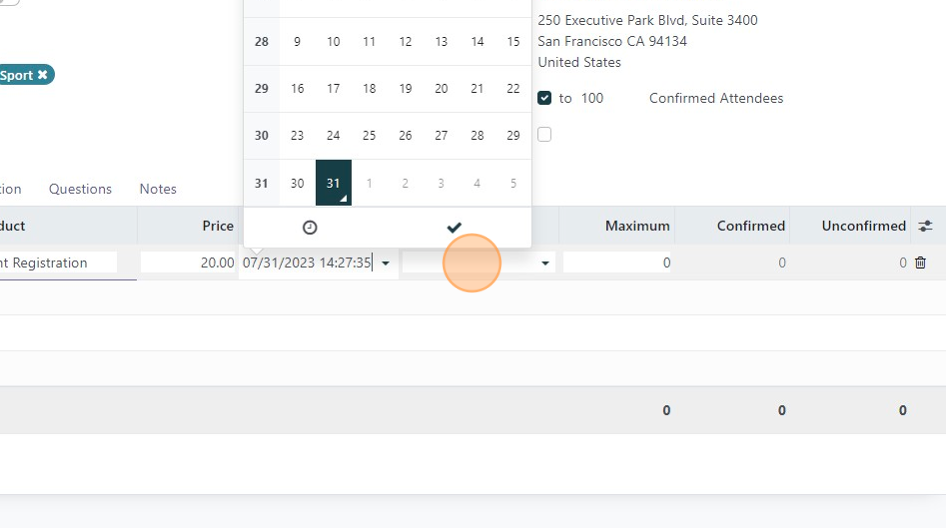
27. Click this text field to set the date tickets will go on sale.
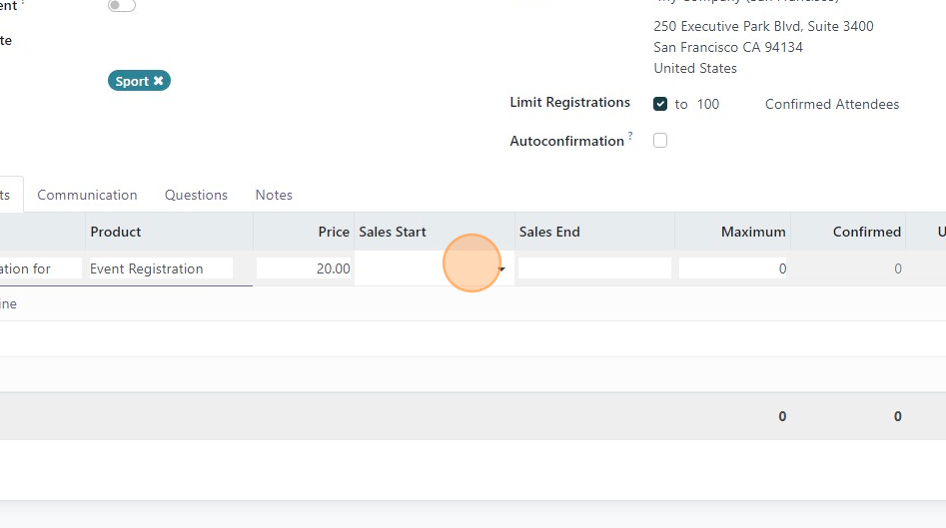
28. Click this text field to select the date tickets will no longer be sold.
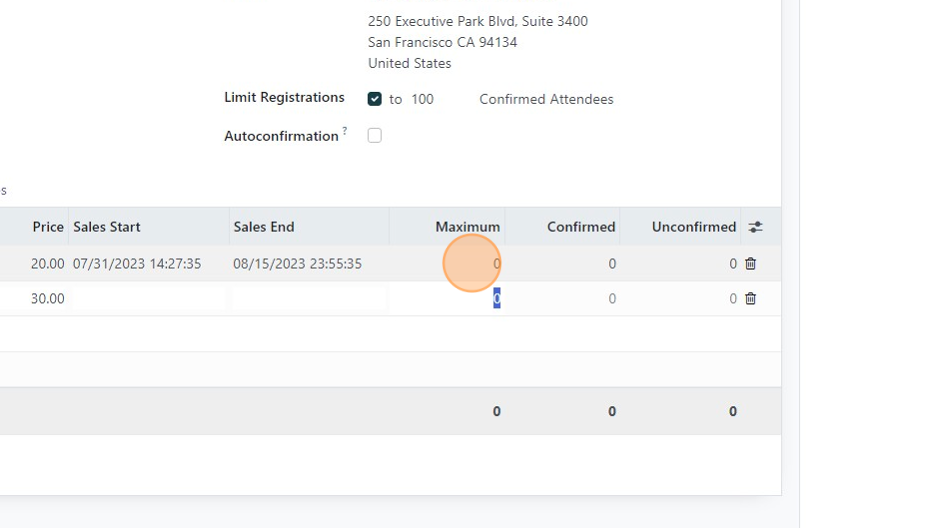
29. Click "Add a line" to add another ticket.
30. The maximum column allows you to set a different number of ticket types sold. You can set them for each individual ticket. In this example though, the total number of tickets sold (of each type) is 100.
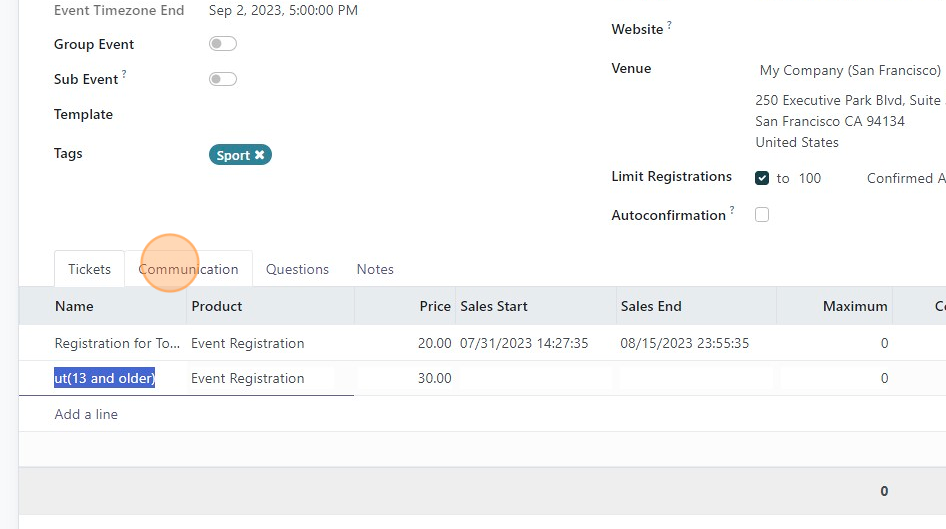
31. Click "Communication" to change your communication preferences. There is another tutorial for more in-depth communication training.
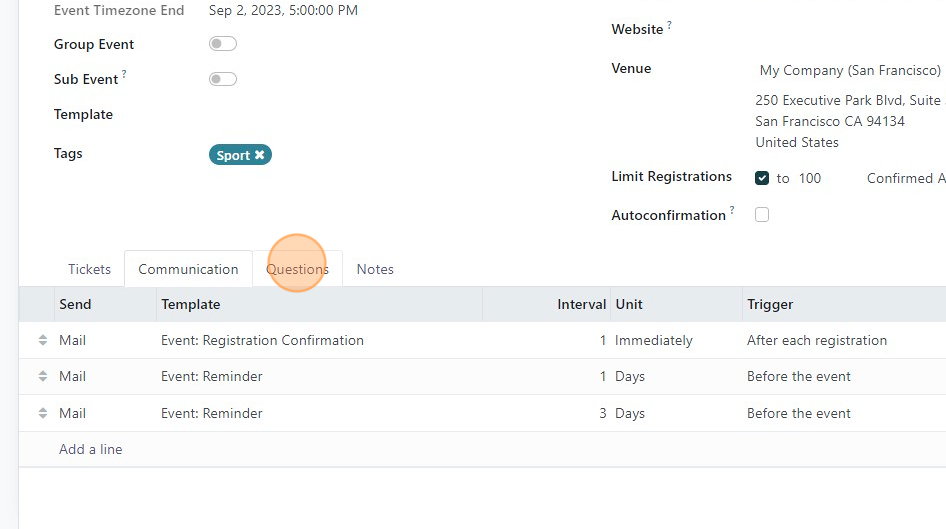
32. Click "Questions" to add questions to ask the attendee before they check out.
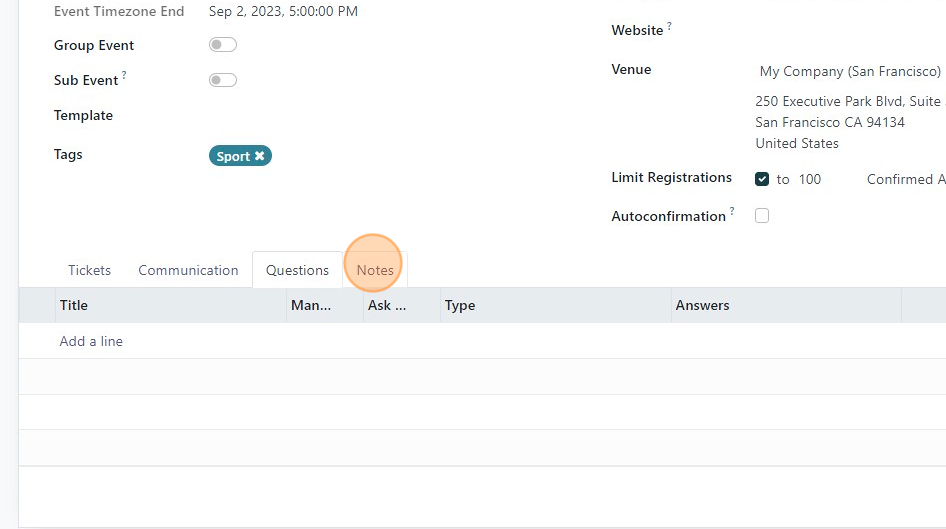
33. Click "Notes" to add internal notes and external notes.
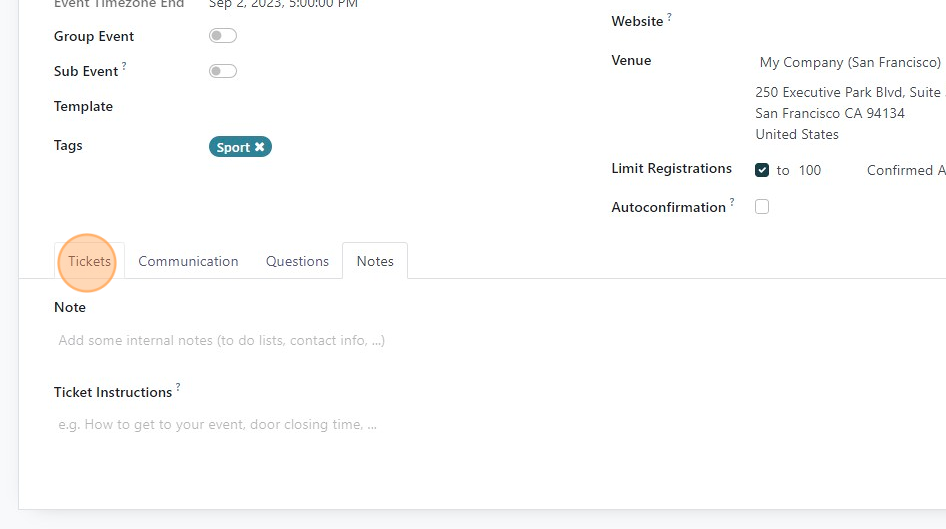
34. Click "Tickets"
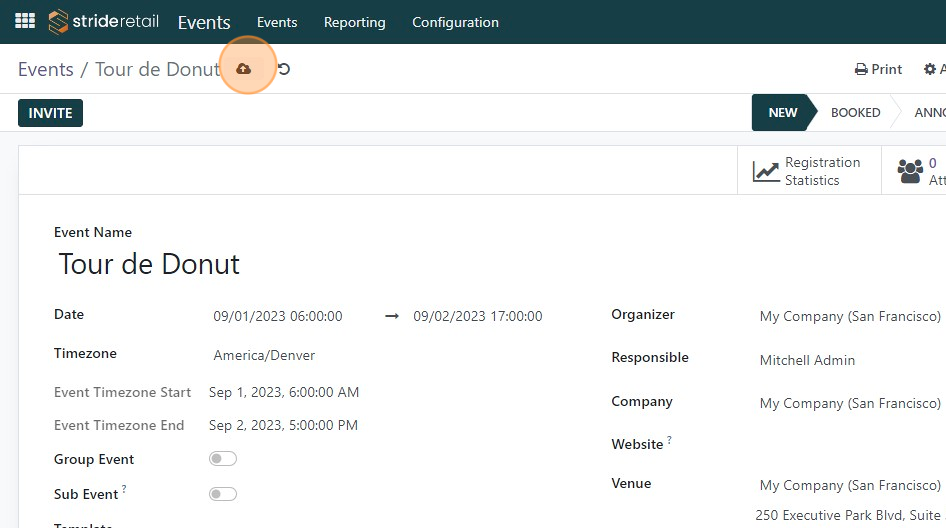
35. Click here to save.