Create an eCommerce Category
Create eCommerce Category
Creating a New eCommerce Category
There are two ways to create an eCommerce Category
1. Through the Website Module
2. Through the Inventory Module
In this tutorial you can see both. We will start with the Website Module Method. Then we will create one through the Inventory Module.
2. Click this image.
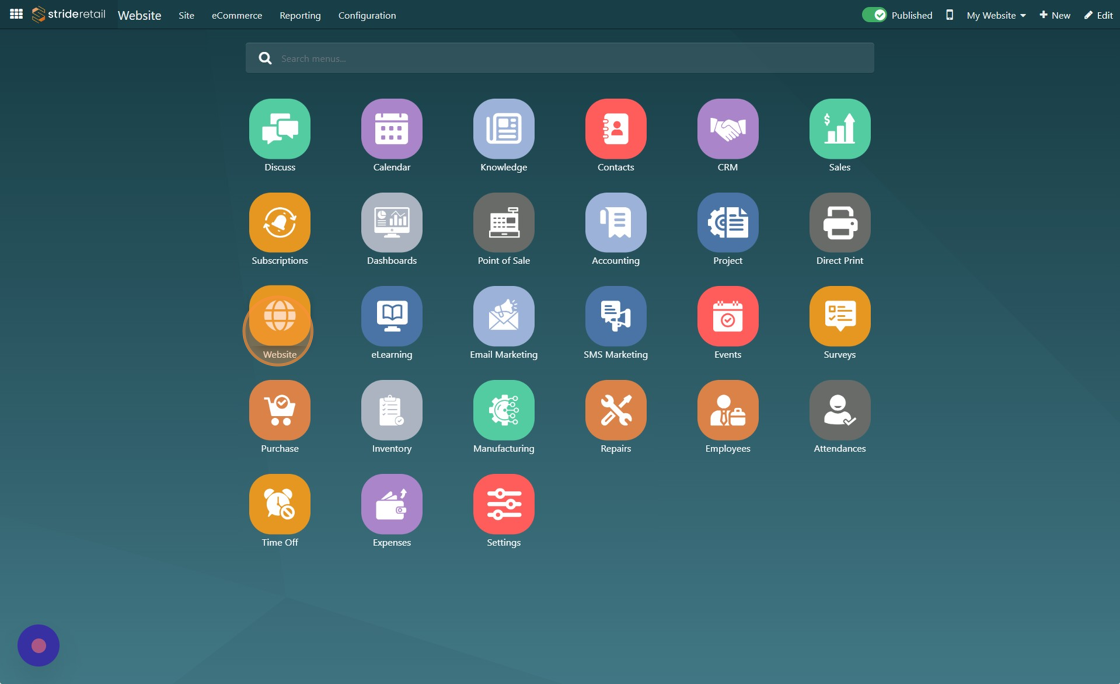
3. Click "eCommerce"

4. Click "eCommerce Categories"

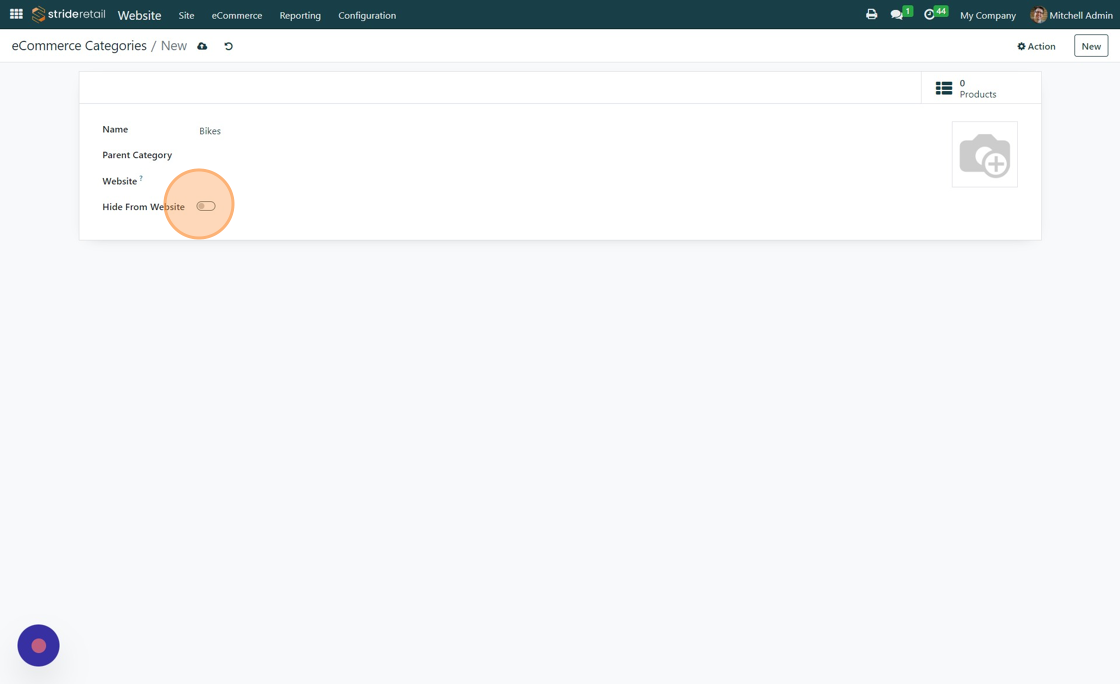
5. Click "NEW"

6. Click the "Name" field.
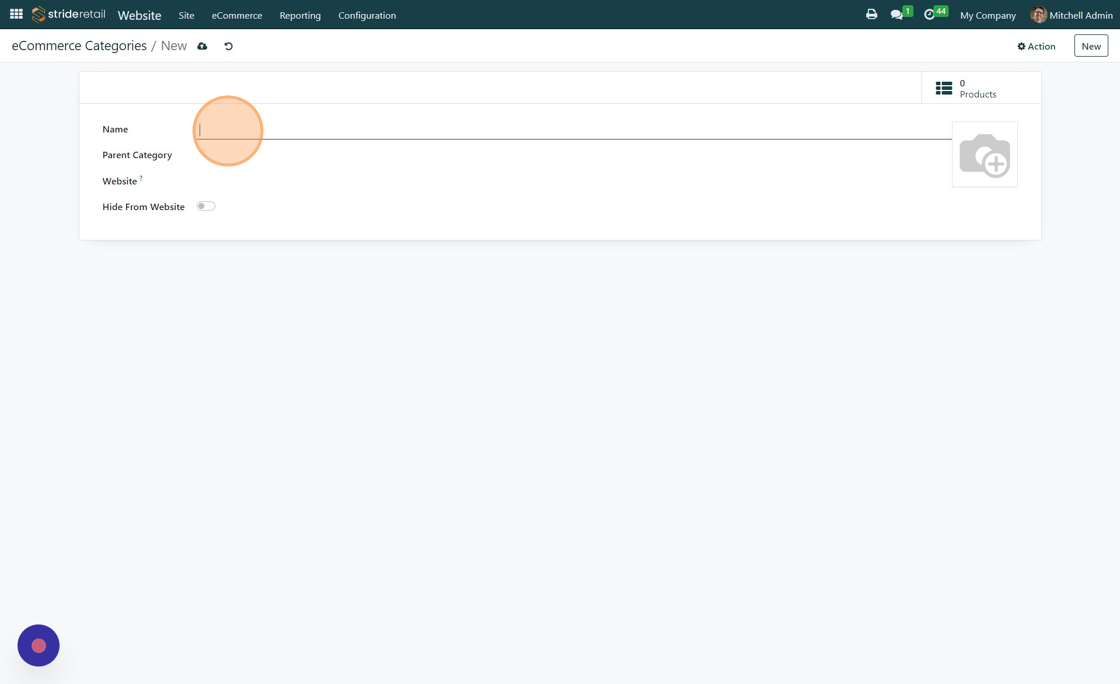
7. Type the name of the category you want to create.
8. Click the "Parent Category" field if you want to add a parent category. Ecommerce categories can be hierarchal if you want them to be.
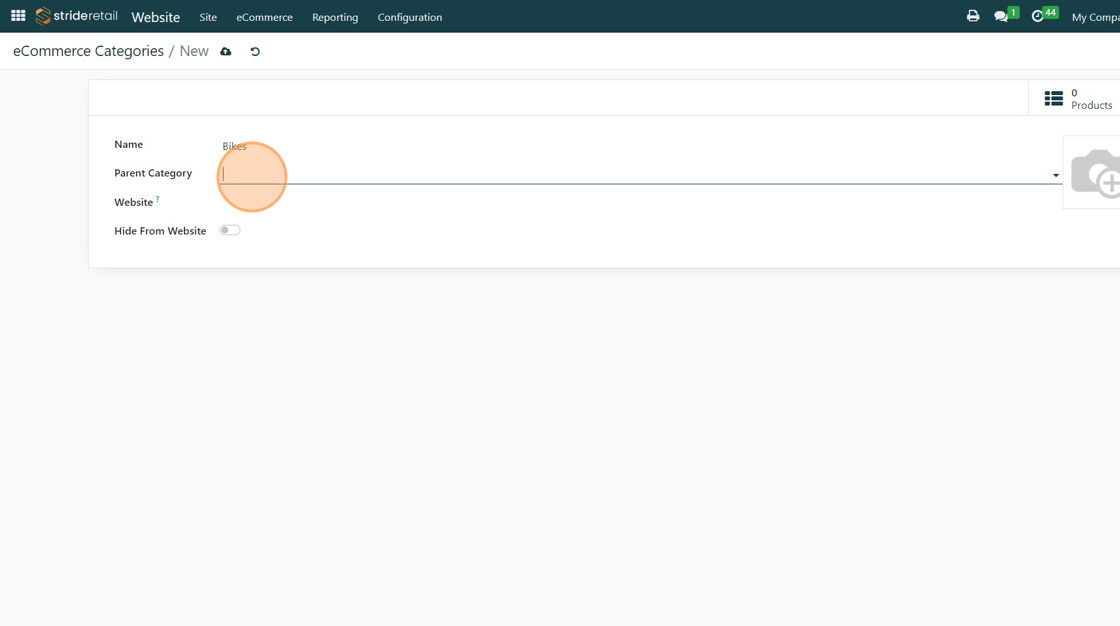
9. *The "Hide from Website" field is for you to remove the category from the website without archiving it or deleting it.
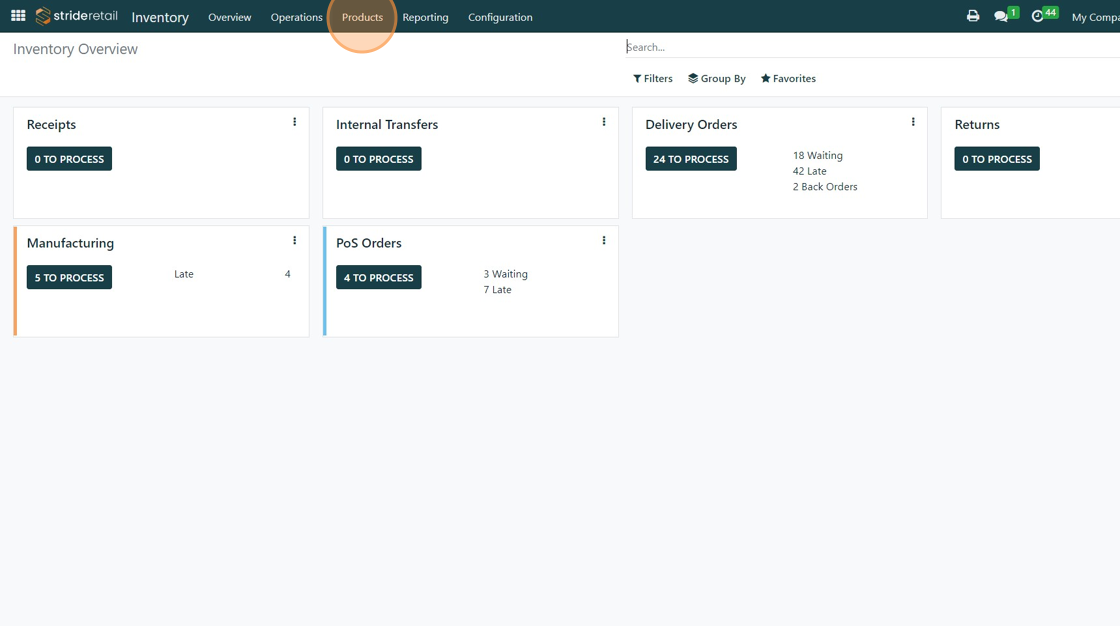
10. To create an eCommerce category through the Inventory module go to the Inventory module.

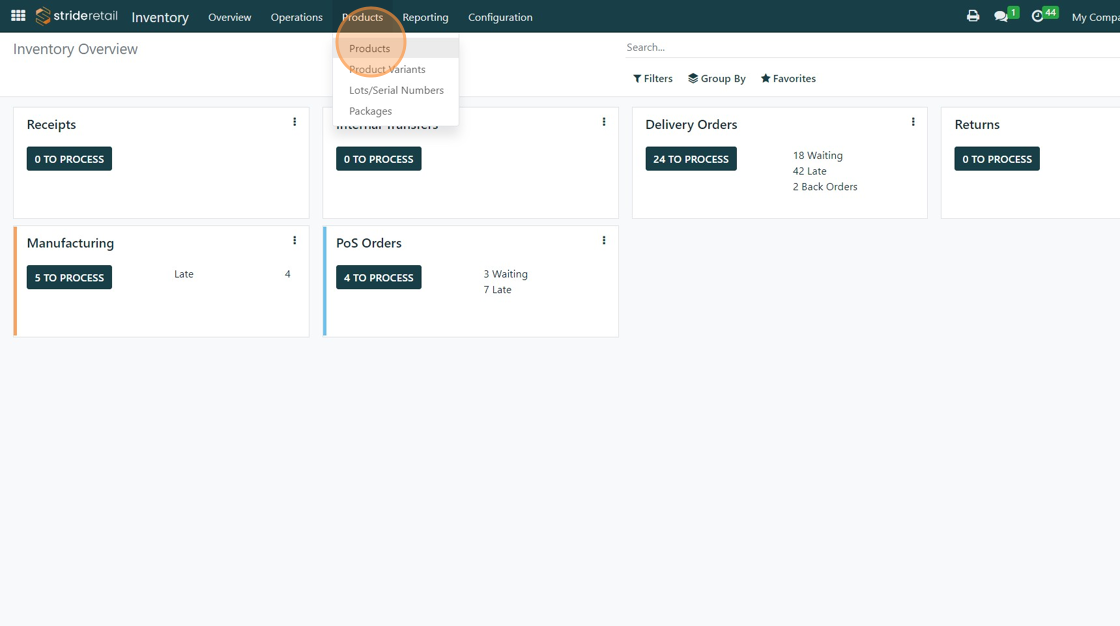
11. Click "Products"
12. Click "Products"
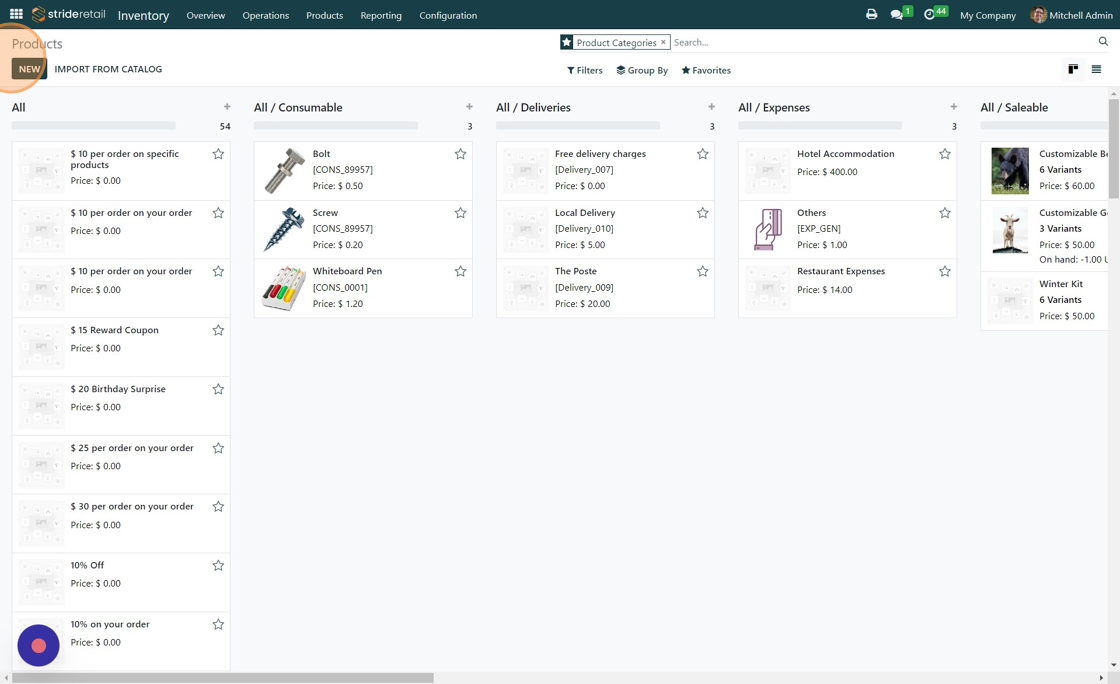
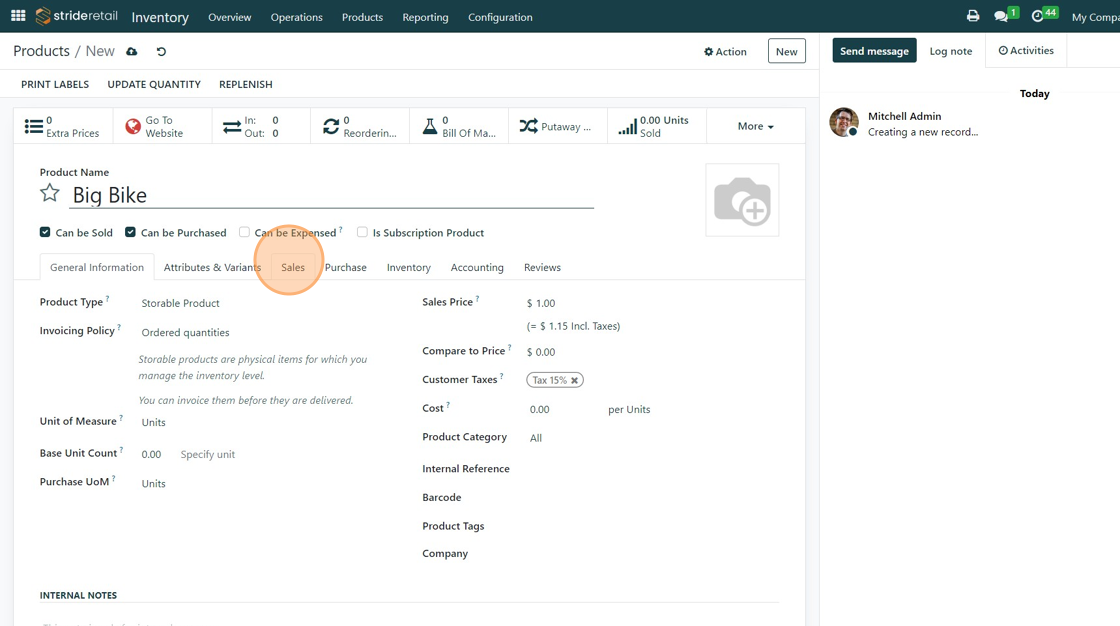
13. You can create a product or select an existing product.
14. Click "Sales"
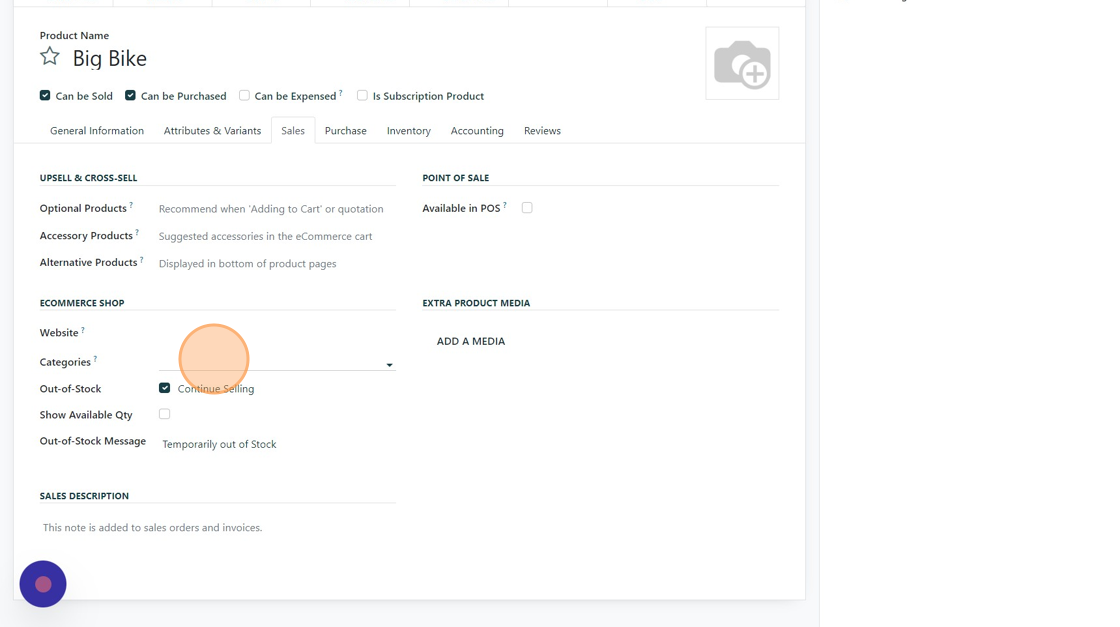
15. Click the "Categories?" field.
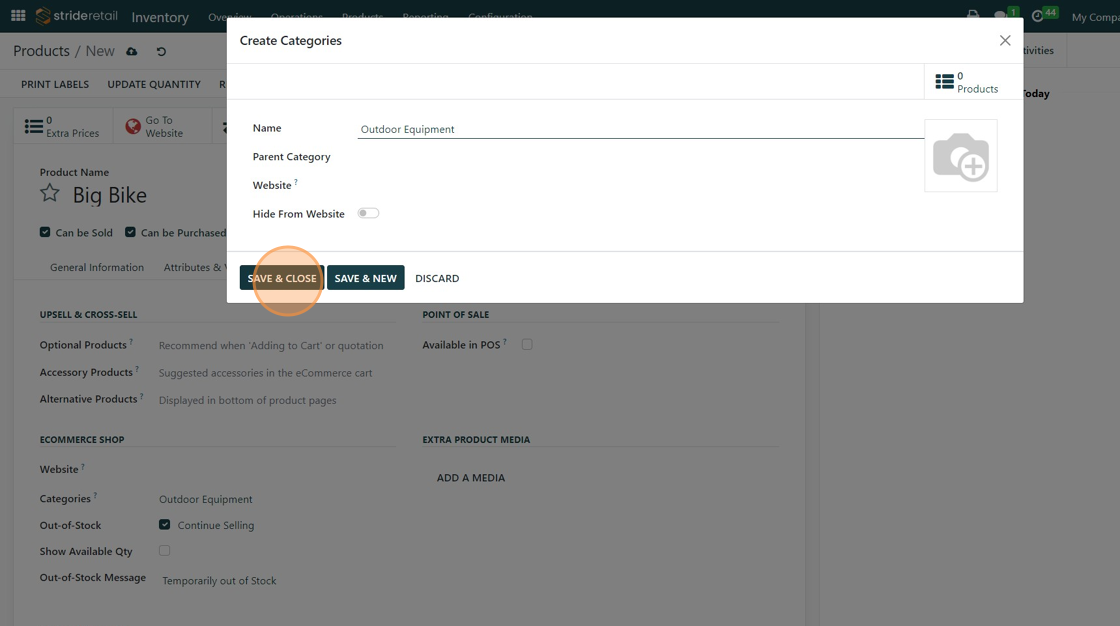
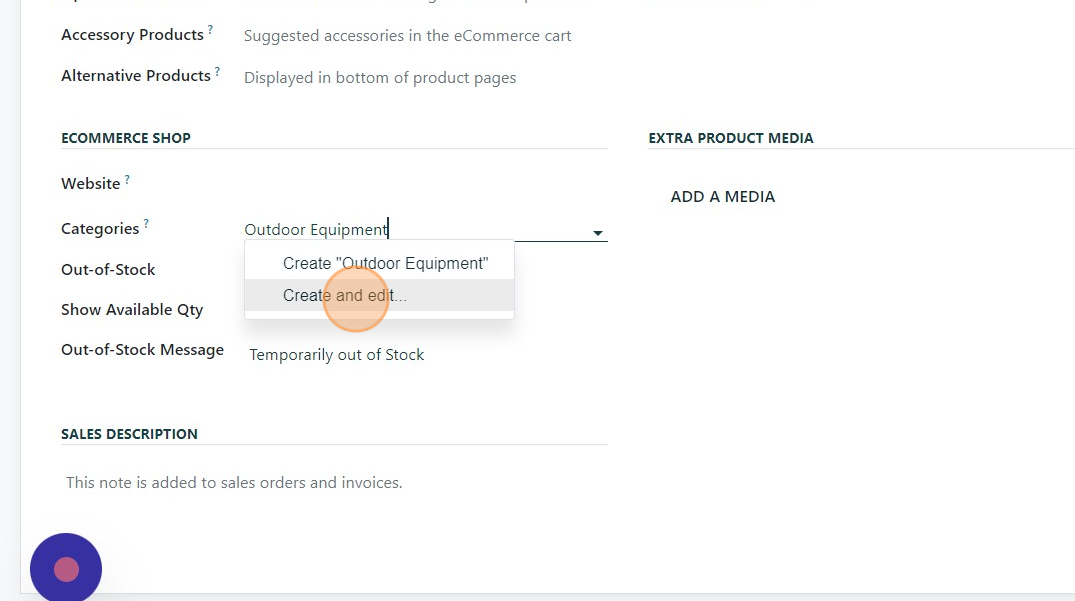
16. Type the name of the category. If it does not exist a dialogue box will prompt you to "Create" or "Create and Edit". Choose "Create and Edit" to edit the eCommerce category. Otherwise you will not be able to set the hierarchy at this time.
17. Click "Create and edit..."
18. Click "SAVE & CLOSE"