Create a New Blog Post

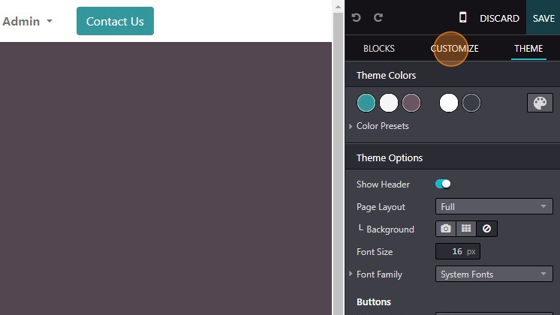
Intro to Stride Blog Platform


Two ways to create a new blog post.


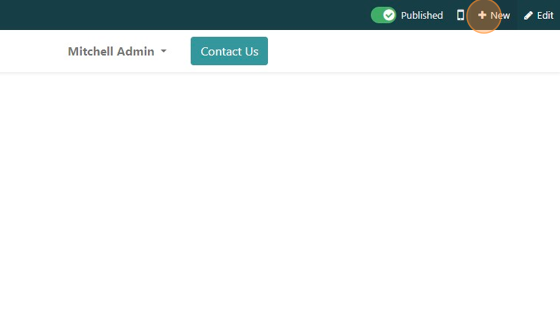
1. Navigate to the website module. There are two ways to start a new blog post.

2. This is the first way. Click "+New" on the ribbon.

Screenshot of: This is the first way. Click "+New" on the ribbon.

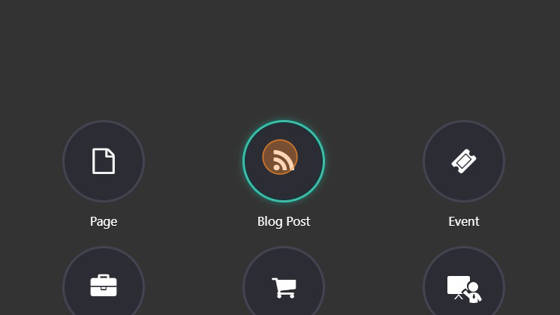
3. Click the blog post icon.

Screenshot of: Click the blog post icon.

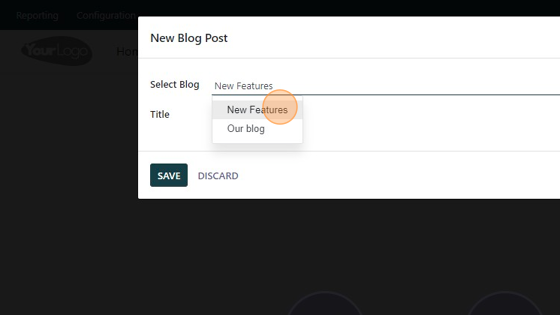
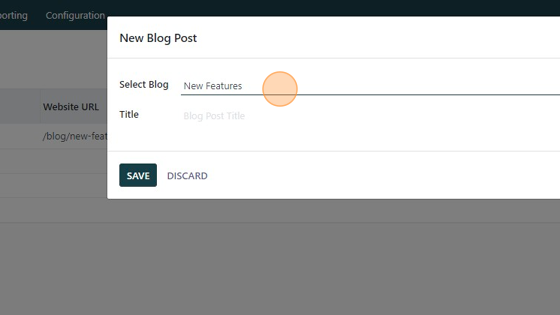
4. Choose the blog you want the post to be in.

Screenshot of: Choose the blog you want the post to be in.

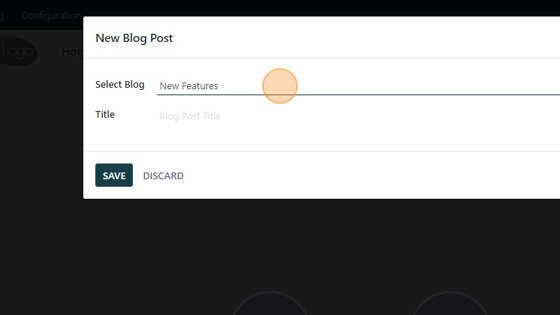
5. Example of multiple blogs

Screenshot of: Example of multiple blogs

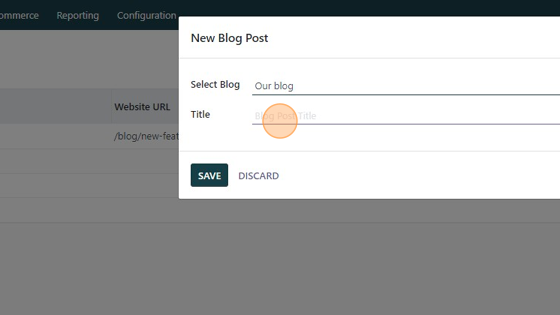
6. Click the "Title" and add a title for your post.
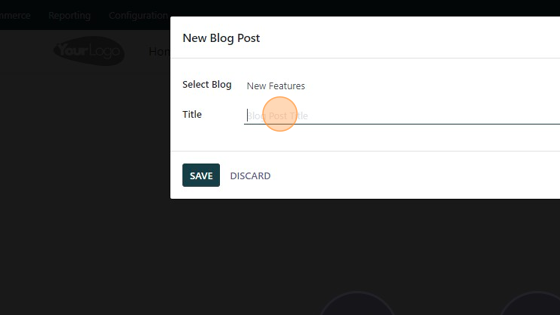
Screenshot of: Click the "Title" and add a title for your post.

7. Click "SAVE"

Screenshot of: Click "SAVE"

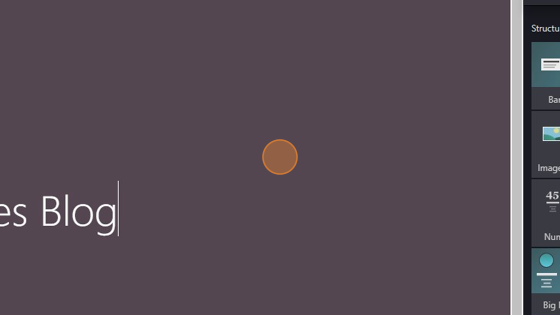
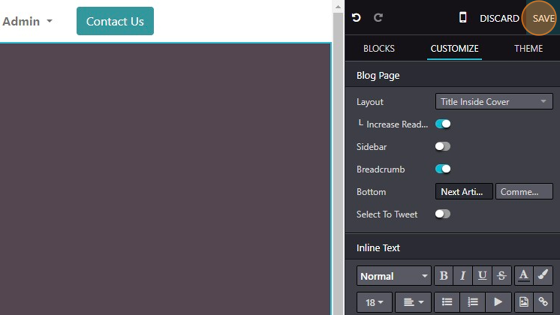
8. This will start a new blog post in the website editor mode.

Screenshot of: This will start a new blog post in the website editor mode.

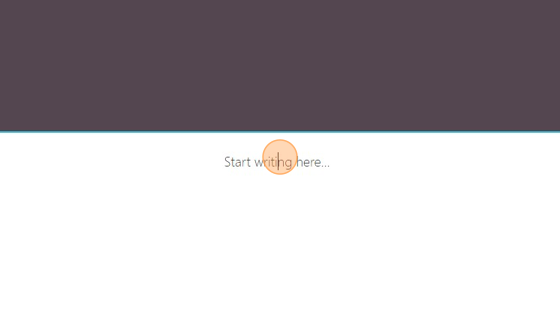
9. Click "Start writing here..." to start writing your blog.

Screenshot of: Click "Start writing here..." to start writing your blog.

10. Click "SAVE" to save your post.

Screenshot of: Click "SAVE" to save your post.

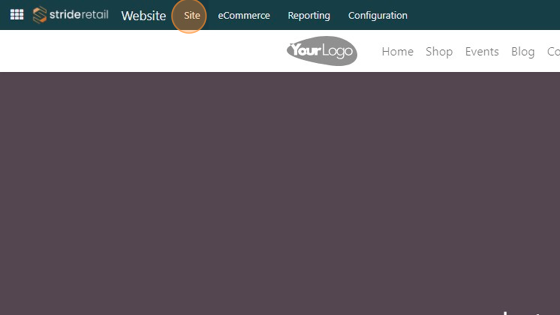
11. This is the second way to create a blog post. From the Website module Click "Site"

Screenshot of: This is the second way to create a blog post.  From the Website module Click "Site"

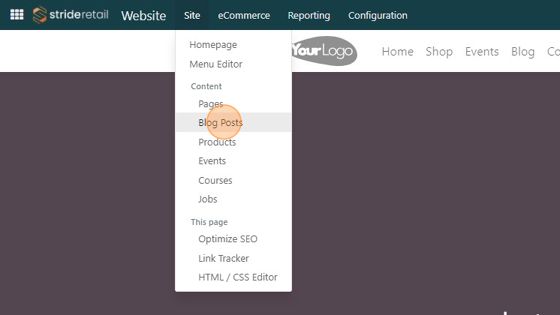
12. Click "Blog Posts"
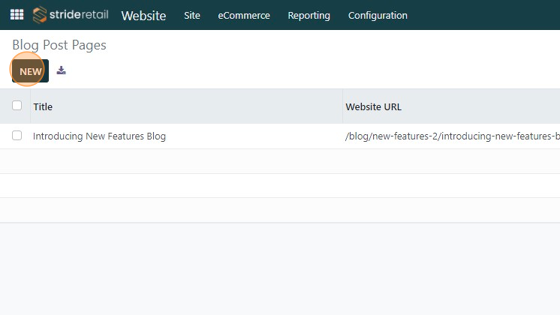
Screenshot of: Click "Blog Posts"

13. Click "NEW"

Screenshot of: Click "NEW"

14. Click the "Select Blog" field to select the blog you want to add the post to.

Screenshot of: Click the "Select Blog" field to select the blog you want to add the post to.

15. Click the "Title" field to give your blog post a title.

Screenshot of: Click the "Title" field to give your blog post a title.

16. Once you save the new blog post it will bring you to the post where you can start editing and adding content.

Screenshot of: Once you save the new blog post it will bring you to the post where you can start editing and adding content.