Create a custom product with required text input
Create a custom product with required text input
Create a custom product with required text input.
2. Click "Products"
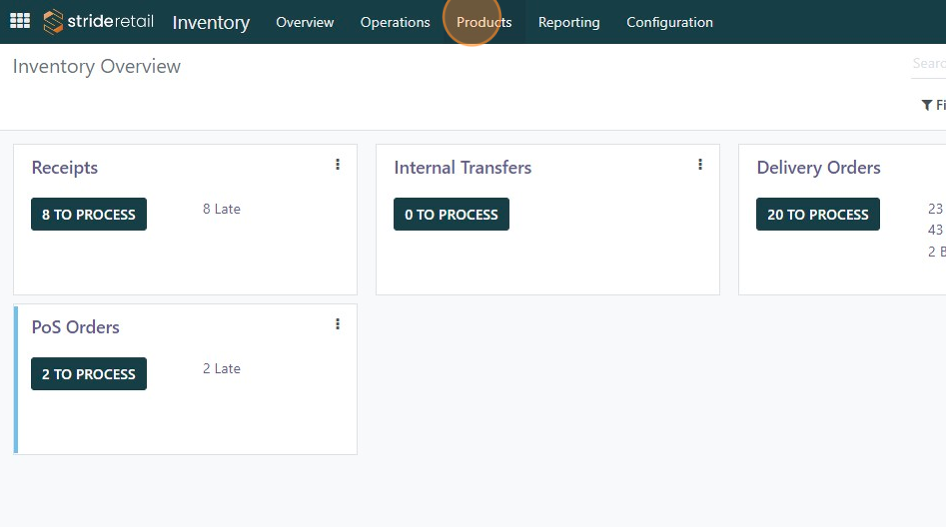
3. Click "Products"

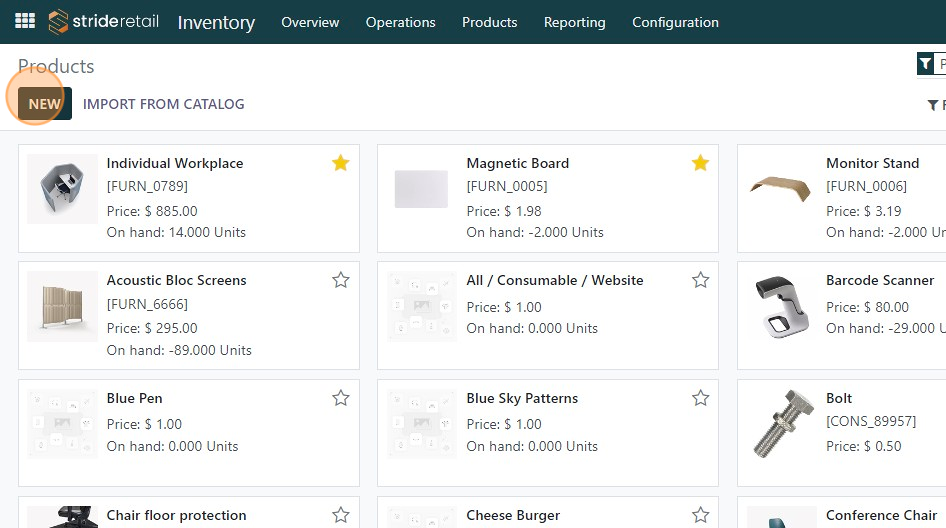
4. Click "NEW"
5. Type product name and add any details.
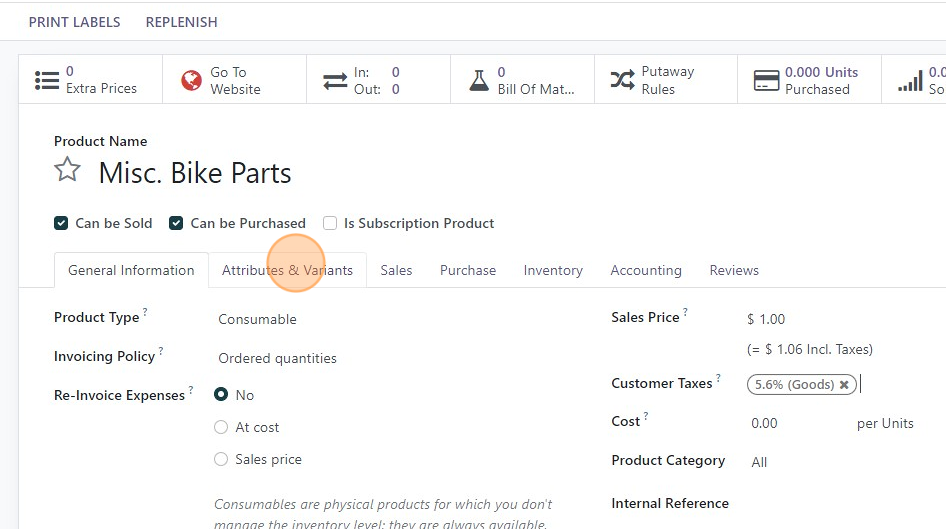
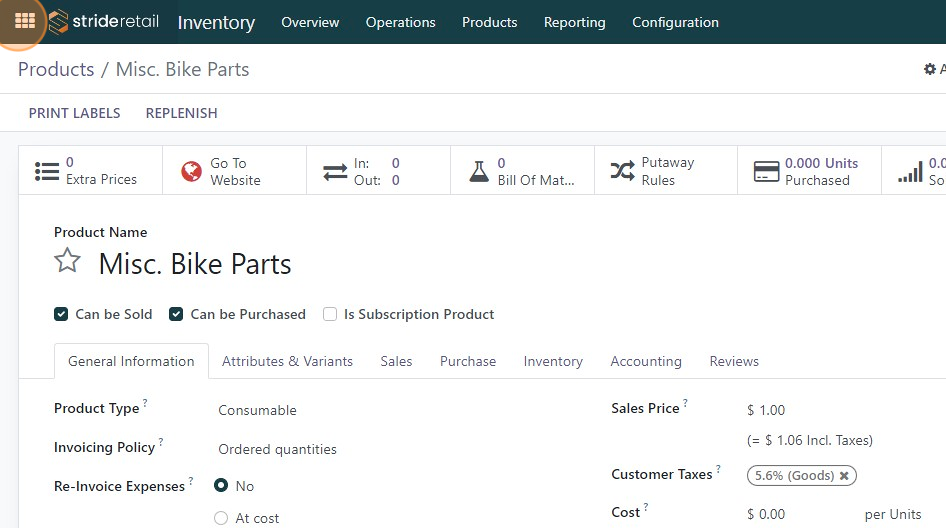
6. We recommend if this is not something you will keep track of in inventory setting this to a "Consumable" or "Service" if it is a service product and you don't want to collect taxes.
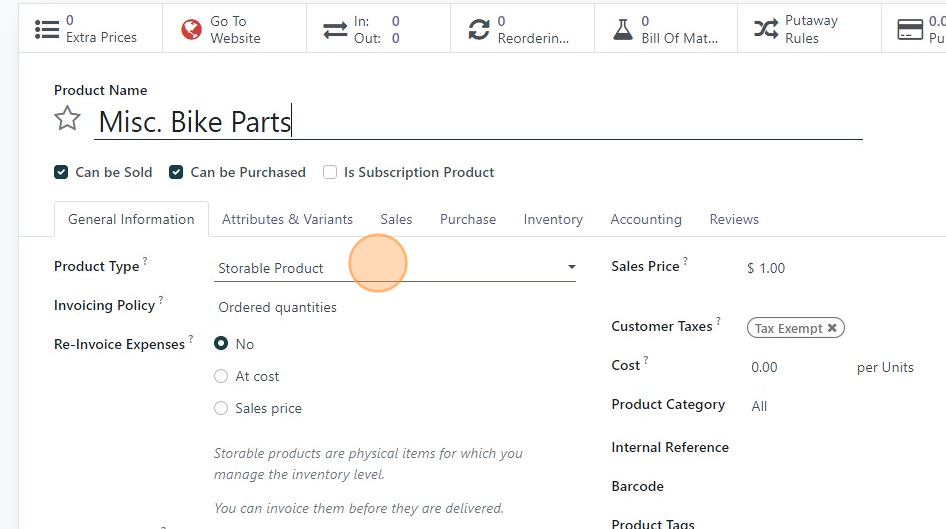
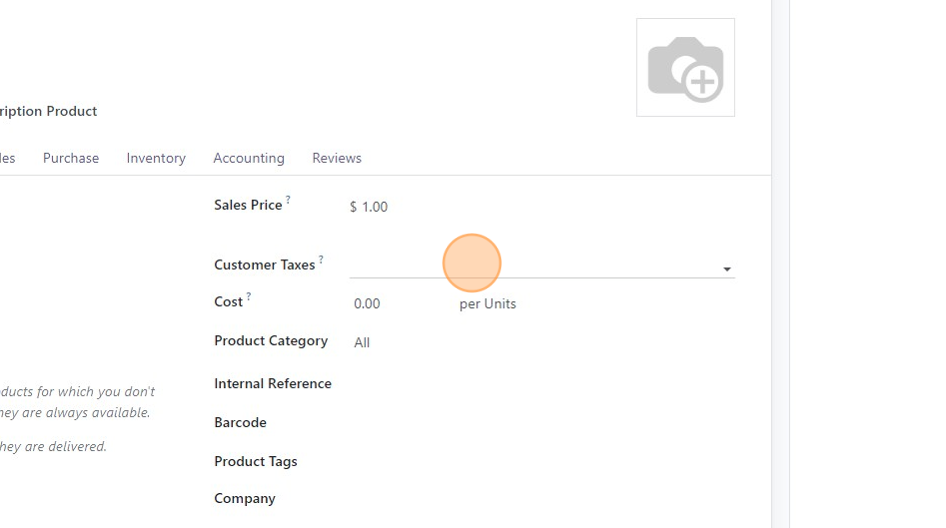
7. Click the and set to "default tax" if not already set. If it is a service item remove the taxes and leave blank.
8. Click "Attributes & Variants"
9. Click "Add a line"
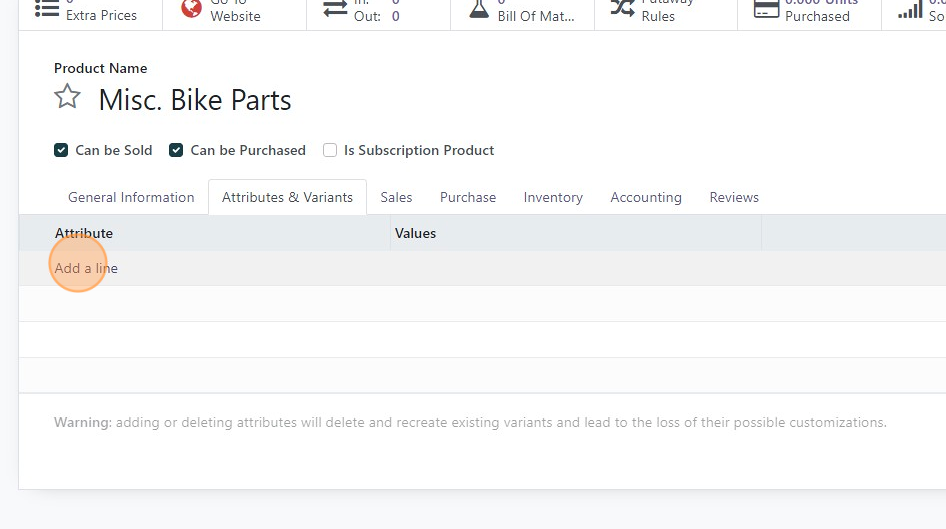
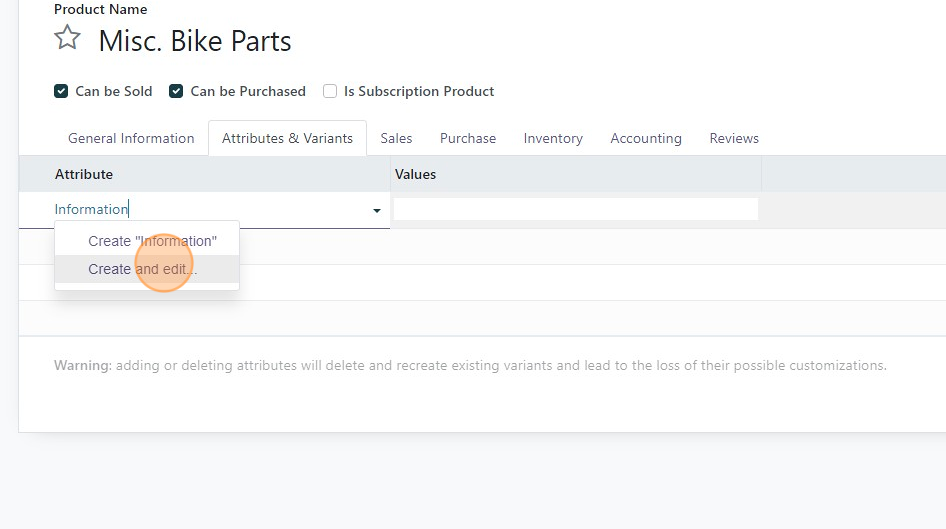
10. Type the name of the attribute and click "Create and Edit" if it is a new attribute.
11. Click "Create and edit..."
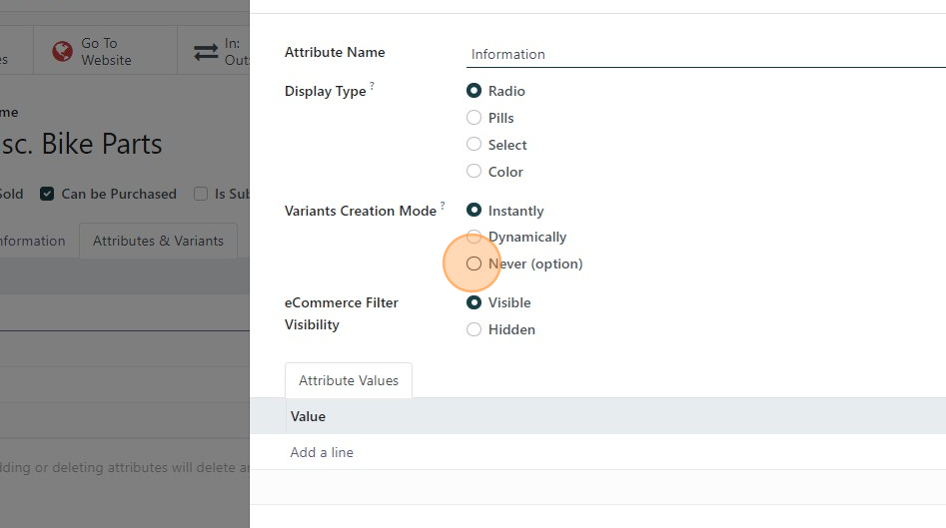
12. Click the "Never (option)" field.
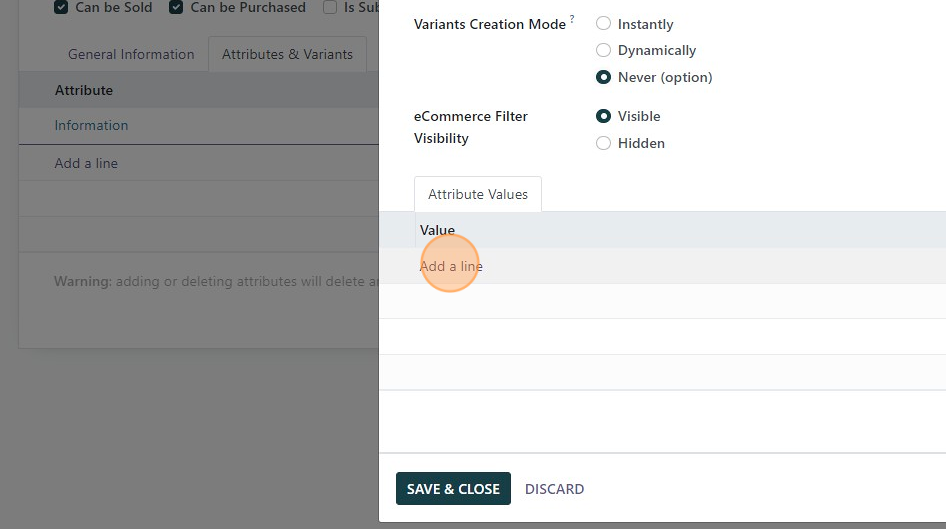
13. Click "Add a line"
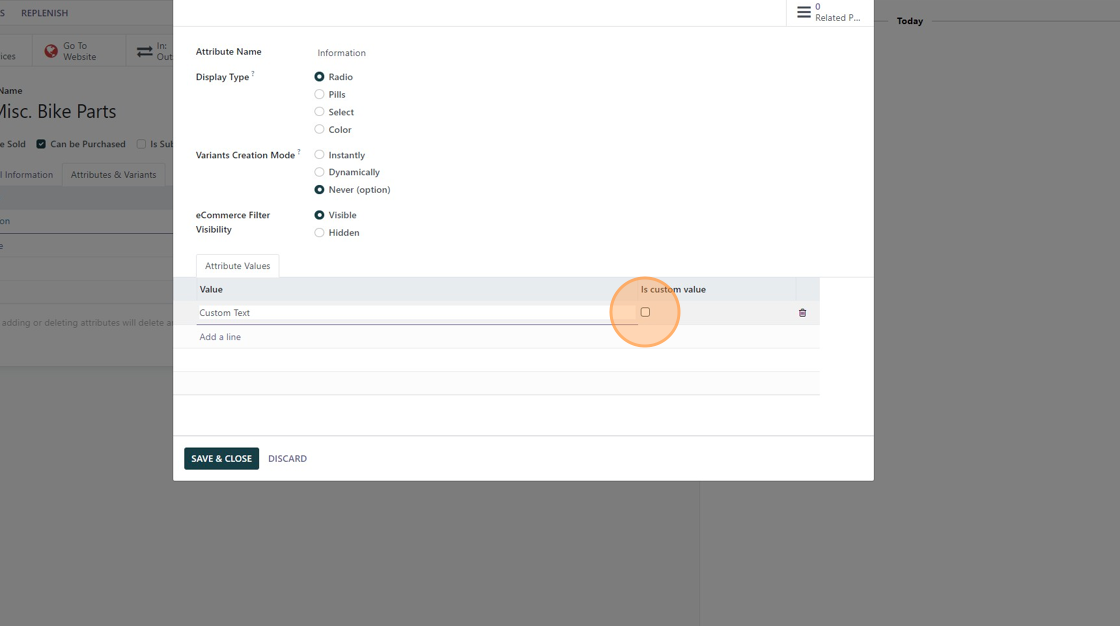
14. Type "Custom Text" or whatever you want to pop up in the cashier's dialogue box at checkout.
15. Check the "Is Custom Value" box.
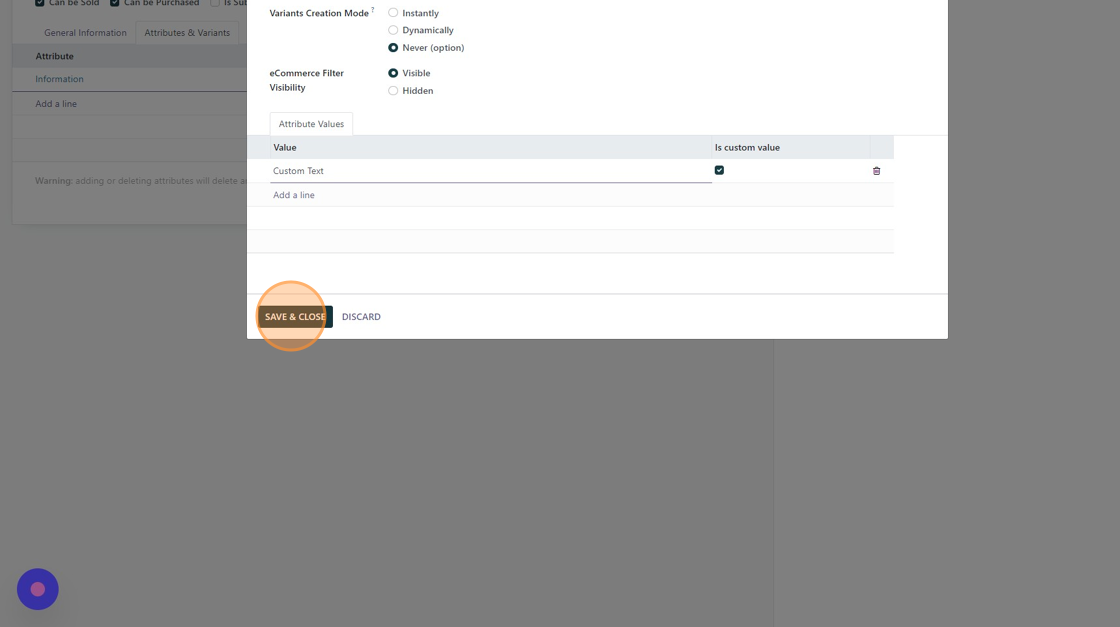
16. Click "SAVE & CLOSE"
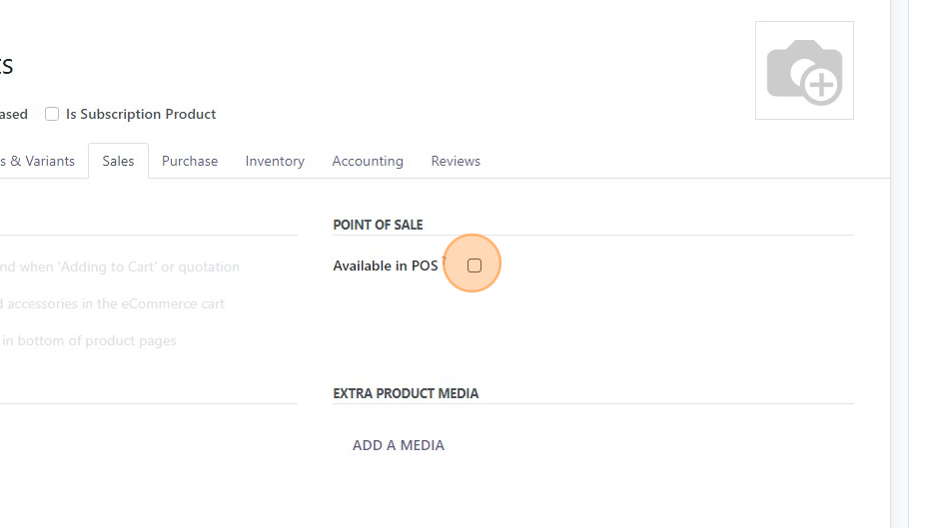
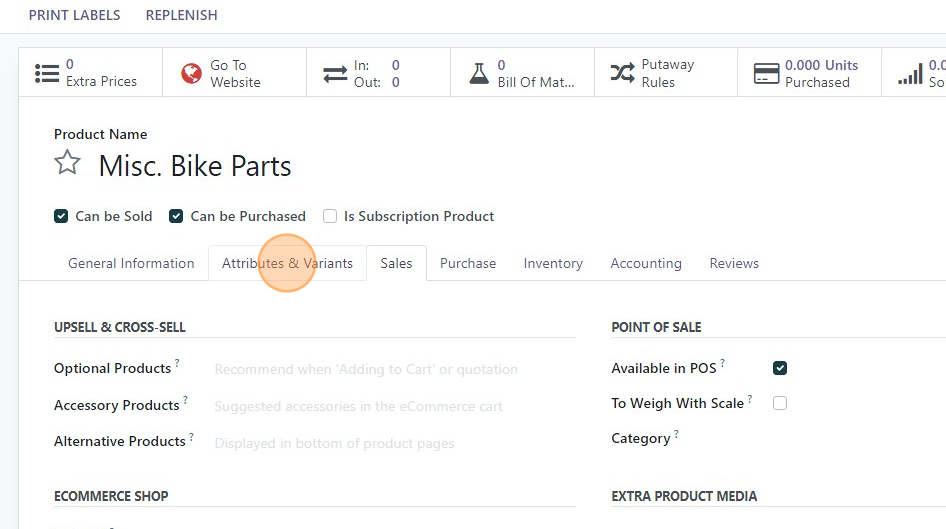
17. Click "Sales"

18. Click the "Available in POS?" field.
19. Click "Attributes & Variants"
20. Click here.
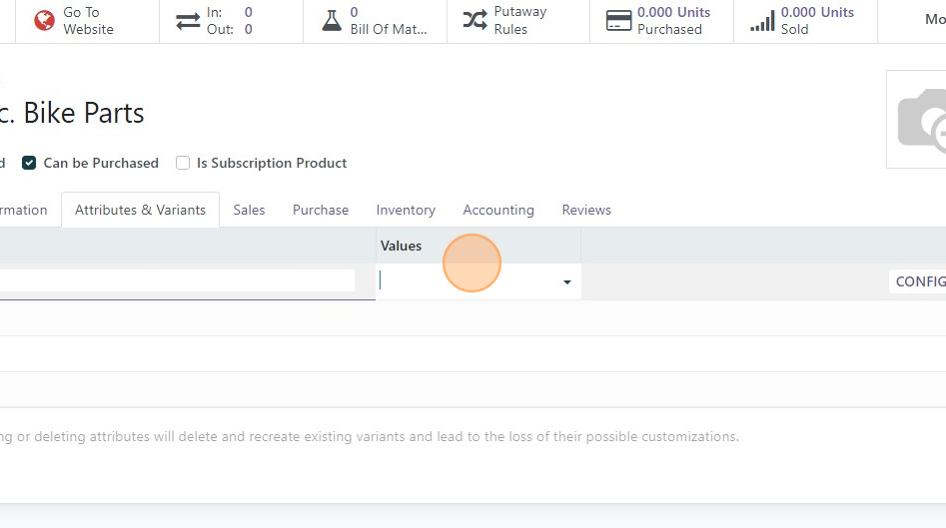
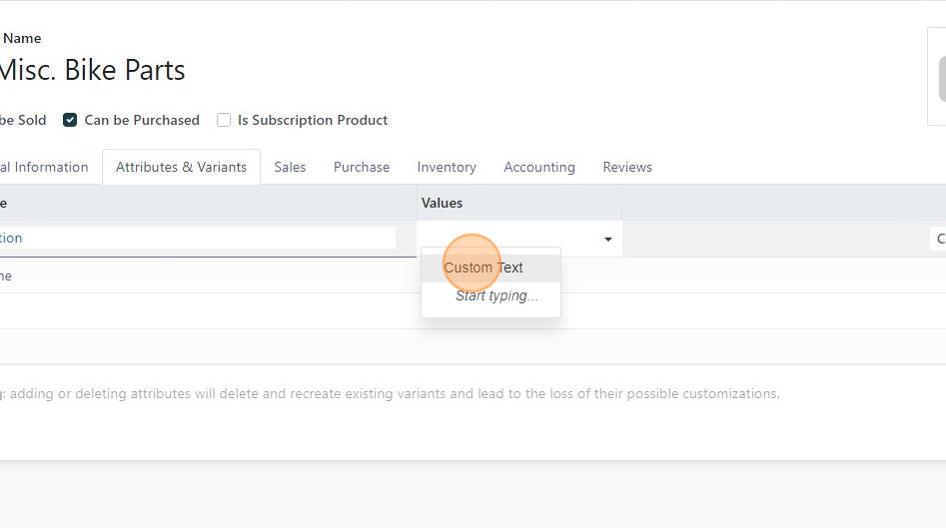
21. Click this text field.
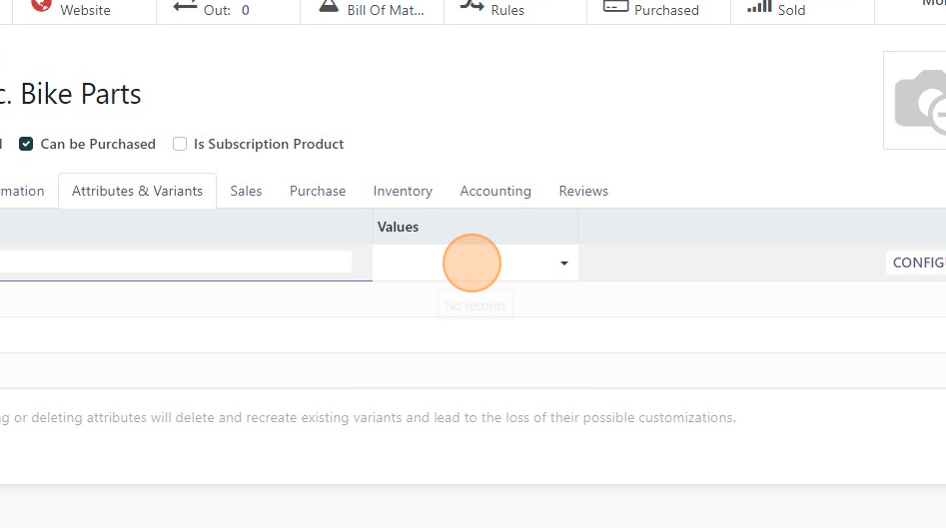
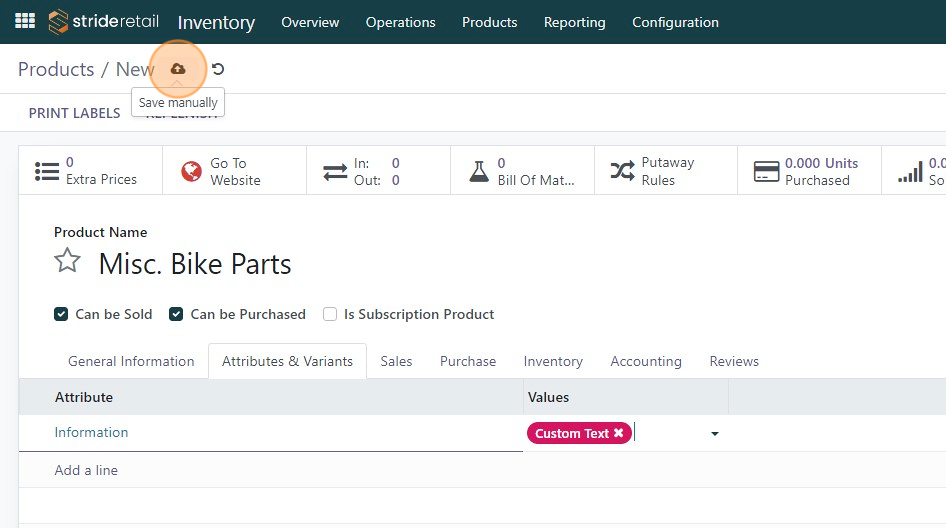
22. Click "Custom Text"
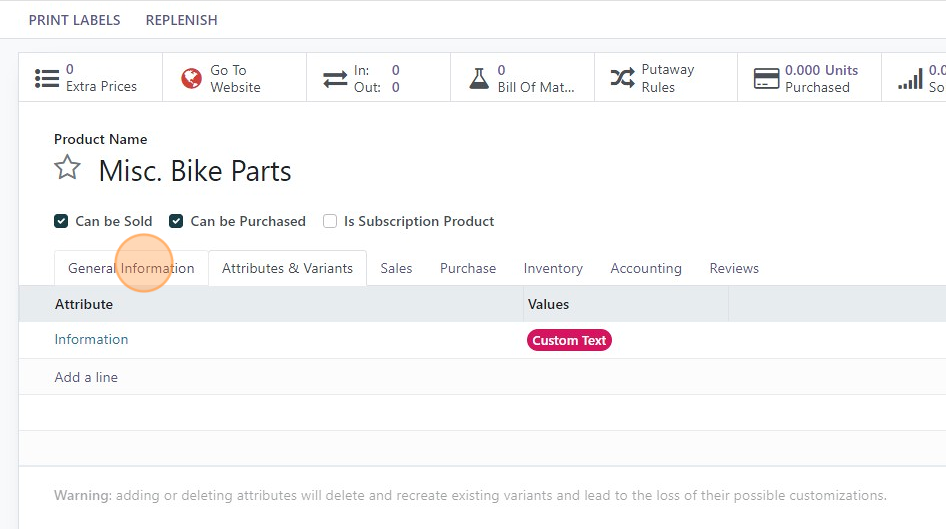
23. Click here to save.
24. Click "General Information"
25. The product is now created. The following screenshots show how this will look at checkout.
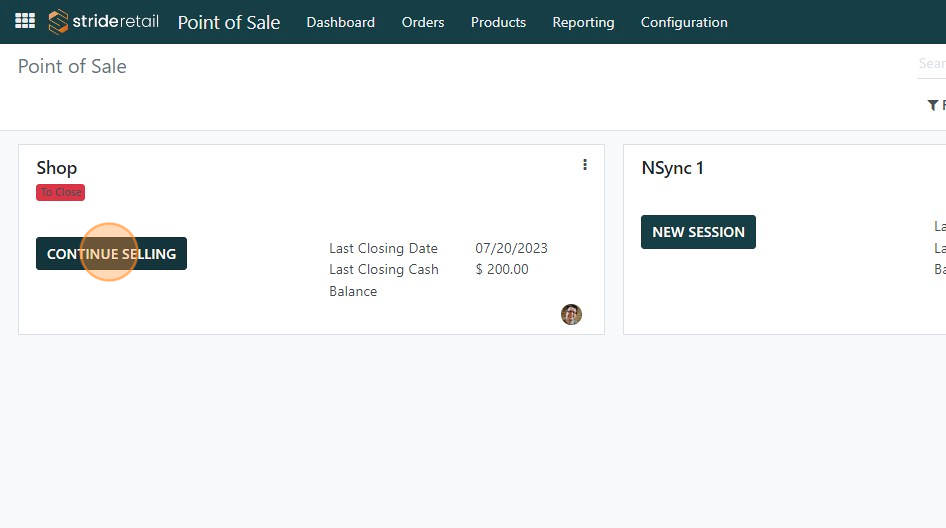
26. Click this image.

27. Click "CONTINUE SELLING"
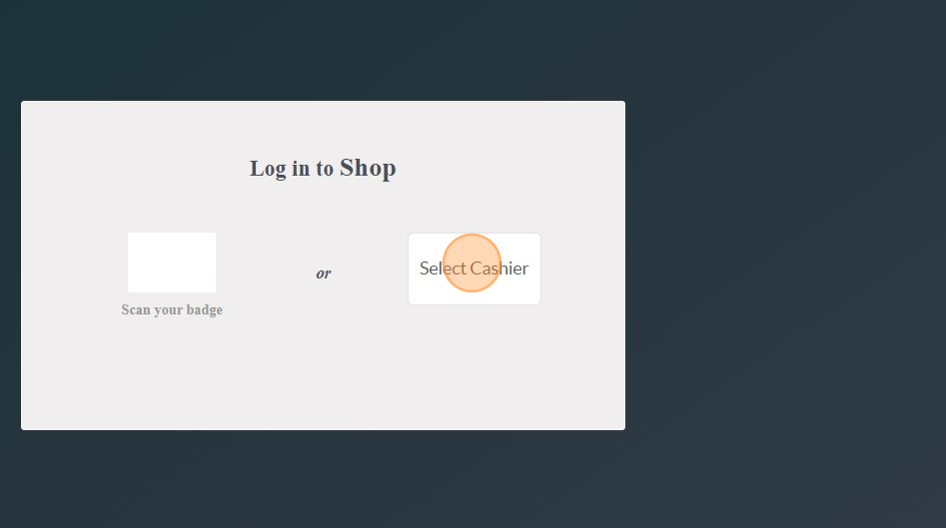
28. Click "Select Cashier"
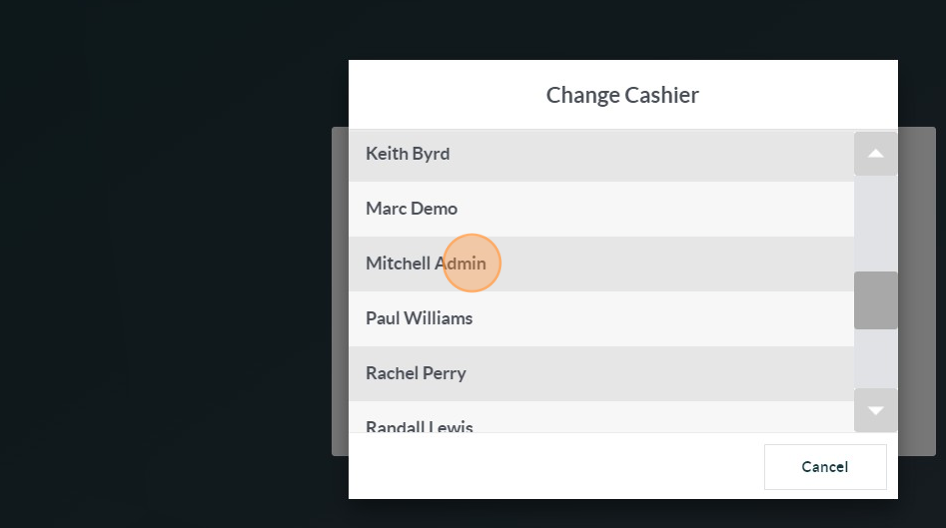
29. Click "Mitchell Admin"
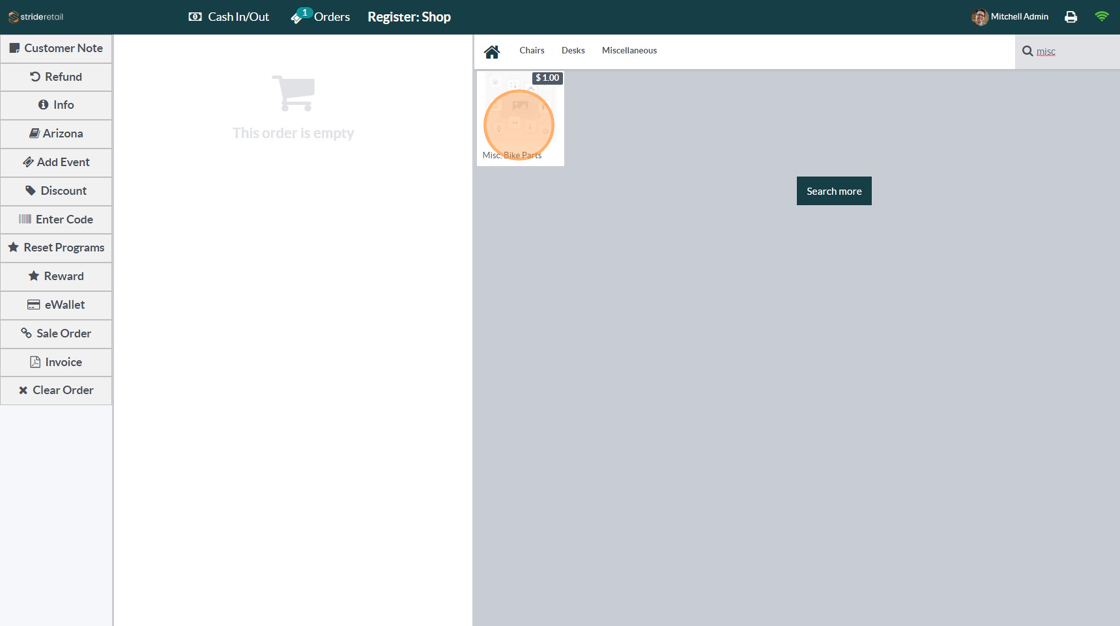
30. Click the "Search Products..." field.
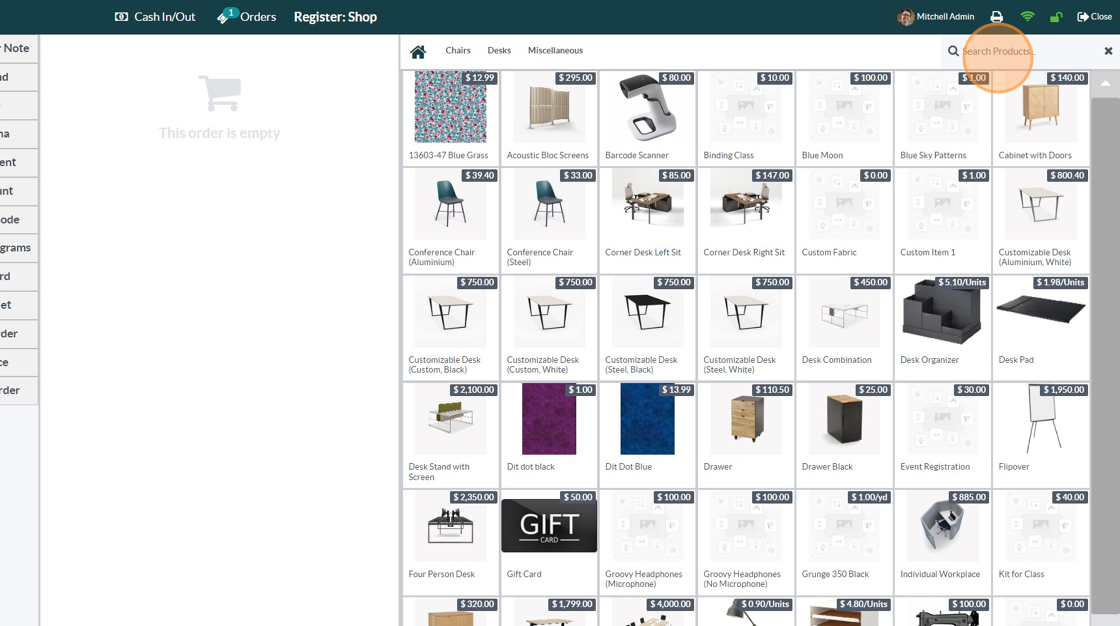
31. Type "misc"
32. Click this image.
33. Click this text field.
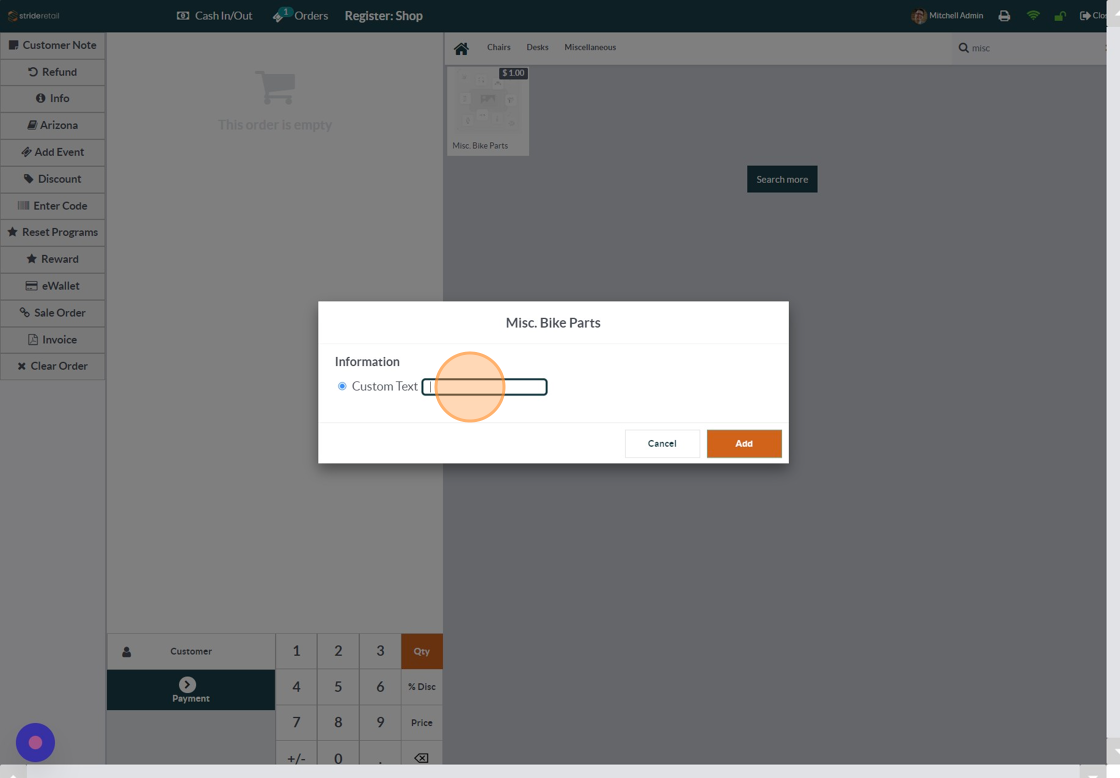
34. Type "Old brown spring seat." or whatever you need them to type in.
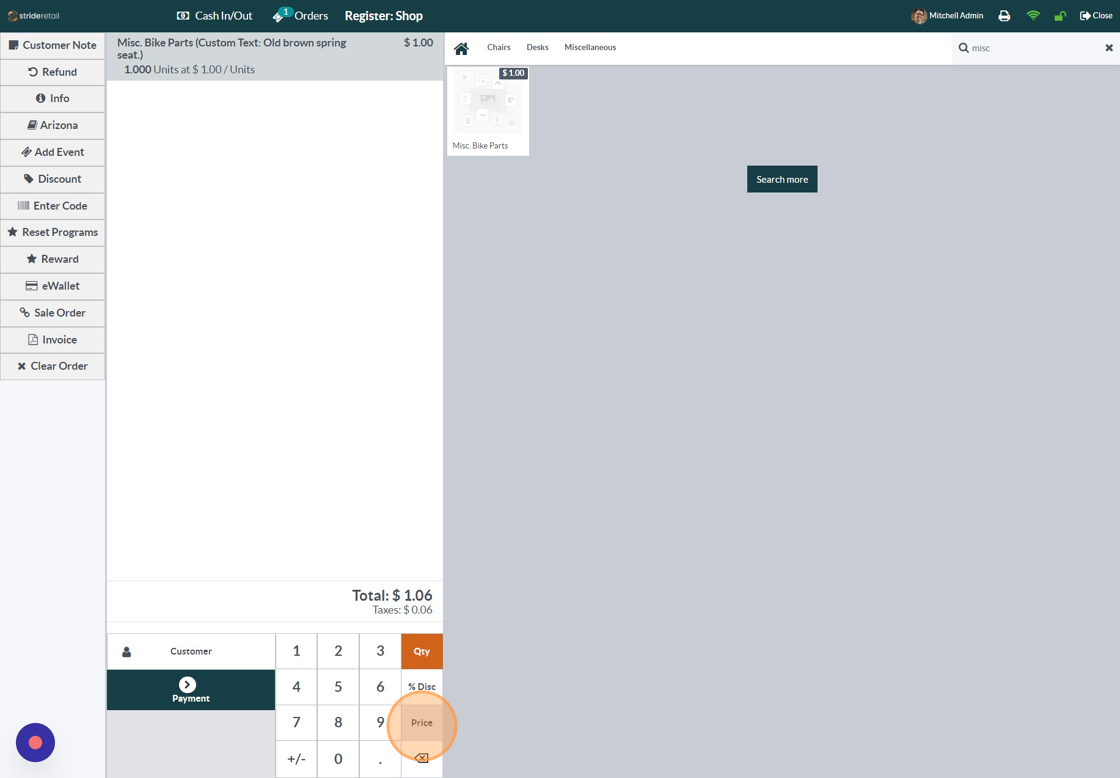
35. Click "Add"

36. Click "Price" to change the price. Continue checking out as needed.